Let’s have a look at the method for How to Measure the Ground Using ARKit a cool tool that will help you in measuring the things from the distance by just using the simple tricks that we are going to discuss right below. So have a look at the complete guide discussed below to proceed.
In Short- ARKit is the popular tool for the augmented reality tool development or this is a particular platform for the iOS developers. Through this tool, various things can be created and used while the camera of the device can also be utilized well in the creations. Various facts can be implemented in the ARKit such as to finalize the requirements. One of the things that users would like to go through the ARKit is measuring the ground using it. Fortunately, this possible to measure the ground using this tool and the most accurate results can be found through it. Now many of the users will be confused about how can this be possible to perform the method, not to worry as this article is all related to that. Here in this article, we have written about the method to measure the ground using the ARKit. If you are interested in reading about this information or find it helpful for your usage then please read it down. All of the proper information is provided in the main section of this post as is given below, remember to read till the end of the page so that you get the whole knowledge regarding the topic. So, let’s get started!
How to Measure the Ground Using ARKit
Requirements Before Proceeding- Mac running macOS 10.13.2 or later, Xcode 9.2 or above, A device with iOS 11+ on an A9 or higher processor, Swift 4.0, An Apple Developer account.
Steps to Measure the Ground Using ARKit
#1 First of all download all of the required assets from the Link- http://www.mediafire.com/file/mhusxpaha96zgzq/Assets.zip/file. This link shall download you all of the things and you may be able to proceed further in this method. Note that there is a requirement for the assets so you need to first complete this step. For the easy access to the files or the assets you download, keep those inside a folder from where the files can be accessed.

#2 Follow this guide in the Link- https://mobile-ar.reality.news/how-to/arkit-101-pilot-your-3d-plane-location-using-hittest-arkit-0184060/#jump-step2 and then create the AR Project in XCode. The new project you create should be in a different name so that you can use that easily and recognize it instantly. Also quickly test the project before running it.
#3 Import all of the assets to your new project that is created in the above step. Remember to select the option Copy if Needed option while you are importing the assets to the project. This is easy to do the step through the options from the menu.

#4 Now inside the “ViewController.swift” file, you need to modify the scene creation line in the viewDidLoad() method. The code has to be changed from –
let scene = SCNScene(named: “art.scnassets/ship.scn”)!
to
let scene = SCNScene()
Next find the line on the top of the file- @IBOutlet var sceneView: ARSCNView! and then add the code under it- var grids = [Grid]()
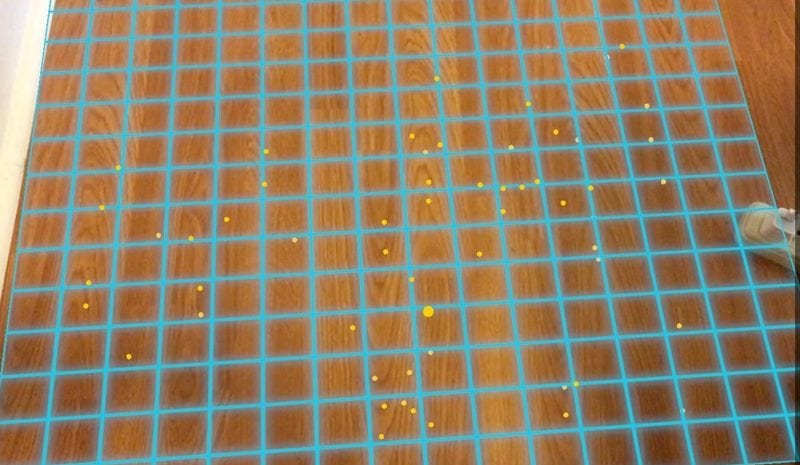
This will show up the grid lines for the detection.
#5 Copy and paste the below codes under the last curly braces of the file:
// 1.
func renderer(_ renderer: SCNSceneRenderer, didAdd node: SCNNode, for anchor: ARAnchor) {
let grid = Grid(anchor: anchor as! ARPlaneAnchor)
self.grids.append(grid)
node.addChildNode(grid)
}
// 2.
func renderer(_ renderer: SCNSceneRenderer, didUpdate node: SCNNode, for anchor: ARAnchor) {
let grid = self.grids.filter { grid in
return grid.anchor.identifier == anchor.identifier
}.firstguard let foundGrid = grid else {
return
}foundGrid.update(anchor: anchor as! ARPlaneAnchor)
}
#6 Under the line given below in viewDidLoad():
sceneView.showsStatistics = true
Add up the code- sceneView.debugOptions = ARSCNDebugOptions.showFeaturePoints
And under the code- let configuration = ARWorldTrackingConfiguration()
Add- configuration.planeDetection = .horizontal
#6 The above coding will set the horizontal and vertical line detections with a grid for 3D detection but for the measurements, you need to open the Grid.Swift file.
Inside the file look for the code- var planeGeometry: SCNPlane!
and Add new geometery line- var textGeometry: SCNText!
#7 Find up to the lines that import the ARkit now, it will be – import ARKit. Under the lines and above the lines that created grid class add up:
extension ARPlaneAnchor {
// Inches
var width: Float { return self.extent.x * 39.3701}
var length: Float { return self.extent.z * 39.3701}
}
#8 After all that find the setup() method. Delete this method and replace it with an updated version of the method as shown below:
private func setup() {
planeGeometry = SCNPlane(width: CGFloat(anchor.width), height: CGFloat(anchor.length))let material = SCNMaterial()
material.diffuse.contents = UIImage(named:”overlay_grid.png”)planeGeometry.materials = [material]
let planeNode = SCNNode(geometry: self.planeGeometry)
planeNode.physicsBody = SCNPhysicsBody(type: .static, shape: SCNPhysicsShape(geometry: planeGeometry, options: nil))
planeNode.physicsBody?.categoryBitMask = 2planeNode.position = SCNVector3Make(anchor.center.x, 0, anchor.center.z);
planeNode.transform = SCNMatrix4MakeRotation(Float(-Double.pi / 2.0), 1.0, 0.0, 0.0);// 1.
let textNodeMaterial = SCNMaterial()
textNodeMaterial.diffuse.contents = UIColor.black// Set up text geometry
textGeometry = SCNText(string: String(format: “%.1f\””, anchor.width) + ” x ” + String(format: “%.1f\””, anchor.length), extrusionDepth: 1)
textGeometry.font = UIFont.systemFont(ofSize: 10)
textGeometry.materials = [textNodeMaterial]// Integrate text node with text geometry
// 2.
let textNode = SCNNode(geometry: textGeometry)
textNode.name = “textNode”
textNode.position = SCNVector3Make(anchor.center.x, 0, anchor.center.z);
textNode.scale = SCNVector3Make(0.005, 0.005, 0.005)addChildNode(textNode)
addChildNode(planeNode)
}
#9 At the end of the Anchor curly braces paste the code given below:
if let textGeometry = self.childNode(withName: “textNode”, recursively: true)?.geometry as? SCNText {
// Update text to new sizetextGeometry.string = String(format: “%.1f\””, anchor.width) + ” x ” + String(format: “%.1f\””, anchor.length)
}
#10 Save and run the app after all of the changes above and you are all done!
Finally, after reading this article you have got to know about the method through which anyone can be able to check the Ground using the ARKit or measure the ground through it. All of the information given here is written in such a way that anyone can get about the important aspects easily. Hope that you might be liking the information given in this article if it is so then please try to share it with others too. Also, share your suggestions and opinions regarding this content by using the comments section below. Your indulgence in our work is really grateful to us, keep supporting us and we would be always coming up with all new amazing information. At last but nevertheless, thanks for reading this post!


