Like Android, apps on Windows 11 require permissions to access the hardware and software features of your PC. For example, if you install an audio recording app, the app would need your microphone permission to function. The problem is that sometimes we install apps and accept all permission prompt without reviewing them.
If you download apps from the Microsoft Store, you can grant apps the permissions it needs without worrying about any privacy & security issue. However, if you download apps from third-party sources, you should always double-check the permissions before allowing them.
Steps to Manage App Permissions on Windows 11
Sometimes, malicious apps can attempt to seek permissions it doesn’t require, and granting them permissions could put your device’s privacy & security at risk.
Hence, monitoring the app permissions on Windows 11 is recommended, especially if you often download & install apps from third-party sources. Here’s how you can enable, disable and manage app permissions on Windows 11.
1) Enable/Disable Permissions from the Settings
This method will use Windows 11’s Settings app to enable or disable permissions for individual apps. Here are some of the simple steps you need to follow.
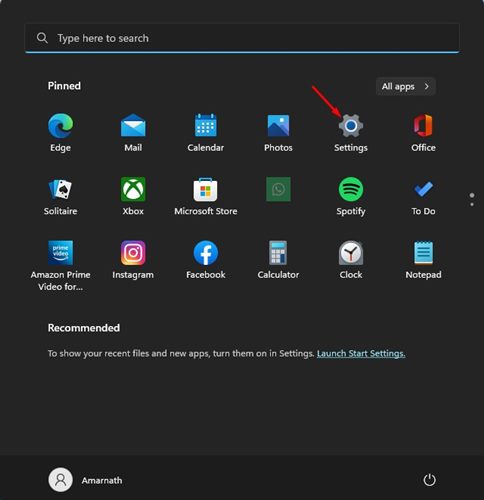
1. First, click on the Windows 11 Start menu and select Settings.
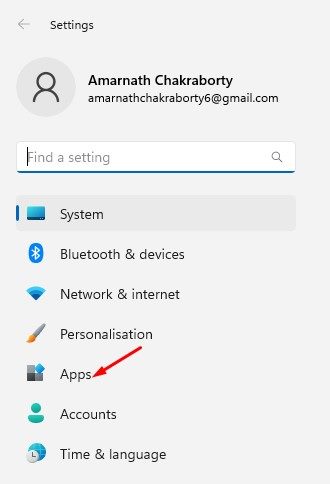
2. On the Settings app, switch to the Apps section below.
3. On the right pane, click on the Installed apps section.

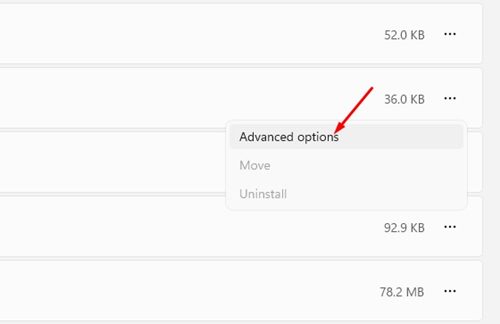
4. You need to find the app for which you wish to modify permissions. Once done, click on the three dots beside the app name.

5. From the list of options that appears, click on Advanced Options.
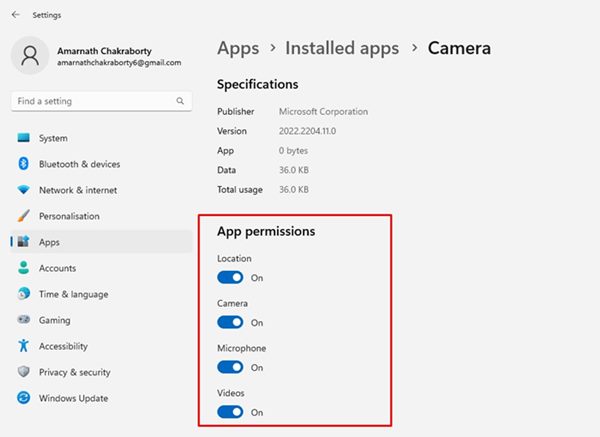
6. On the next screen, scroll down to the App Permissions. You will be able to see all the permissions that the app has access to. You can enable/disable the permissions as per your wish.
That’s it! This is how you can enable or disable permissions for individual apps in Windows 11.
2) How to Manage App Permissions for Multiple Apps
If you want to manage multiple apps’ permissions simultaneously, you must follow this method. Here’s how to manage app permissions for multiple apps in Windows 11.
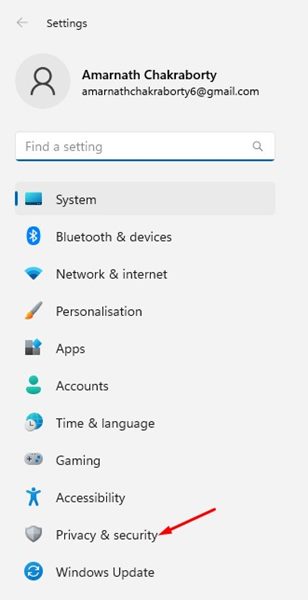
1. First, click on the Windows 11 Start button and select Settings.
2. Click on the Privacy & Security option on the Settings app.
3. On the right, scroll down to the App permissions section. Now you need to select the permissions you want to configure.
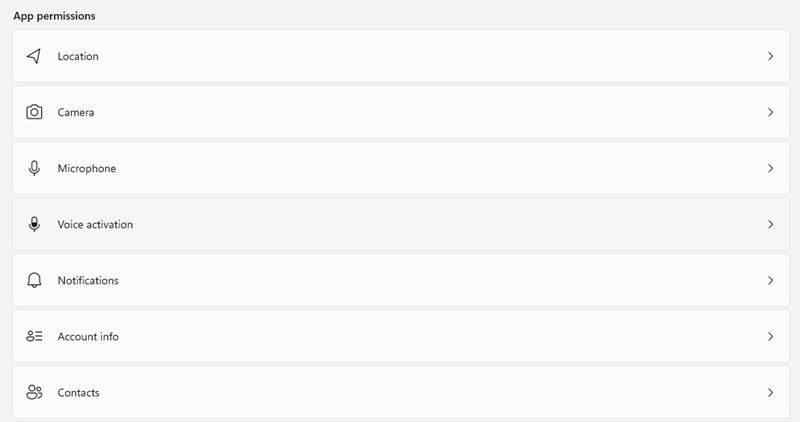
4. For demonstration, we will modify the Location permissions for apps. Clicking on the Location permissions will show all apps with access to your location.

5. You can manually enable or disable location permission for each app installed on your Windows 11.

That’s it! This is how you can manage app permissions for multiple apps on Windows 11. You must repeat the same steps to manage other permission categories such as microphones, Cameras, Notifications, etc. The privacy & security page of Windows 11 also provides different settings that you should check out.
Also Read: How to Manually Uninstall Windows 11 Updates
So, this guide is about enabling or disabling app permissions on Windows 11. You should periodically check the app permissions via the Privacy & Security page on Windows 11. If you have any doubts about this, let us know in the comments.


