There was a time when video games for PC used to fit on a CD or DVD; these days, video games can fill up your entire HDD or SSD. Popular games like PUBG PC, Call of Duty, etc., can take up more than 100GB of space on your hard disk or solid-state drive.
If you are a Steam user, at some point, you might think about moving games to another drive or probably on an external hard disk drive due to storage issues. In such a case, you might think about downloading Steam Games again on a new drive, but in actuality, you don’t need to.
The desktop client of Steam allows you to move a game after it has been downloaded without re-downloading the entire data file. Many users don’t know about this hidden Steam feature, but it can save you from downloading hundreds of GBs of games all over again.
Steps to Move a Steam Game to Another Drive in 2022
So, if you have just attached a new HDD or SSD to your system and wish to move your existing steam game, you are reading the right guide. In this article, we will share a step-by-step guide on how to move a Steam Game to another drive. Let’s check out.
1) Creating a New Steam Library Folder
To start off, you would need to create a new Steam Library folder on a new drive where you want to move Steam Game. For that, you need to follow some of the simple steps we have shared below.
1. First of all, open the Steam desktop client and click on Steam > Settings.

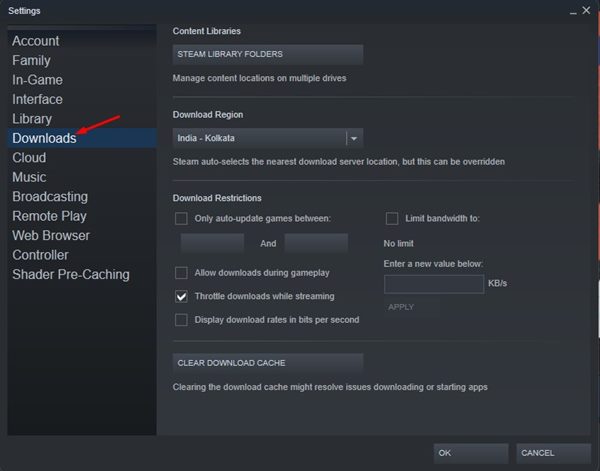
2. On the Steam Settings page, click on the Downloads section as shown below.
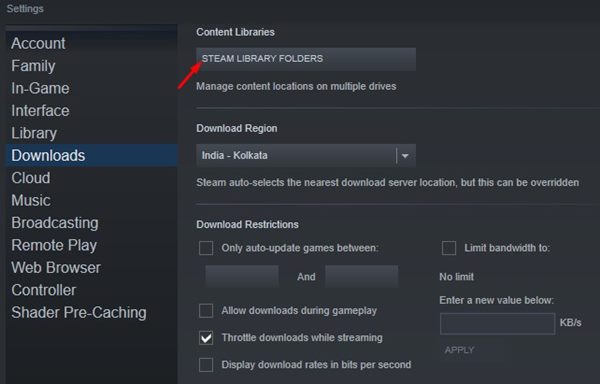
3. On the very top, click on the Steam Library Folders button as shown below.
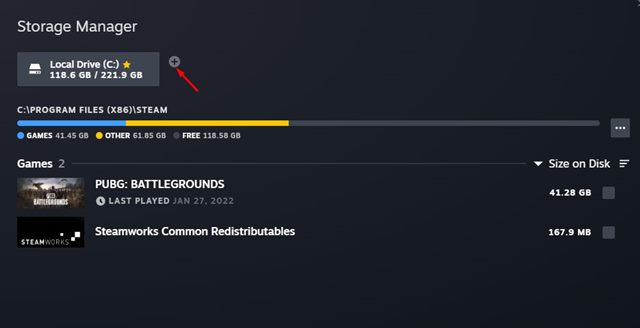
4. On the Storage Manager, click on the (+) button as shown below.
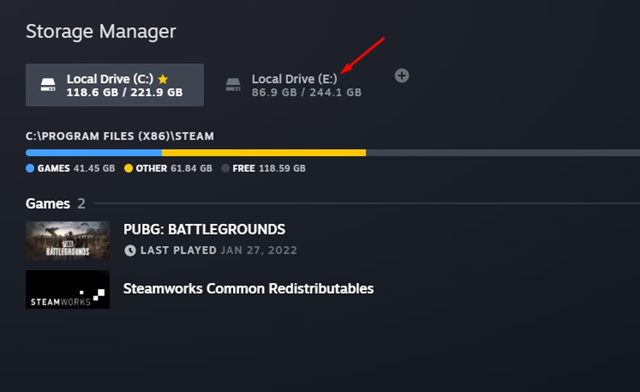
5. Now, select the drive you want to create a new Steam Library folder. Once done, click on the Add button.
6. The newly created Steam Library folder will appear along with the original folder.
That’s it! You are done. This is how you can create a new Steam Library folder before moving Steam Games.
2) How to Move Games to the new Steam Library
After creating a new Steam Library, you might want to move the game files to it. Follow some of the simple steps shared below to move the Steam game files to the newly created Library.
1. First of all, open the Steam client on your desktop.
2. Now navigate to the Steam > Settings > Downloads.
3. On the Downloads page, click on the Steam Library Folders button.
4. Now, select your old library to list all games. Now check the games that you want to move.
5. Once done, click on the Move button, as shown in the screenshot below.
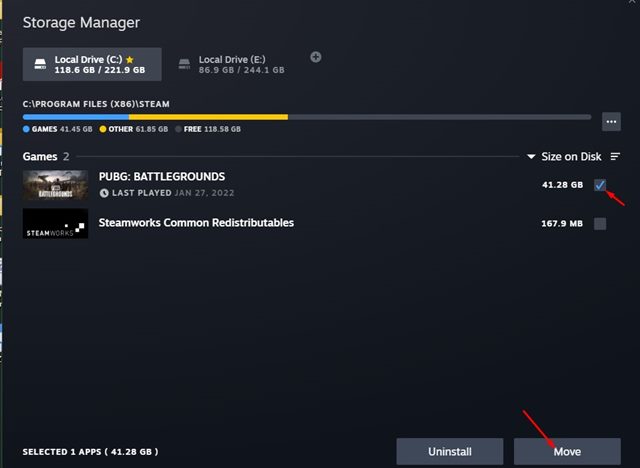
6. On the confirmation prompt, you need to click on the Move button again.

That’s it! You are done. This is how you can move a Steam Game to another drive without re-downloading it.
Move Steam Games from the Library
There’s an even easier way to move a game stored in your Steam library. For that, you need to follow some of the simple steps shared below.
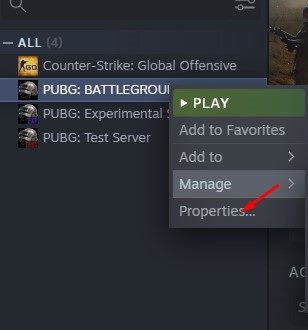
1. First of all, open Steam client and open your Library. Now, right-click on the Game and select Properties.
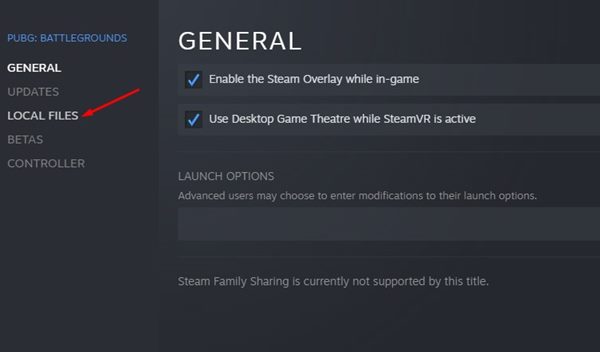
2. Next, switch to the Local Files section, as shown in the screenshot below.
3. On the right, click on the Move Install folder option.
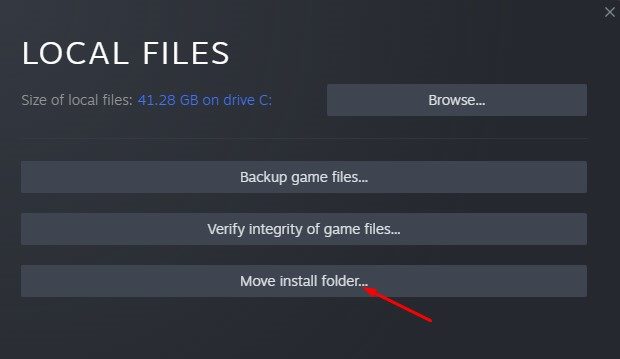
4. Next, select the Steam library and click on the Move button.

That’s it! You are done. Now Steam will move all the game’s files to other locations. You need to follow the same steps to move other games as well.
Also read: How to Hide or Remove a Game From Steam
You can follow any of these methods to move games stored on your steam library to a different location. I hope this article helped you! Please share it with your friends also. If you have any doubts related to this, let us know in the comment box below.


