If you have been using the Windows operating system for a while, you might know that the operating system becomes bloated very quickly. It’s because the app availability is high on the platform. We often install high-end programs or games on our PC that fills up the storage rather quickly.
As long as you have sufficient storage left on your PC, you won’t face any performance issues. However, if your system has limited storage, then unnecessary files on your hard drive can slow down your computer. To deal with such problems, the Windows operating system has a feature called ‘Disk Defragment.’
The latest Windows 10 operating system also allows you to optimize drives for better performance. On techviral, we have already shared an article on the best free PC optimization software for Windows. However, now it looks like you no longer need to depend on a third-party optimization software to enhance your system’s performance.
Also read: How to Optimize Windows 10 For Gaming & Performance
Optimize Storage Drives For Better Performance in Windows 10
You can use the built-in disk optimization feature of Windows 10 to clean up HDD/SSD space. It automatically removes unnecessary files, temp files, and empties the recycle bin. In this article, we will share a detailed guide on how to optimize your drives for better performance. Let’s check out.
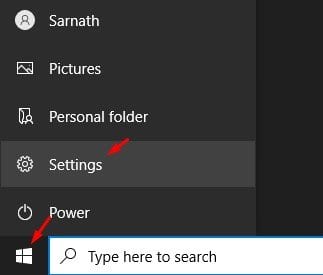
Step 1. First of all, click on the Start button and select ‘Settings’
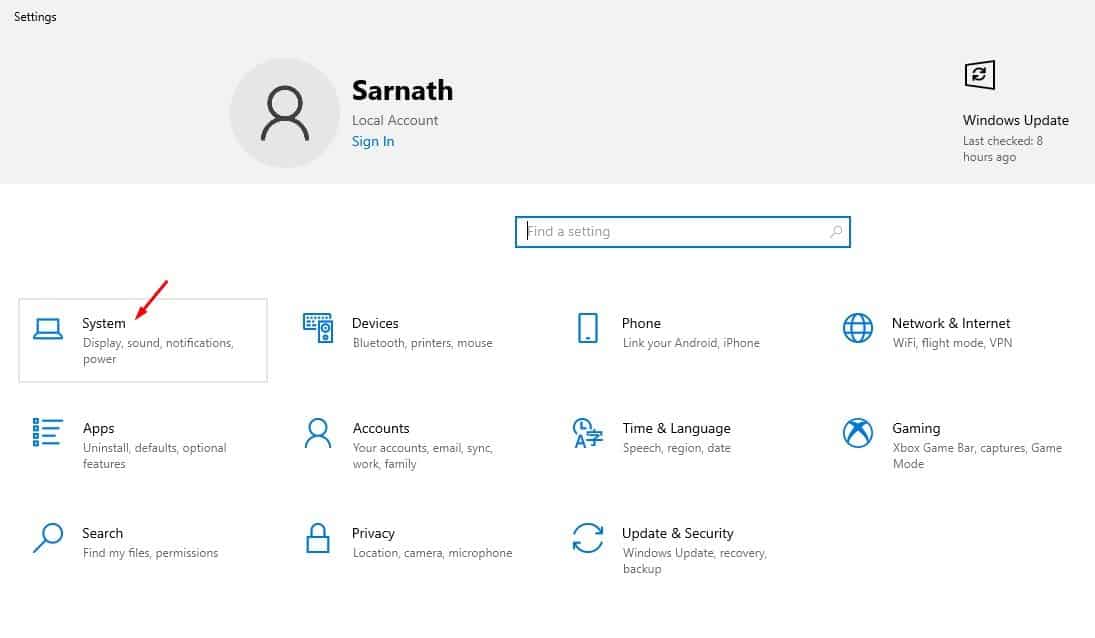
Step 2. On the Settings, click on the ‘System’
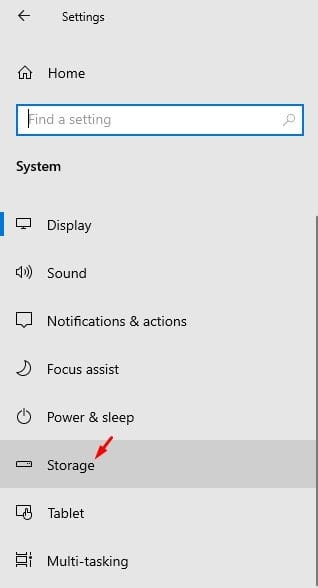
Step 3. From the left pane, select ‘Storage’
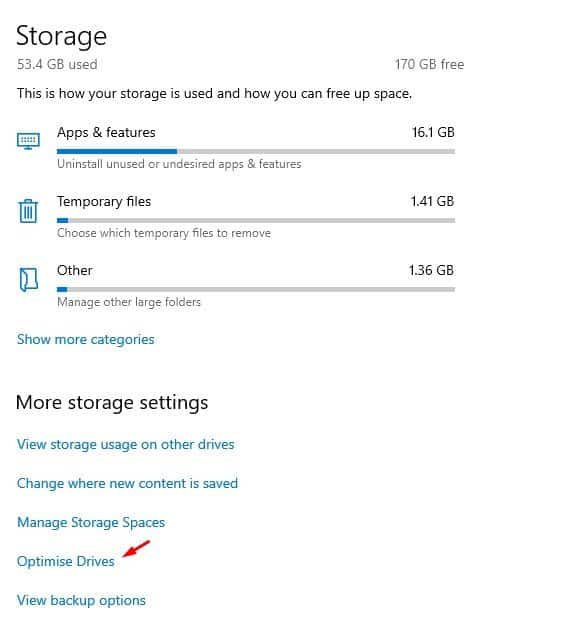
Step 4. Scroll down and click on the ‘Optimise Drives’ option.
Step 5. Now you will see all HDD/SSD partitions. If it shows less than 10% fragmented under the current status, you probably don’t need to optimize the drive. However, if it shows more than 10% fragmented, click on the ‘Optimize‘ button below.
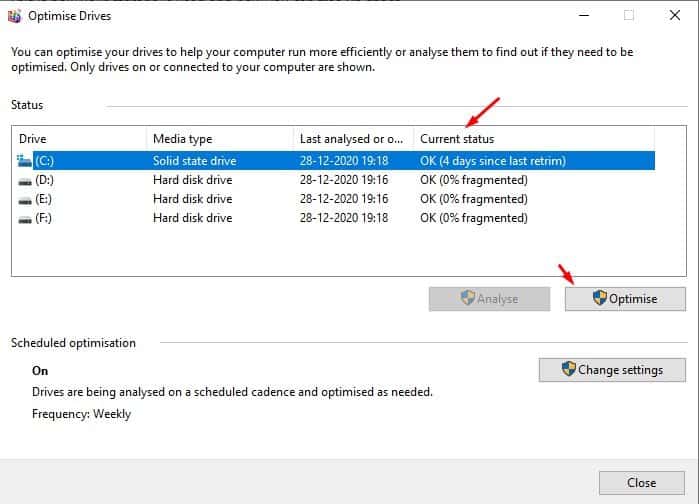
Step 6. Once done, wait until the process complete. After the optimization, the current status should display ‘0% fragmented’. That simply means that your disk is not optimized for better performance.
Step 7. You can also set the feature to run on a schedule. For that, click on the ‘Change Settings’ button, as shown below.

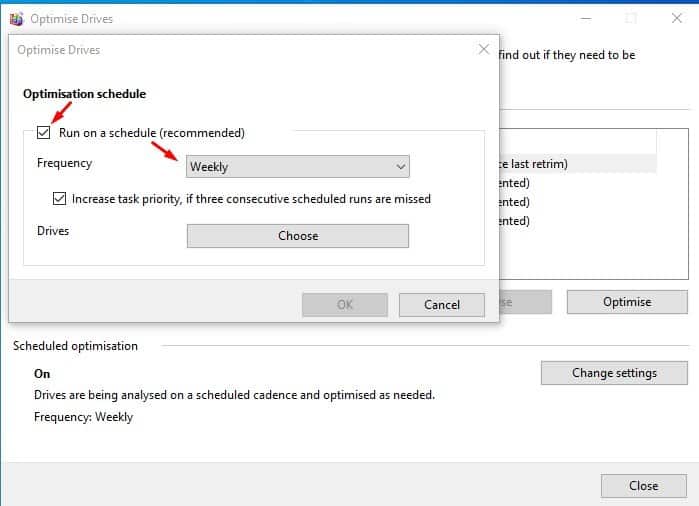
Step 8. Enable the option ‘Run on a schedule’ and set the frequency. Once done, click on the ‘Ok’ button.
That’s it! You are done. This is how you can optimize your drives to help your computer run more efficiently.
So, this article is all about optimizing drives for better performance. I hope this article helped you! Please share it with your friends also. If you have any doubts related to this, let us know in the comment box below.


