At some point, you may want to record the screen with audio on Mac. There could be various reasons for doing so. Maybe you want to share the recording on YouTube or want to guide your friend who just purchased a new Mac.
Whatever it is, screen recording is possible on Mac, and that’s too in easy steps. Not only that, but you can even record screens with Audio on Mac.
There are multiple ways to record screens with audio on Mac; some require third-party app installation, whereas some depend on in-built tools. Below, we have shared the easiest way to record screens with audio on Mac. Let’s get started.
Steps to Record Screen with Audio on MAC
1. If you are using the Quicktime Player X app on the Mac, you might know about its ability to record up to the screen (anything playing up on it). This can be done by following the options in the menu in the given order: File > New Screen Recording.
2. By default, this app has the functions to include a Microphone as the input device for the audio and then record it side by side with the screen recording. However, don’t expect high audio quality. For high-quality audio input to your screen recording, you can use software used named Soundflower.
3. This free software for the Mac can easily record the audio from within the Quicktime screen recording UI. Click the down arrow next to the record button inside Quicktime screen record UI and select the Soundflower option.
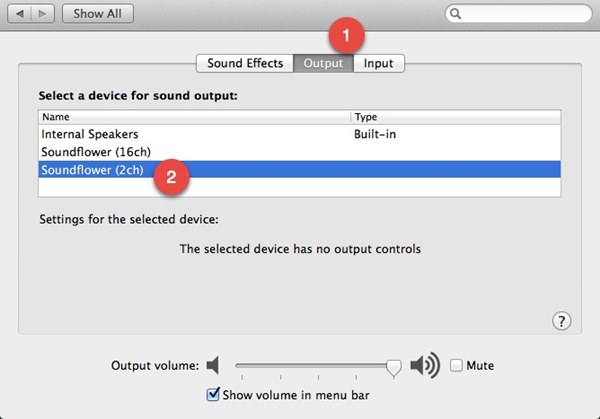
4. This routes the whole sound of your Mac to the Quicktime screen recording, and it shall get all the system playing sounds in the video as if the Quicktime was the earphone module getting all the pulses of audio directly from the system of the Mac.
So, this is how you can record screens with audio on your Mac. If you need more help on this topic, let us know in the comments. Also, if the article helped you, make sure to share it with your friends.


