If you’ve recently made a change to Local Group Policy and it has caused problems, you should reset the Local Group Policy Settings. Here’s how you can reset it.
1. Reset Local Group Policy using the Group Policy Editor
You can use the Local Group Policy Editor itself to reset its Settings.
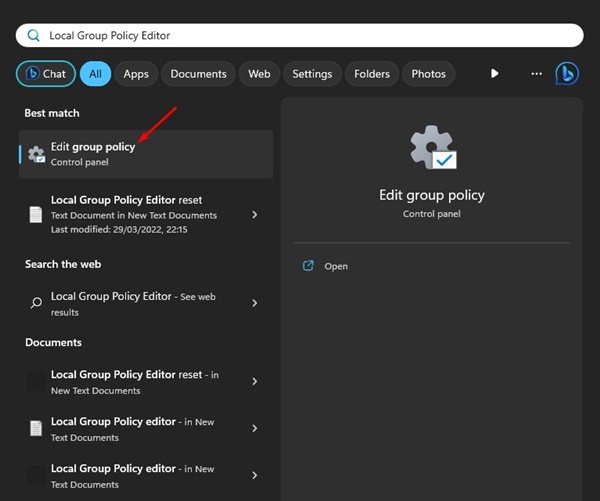
1. Open Local Group Policy Editor (Edit Group Policy) from the Windows Search.
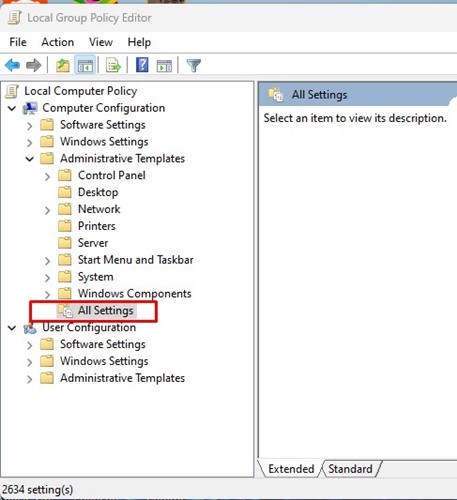
2. Navigate to the following path:
Local Computer Policy > Computer Configuration > Administrative Templates > All Settings
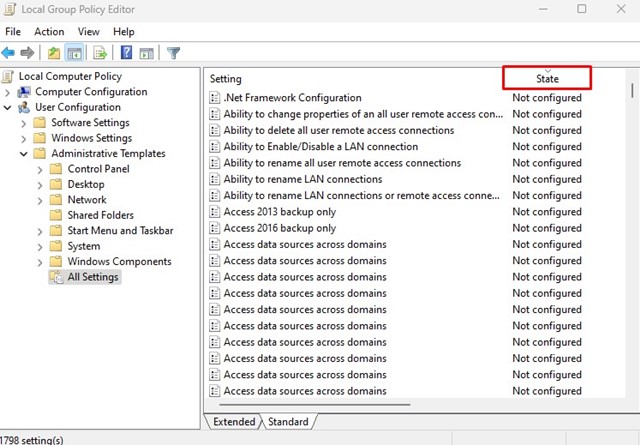
3. On the State Column, double-click on the policies showing Enabled or Disabled.
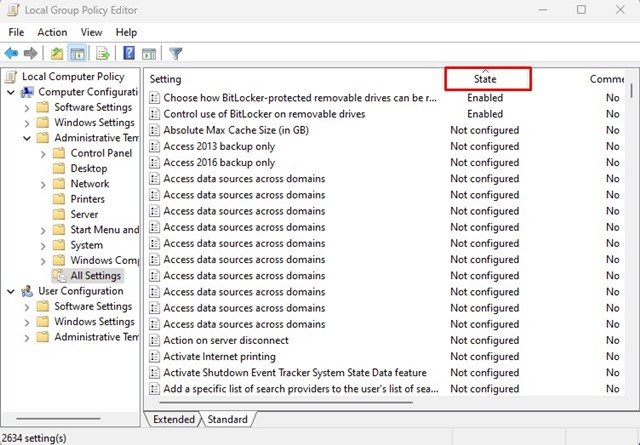
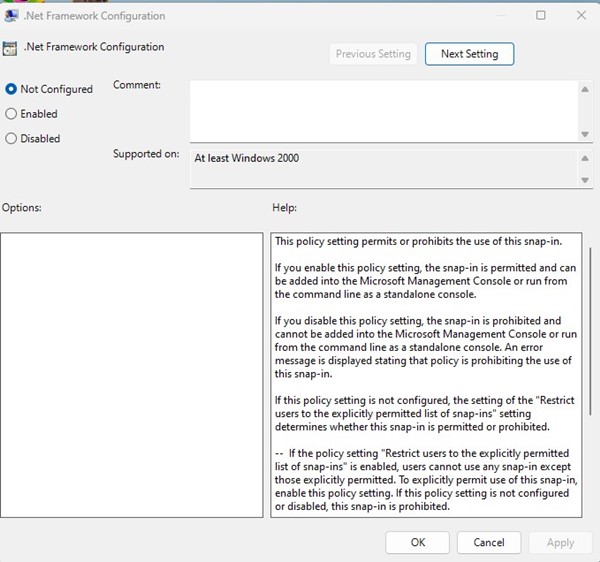
4. Double-click on the policies showing their state as Enabled or Disabled and change it to Not Configured.
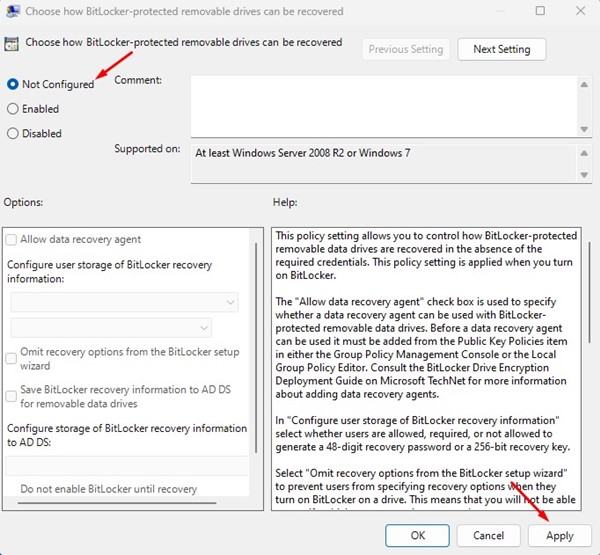
5. After that, click on Apply and OK.
6. Navigate to this path on the Local Group Policy Editor:
Local Computer Policy > User Configuration > Administrative Templates > All Settings
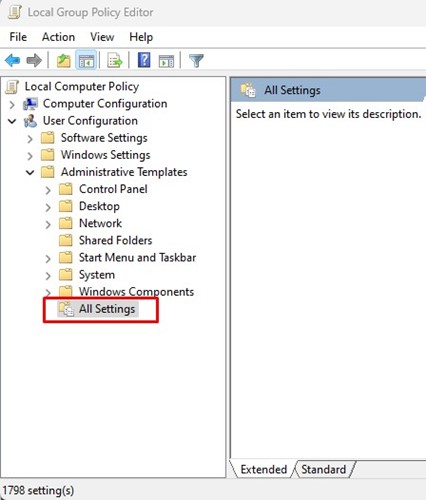
7. Click on the State column on the right side. Double-click on the policies showing Enabled or Disabled and select Not Configured.
8. After making the changes, click on Apply and OK.
2. Reset Group Policy settings to default with the Command Prompt
Command Prompt can be used to reset group policy settings to the default.
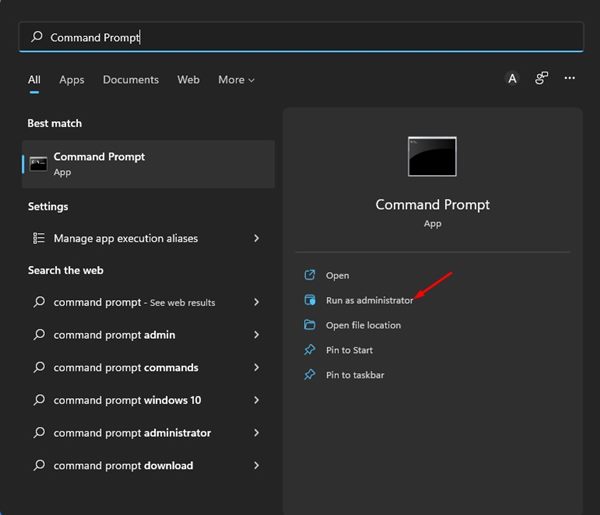
1. Click on the Windows 11 search and type Command Prompt.
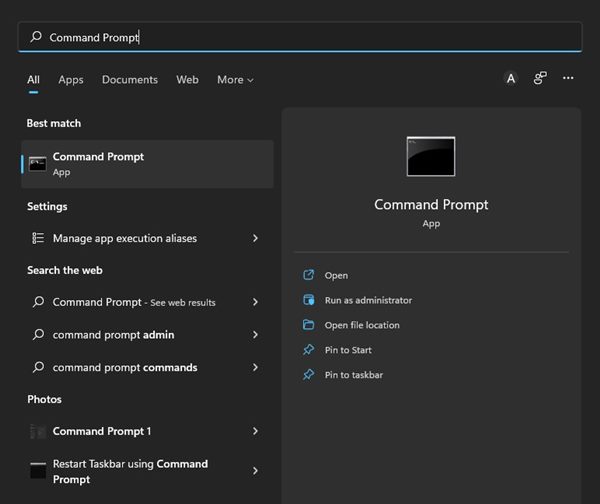
2. Right-click on the Command Prompt and select the Run as Administrator.
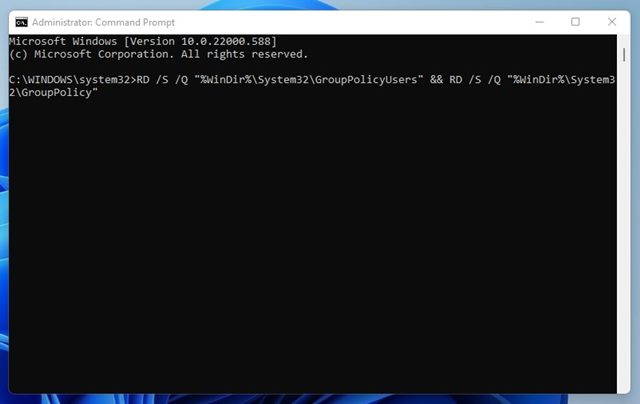
3. Execute the command shared below.
RD /S /Q "%WinDir%\System32\GroupPolicyUsers" && RD /S /Q "%WinDir%\System32\GroupPolicy"
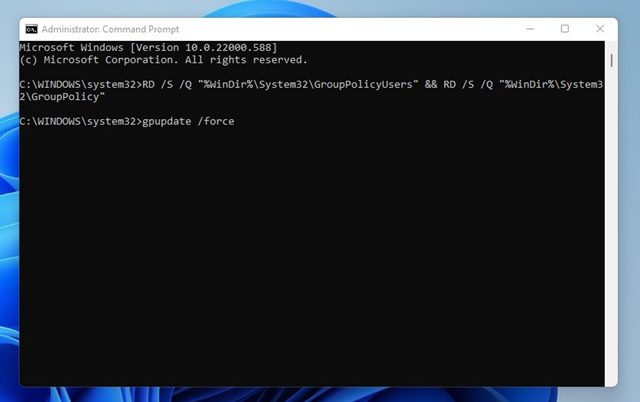
4. Execute this command:
gpupdate /force
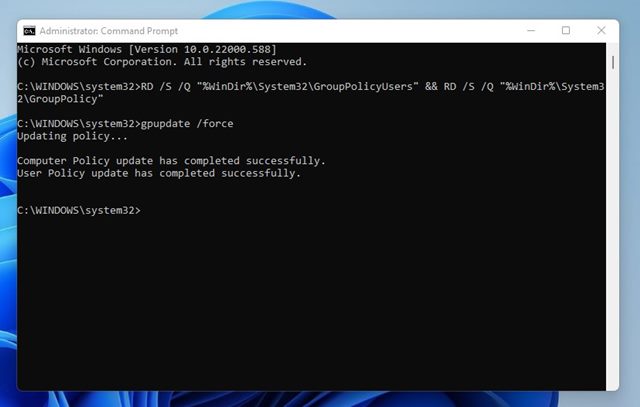
5. You will see a success message that reads, “Computer Policy update has completed successfully. User Policy update has been completed successfully”
Only reset the Group Policy settings when there’s a need. If you need more help on this topic, let us know in the comments. Also, if you find this guide helpful, don’t forget to share it with your friends.


