The Snipping Tool has long been known as a screenshot utility; it also works with screen recording. The latest Snipping Tool can record your PC or laptop screen.
How to Screen Record Using Snipping Tool on Windows 11?
If you’re using Windows 11, here’s how you can use the Snipping tool to record your PC screen.
1. Search for Snipping Tool on Windows Search and open it.
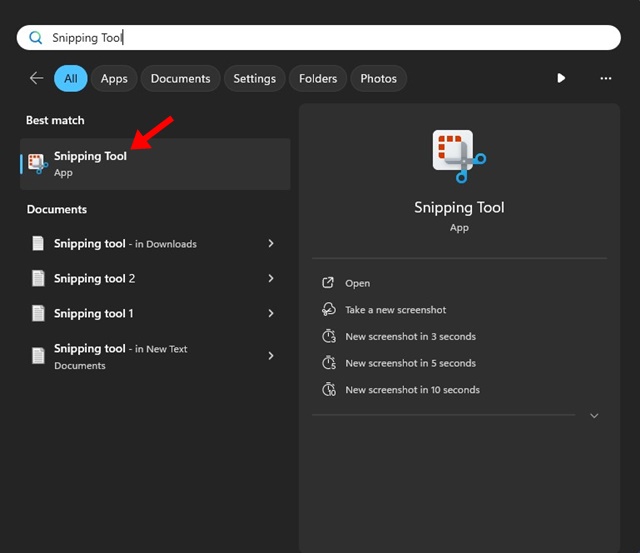
2. You can also press the Keyboard Shortcut to launch the Snipping Tool utility.
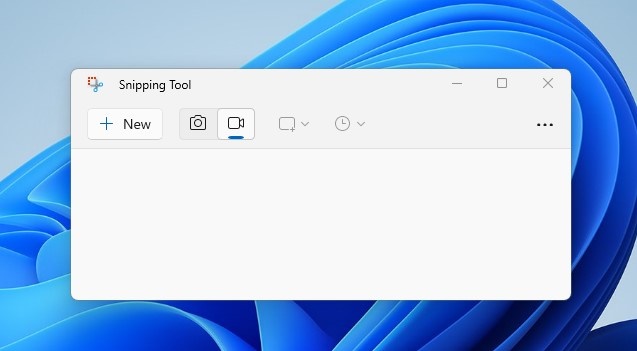
3. When the Snipping Tool opens, switch to the Record icon on the top toolbar.
4. Click the New button to open the screen recording overlay.

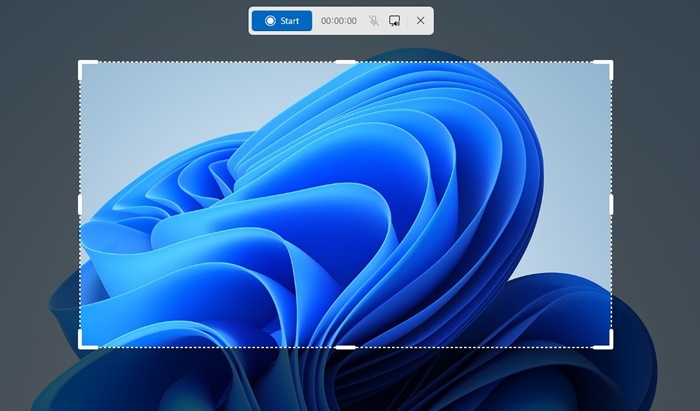
5. Select the area you want to record with the Snipping tool. You can select a small portion or capture full-screen videos.
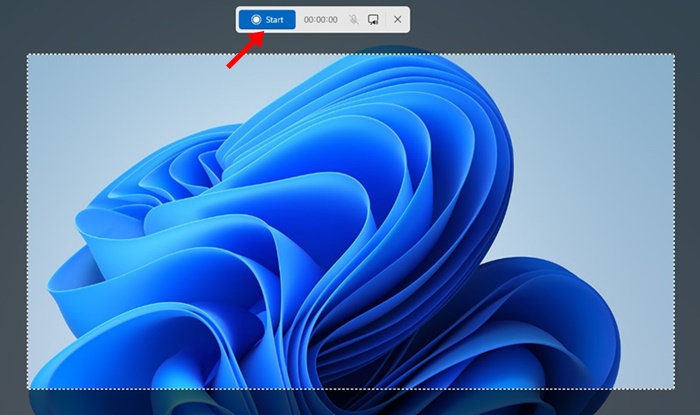
6. Click the Start button to start the screen recording. As the Snipping tool records your screen, you will see a counter for the duration of the recording.
7. You can even pause the recording. If unsatisfied with it, you can delete it and start again.
8. If you want to stop the recording, click the Stop button.
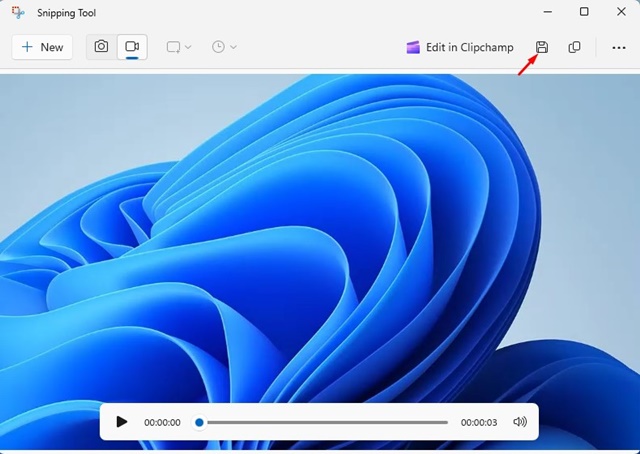
9. To save the recording, click the Save icon.
Other Ways to Record Screen on Windows 11?
While the Snipping tool is a free utility for recording Windows 11 screen, it’s not the only option. The Snipping tool has a few limitations that other free options don’t.
On Techviral, we have shared a list of the best screen recorders for Windows. Most of the tools in the article are compatible with the latest Windows 11.
This guide is about recording Windows 11 screen with the Snipping Tool. The snipping tool is a great utility and is offered for free. Let us know if you need more help recording your computer screen with the Snipping tool.


