Facebook offers you more personalization options than any other social networking platform. You can change the profile picture, cover photo, switch themes, messenger theme, and what’s not.
On Facebook, you also have the option to set a temporary profile picture. Temporary Profile Picture on Facebook is not new, but still, many users don’t know about it. Hence, we came up with this guide that explains how to add a temporary profile picture on Facebook.
Why Add a Temporary Profile Picture
Usually, there are no specific reasons for adding a temporary profile picture. You can use this feature to change the profile picture briefly.
A temporary profile picture on Facebook is useful as it automatically changes after a set time. When the timer expires for the temporary profile picture, your Facebook account automatically switches back to your previous profile picture.
How to Add a Temporary Profile Picture on Facebook?
Important: We have used the desktop version of Facebook to demonstrate the steps. The changes you will make here will also reflect on the Facebook app for Android and iPhone.
1. First, open your favorite web browser and visit Facebook.com. Next, log in to your Facebook account.
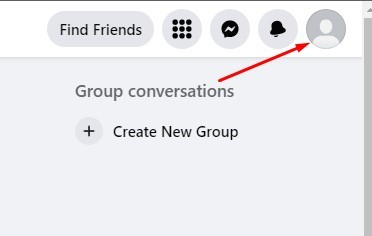
2. When the Facebook site loads, click on your profile picture in the top-right corner.
3. On your profile page, click on your Profile picture and select ‘Upload Photo‘.

4. Now, upload the photo you want to set as a profile picture.
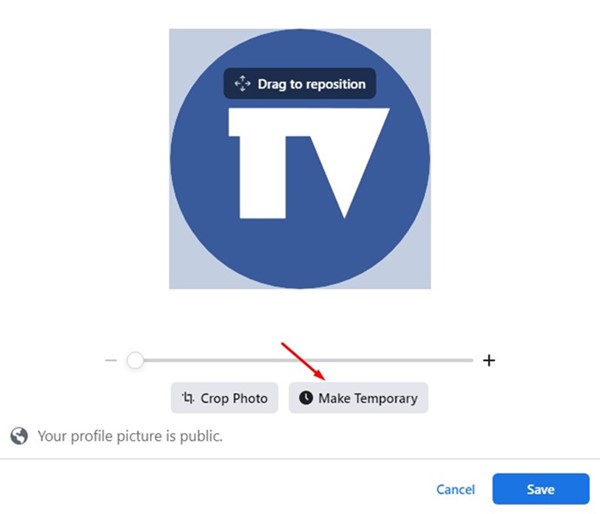
5. Once done, you will see the option to make the profile picture temporary. Click on the ‘Make Temporary‘ option.
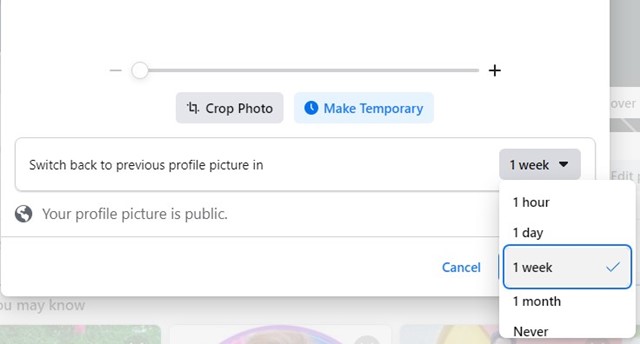
6. Now, you will find 5 different options to make the profile picture temporary.
- 1 Hour
- 1 Day
- 1 Week
- Never
- Custom
7. Simply select your preferred duration and click on the Save button.
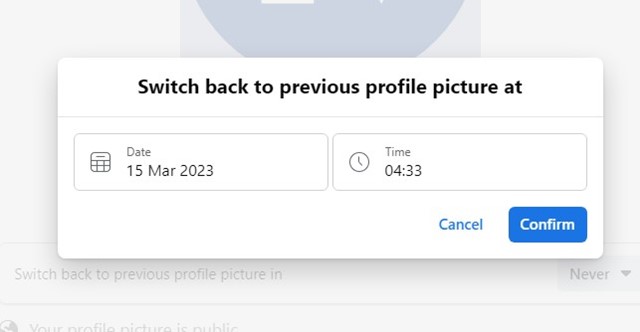
8. You can also pick the ‘Custom‘ option to set the profile picture to display for a custom amount of time (80 days is the maximum).
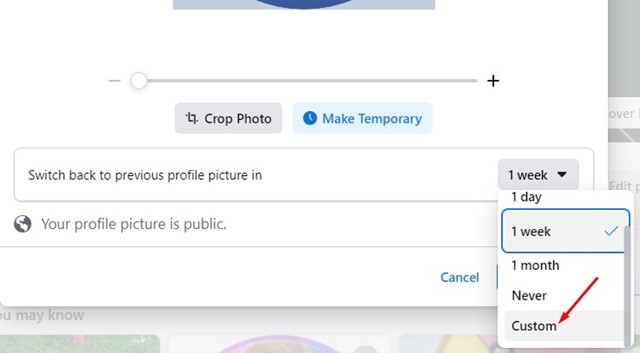
9. After selecting the custom duration, click on the Confirm button.
That’s it! This is how you can set temporary profile pictures on Facebook. Once the profile picture expires, Facebook will automatically switch to your previous picture.
Facebook Temporary profile picture change the expiration
If you already have set a temporary profile picture but want to modify the expiration date, you can also do that. For that, follow the steps we have shared below.
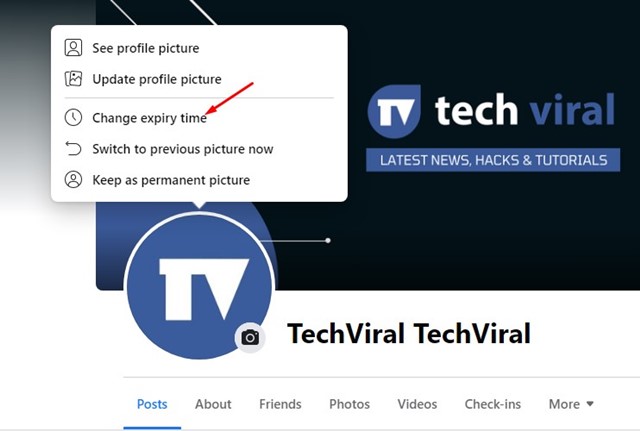
1. On your profile page, click on your profile picture.
2. Select ‘Change expiry time‘ from the list of options that appears.
3. Modify and click on the Confirm button.
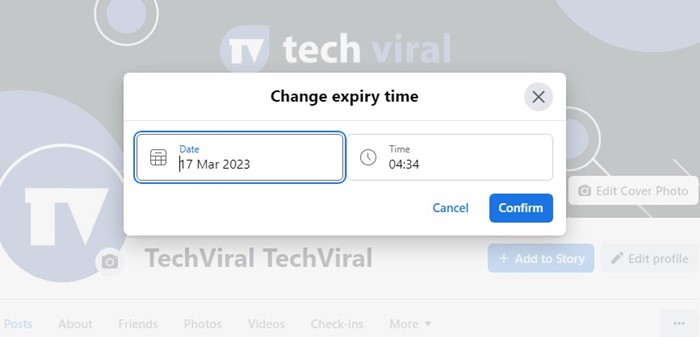
That’s it! This is how you can modify the temporary profile picture’s expiry time.
How to Set Temporary Profile Picture Frame on Facebook?
Just like the profile picture, you can also set a temporary profile picture frame. Here’s how to set a temporary profile picture frame on Facebook.
1. Open the Facebook website and sign in to your account.
2. Next, click on your profile picture in the top-right corner.
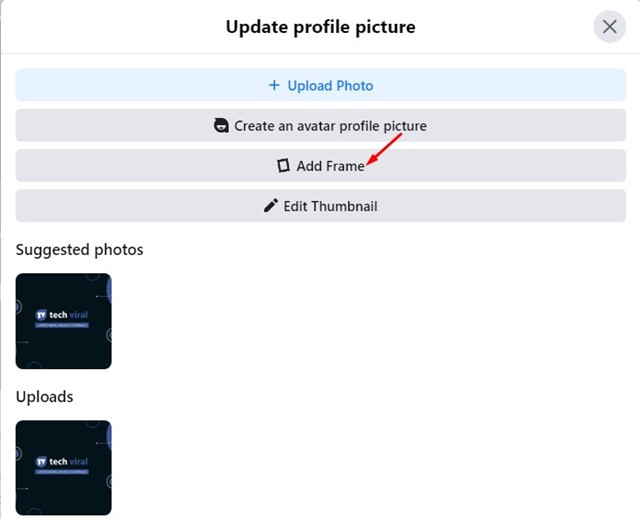
3. On the Profile page, click on the profile photo and select ‘Edit‘.
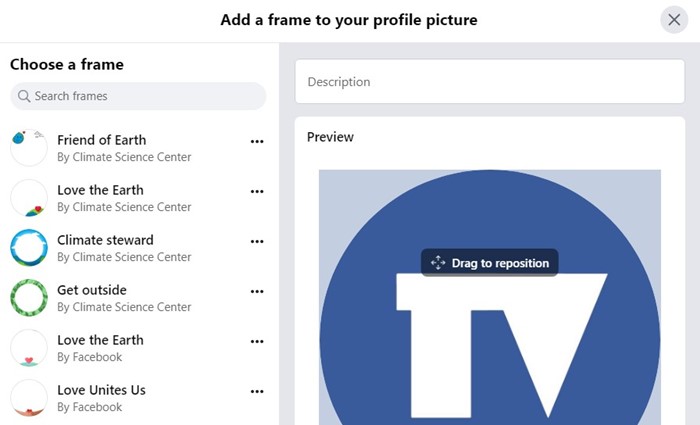
4. Click the ‘Add Frame‘ option on the next screen.
5. Now, you will be asked to select a frame. Pick the frame you want to use.
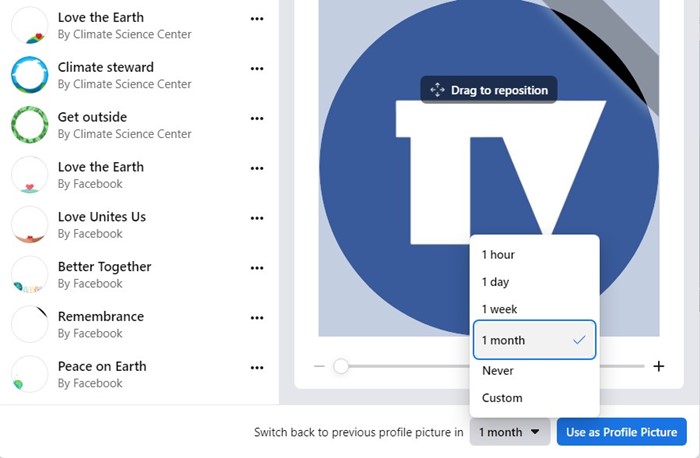
6. Next, click on time drop-down and choose how long you want to display the frame around your profile picture.
7. Once done, click on the Use as profile picture button.
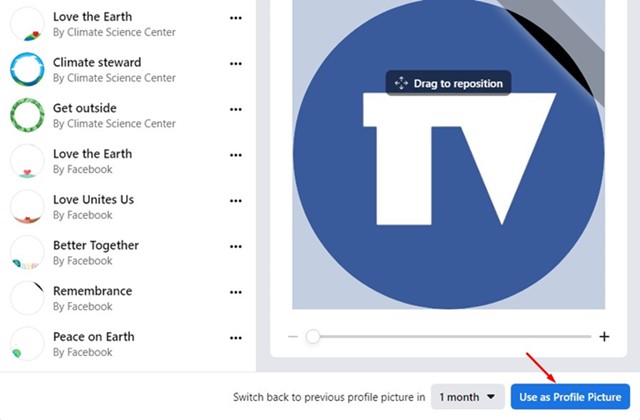
That’s it! The frame will appear on your Facebook profile. It will automatically expire at the time you’ve selected.
Temporary Profile Picture on Facebook – FAQs
You may have many doubts related to the Facebook temporary profile picture. Below, we have answered some of the most asked questions.
Temporary profile picture Facebook Android?
You can easily set temporary profile picture on Facebook for Android. You need to follow the same steps. Open the Facebook app, tap on the hamburger menu > your name, tap on the profile picture, and choose ‘Select Profile Picture’.
Next, select the photo you want to set as a profile picture and select ‘Make temporary’. You will be asked to select when you want the picture to expire. Set the timer and tap on ‘Done’ and then on the ‘Save’ button.
Can I make a temporary profile picture permanent?
Yes, once you add a temporary profile picture, it gets added to the album. Once the profile picture expires, you can add it to the Photos.
What happens when a temporary profile picture expires?
When the temporary profile picture on Facebook expires, Facebook automatically switches back to your previous profile picture.
Are temporary profile pictures deleted?
Temporary profile pictures were never deleted from your account. Your profile picture is always public. Once the profile picture expires, it will be visible in the Profile pictures album.
What is the maximum duration for the temporary profile picture?
You can set a temporary profile picture on Facebook for less than 80 days. For the profile pictures, you can only set the duration to 80 days on Facebook.
So, that’s all about setting a temporary profile picture on Facebook. If you need more help in adding a temporary profile picture or picture frame, let us know in the comments. Also, if the article helped you, make sure to share it with your friends.


