You know about the Google camera app, right? It is officially available on the Google Play store. It is not limited to Nexus or Pixel models but is available on all Android smartphones.
Of course, we all want to add the DSLR type of touch in our photos. But we don’t have enough options rather than buying expensive camera equipment or a precious phone.
Ways to Take Lens Blur Photo With Your Android Camera
We have shared a few methods to help you take lens blur photos using your phone’s camera.
1. Download the Google camera app.
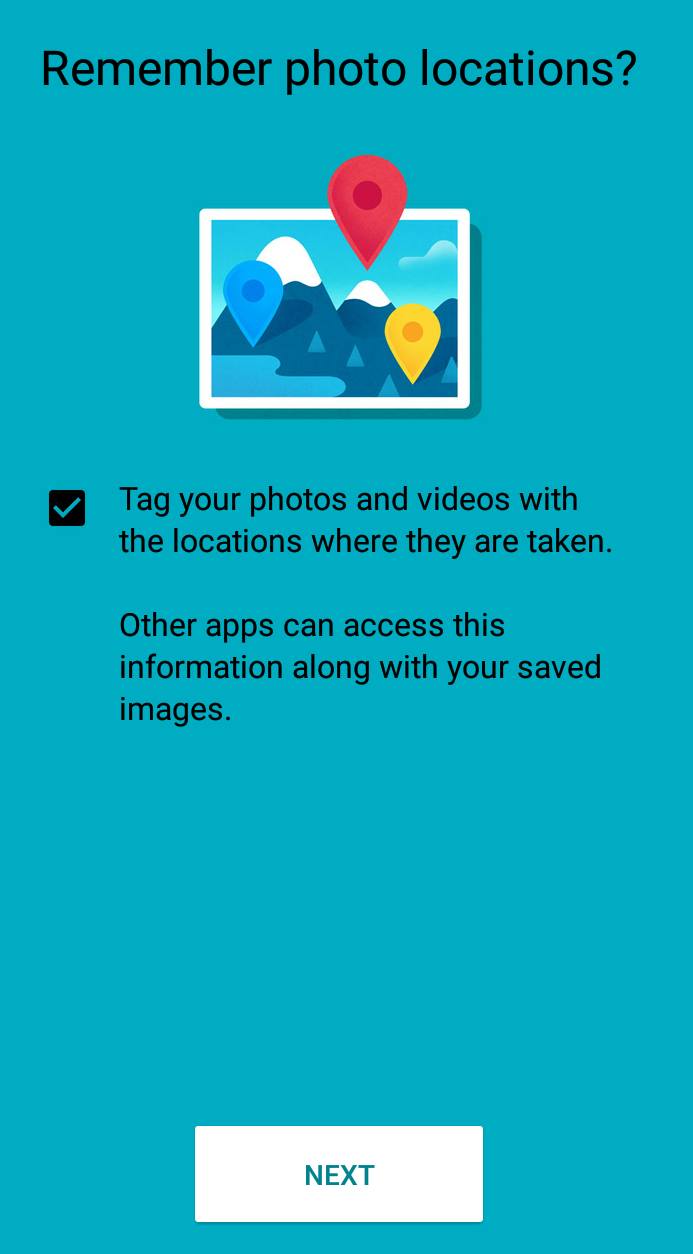
2. Install Google Camera App on your Android smartphone. Once installed, Open the app: As you open the app, you will be asked: “Remember photo location?” You need to enable this feature and tap on ‘Next‘
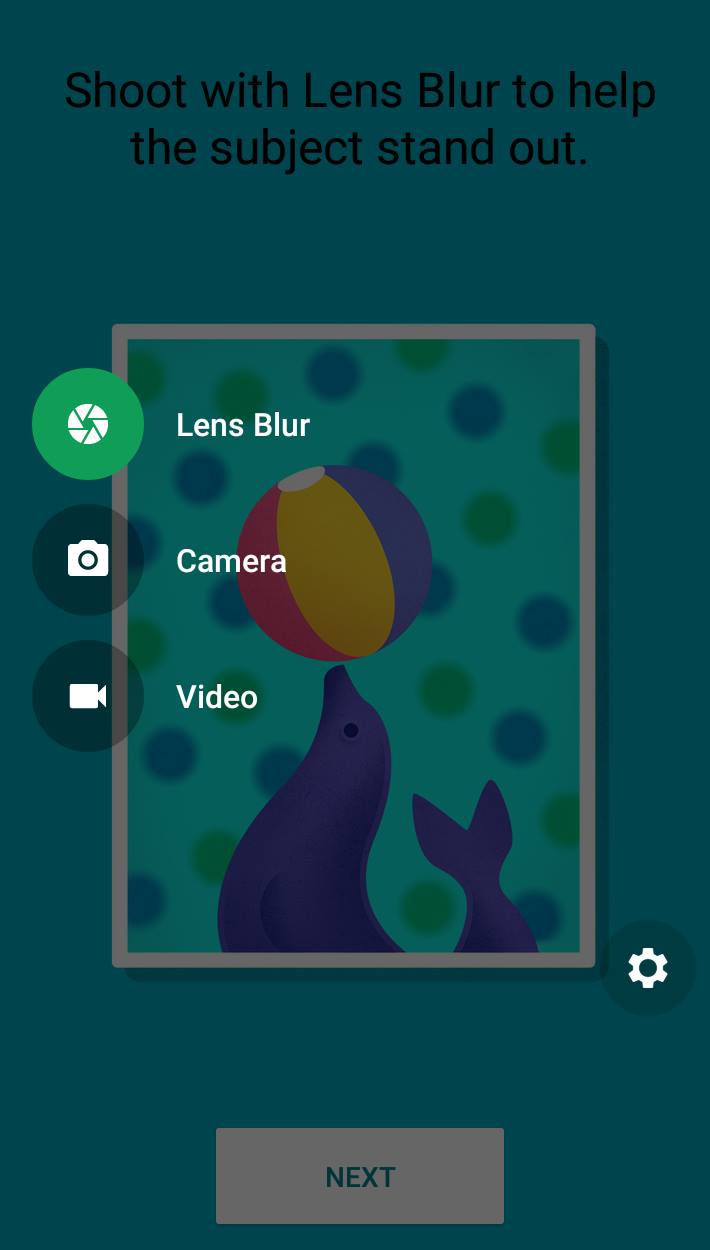
3. Swipe to the left and select the option of ‘Lens Blur‘
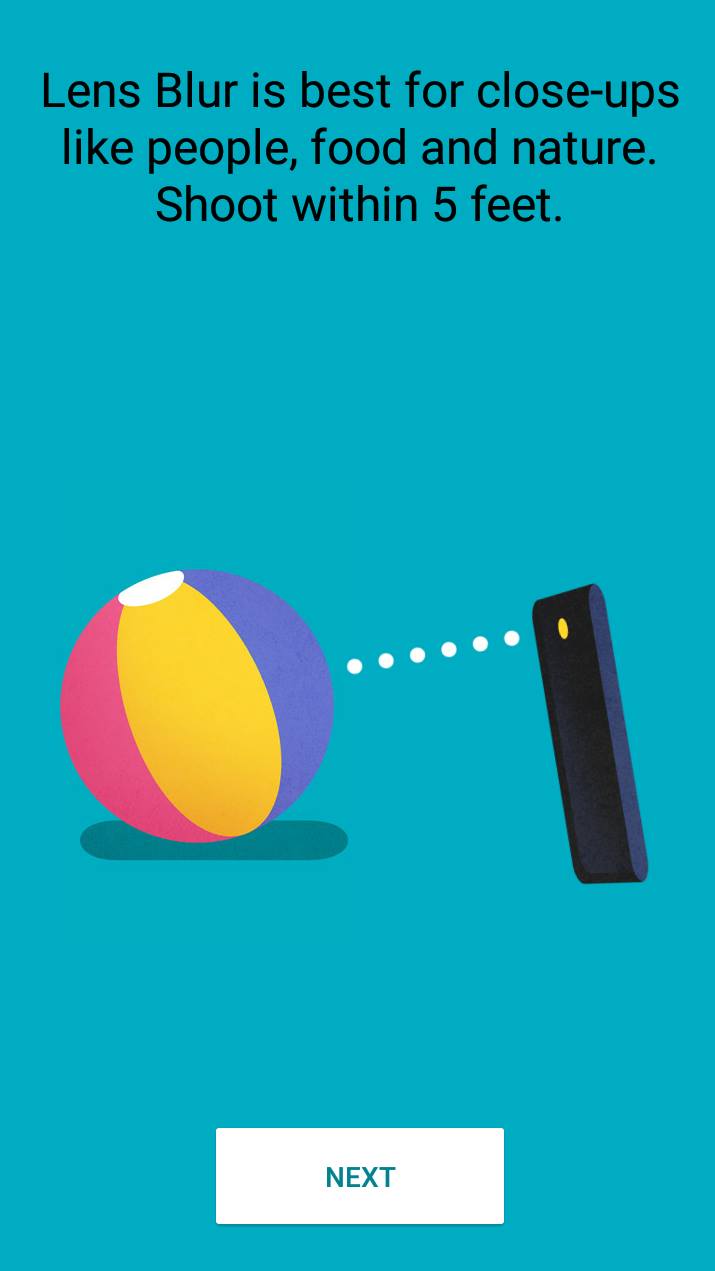
4. Now, it will give you a tutorial on how to capture images using the Lens Blur feature to naturally blur any photo’s background.
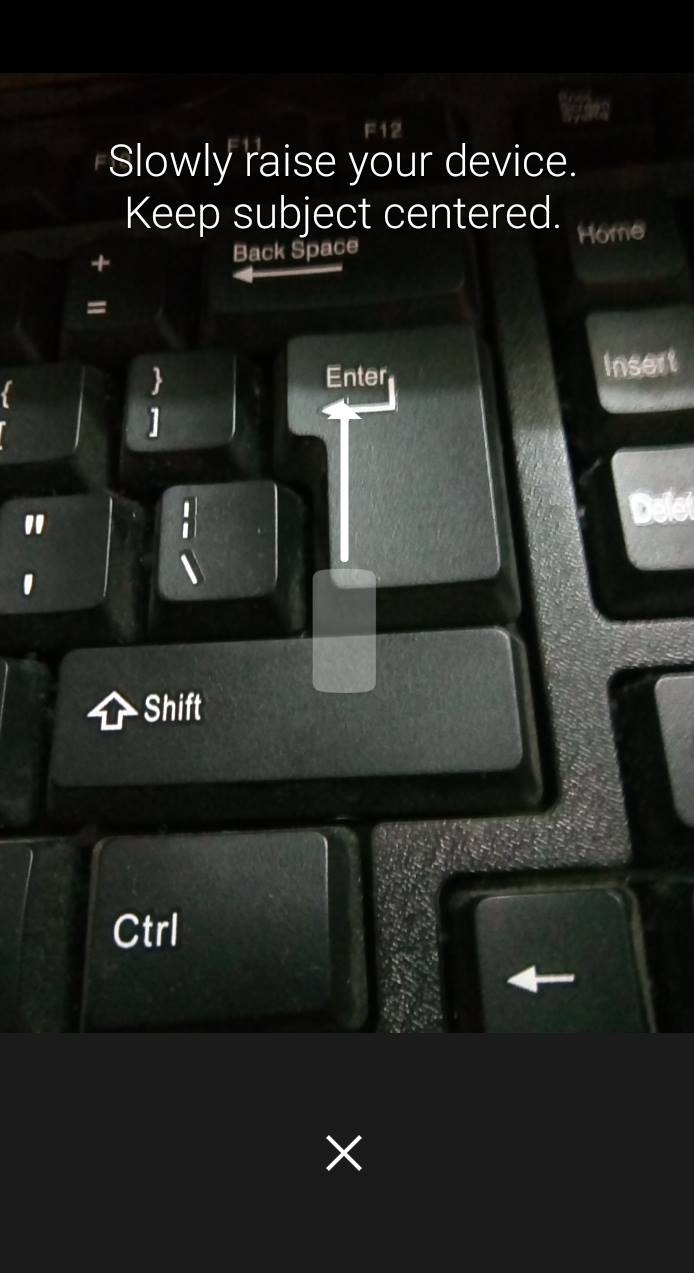
5. Now, you will be redirected to Google camera. Choose the object to focus on, then tap and hold into the image and slowly raise your device, keeping the object centered.
6. Now you have successfully created the photo with blurred background. You can refocus according to your need.
2. Using AfterFocus
With AfterFocus, you can create DSLR-style background blurred photo by simply selecting the focus area. Also, various filter effects offer you to create the most natural and realistic photo. It allows users to add blur to an existing Photo or the option to click a new photo with an existing Camera app on the device.
1. First, download and install AfterFocus on your Android smartphone. Then open the app and select your default camera.
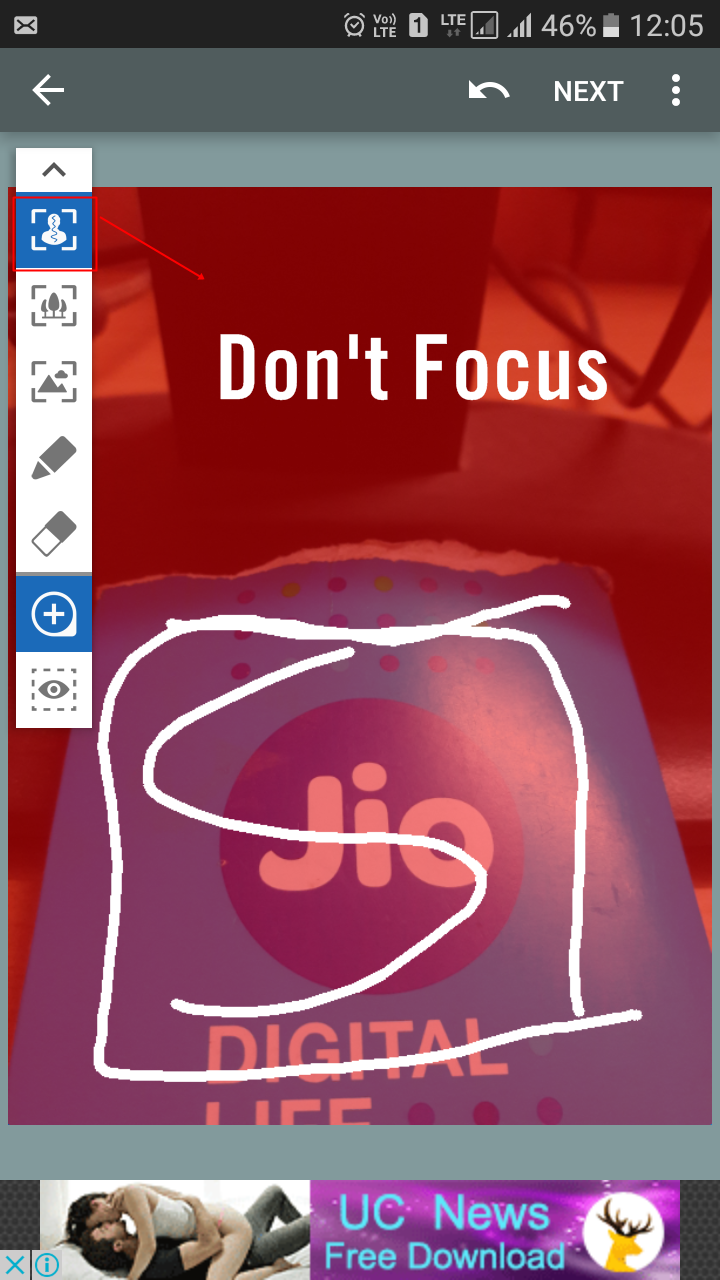
2. Now you can choose your photo or capture one with your Phone’s camera and tap on “Smart Focus”. Then, you need to tap on the icon shown in the screenshot. As you selected the Smart Focus option, you need to draw the area you don’t want to focus on.
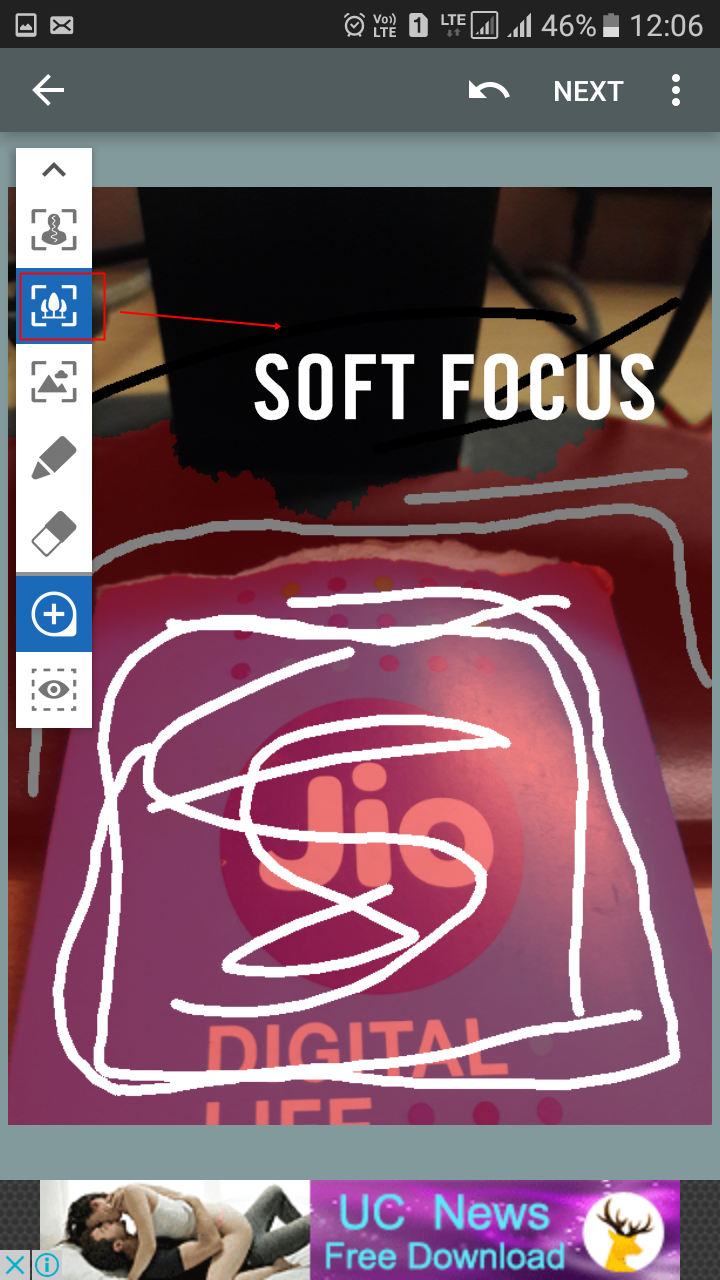
3. You need to choose the soft focus option, as shown in the screenshot below. Here you need to select the area where you want to apply the soft blur effect.
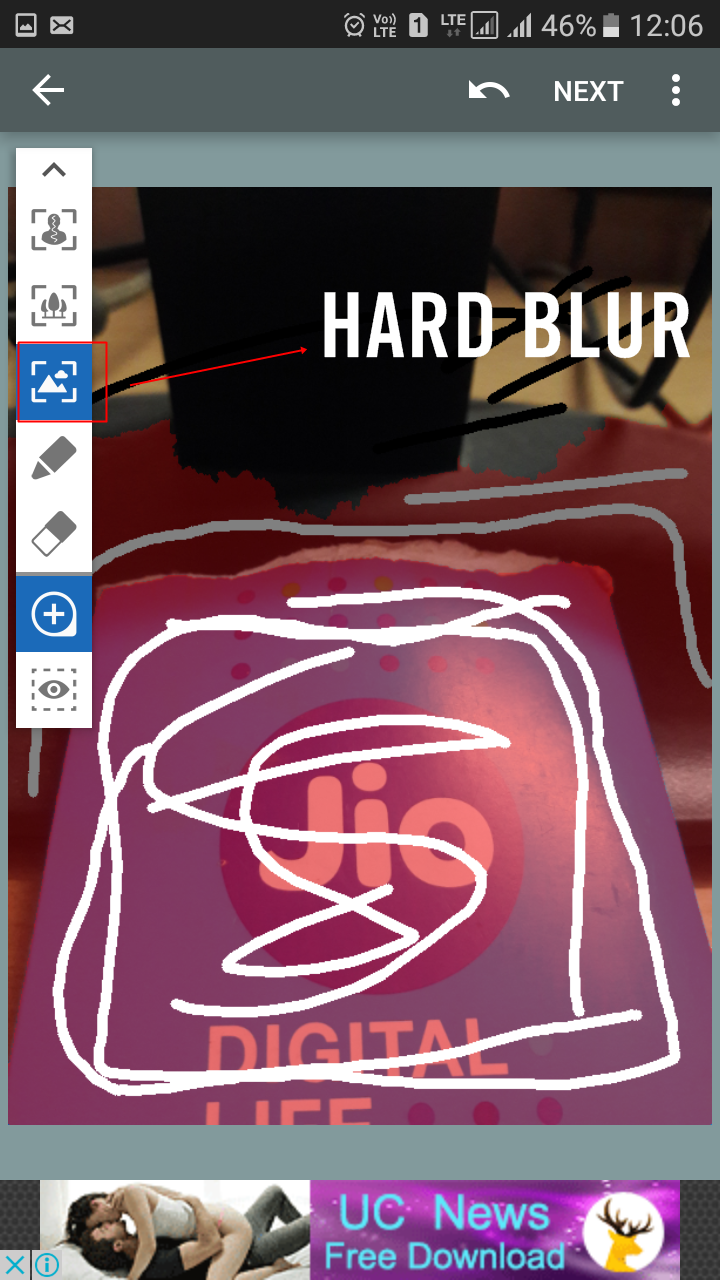
4. Now, you need to choose the option of Hard blur, as shown in the screenshot below. You must select the area where you want to apply the hard blur effect.
5. Now tap next, and you can select your Blur effect and all other things and save the image.

That’s it! This is how you can create lens blur photos using your smartphone’s camera.
Alternative Apps:
There are quite a few photo editing apps available for Android that can apply lens blur effect on your existing photos. Here are the best photo editors to add lens blur effects.
Photo Editor by Aviary
Aviary is a powerful photo editor that can help you easily edit your photos on the go with no fuss. It has a powerful blur feature that will enhance your photo. Some popular features include color balance, Focus, Memes creator, etc.
PicsArt Photo Studio
It is the ultimate photo editing app on your Android device. This can be an ultimate replacement for some other better photo editing apps on your device. You can add a blur effect and choose among five options: Normal, Smart, Motion, Focal, and radial blur.
Blur
This is another best Android app that lets you add background blur effects like the professional photographer. With the Blur Android app, you can blur some parts of your photo image. This is a very simple and convenient photo editing app you can use on your Android smartphone.
So, these are some of the best ways to take lens blur photos with your Android smartphone. We have also shared a few apps that can apply lens blur effect on your existing pictures. If you need more help, let us know in the comments below.

