The data usage of your computer should be monitored regardless of whether you are using WiFi or ethernet. If you are using Windows 11, it’s easy to monitor the data usage.
The new operating system from Microsoft – Windows 11 offers a built-in feature to monitor internet data usage. Not only that, but the data management utility of Windows 11 also tells you the app that uses your internet data.
Also read: How to Install Windows 11 on Unsupported PCs (Working Method)
How to Track Data Usage on Windows 11 in 2022
So, if you are looking for ways to track internet usage on Windows 11, you are reading the right article. In this article, we will share a step-by-step guide on tracking internet usage on Windows 11. Let’s check out.
1. View Internet Data Usage
Here we will know how to view the internet data usage on Windows 11. Just follow some of the simple steps as directed.
1. First of all, press the Windows Key + I button on your keyboard. This will open the Windows 11 Settings.
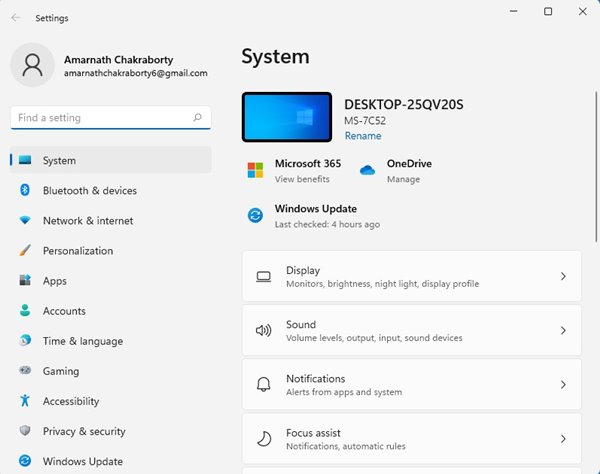
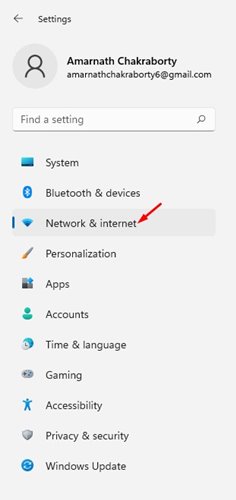
2. On the Settings, click on the Network & Internet option.
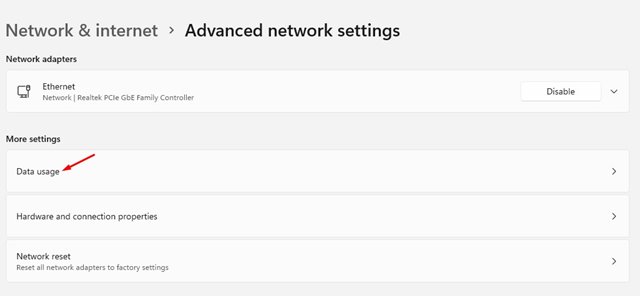
3. On the right pane, click on the Advanced network settings option below.

4. On the next page, click on the Data Usage option.
5. Now, you will see your total internet usage. The usage statistics will show you the apps that use your internet.
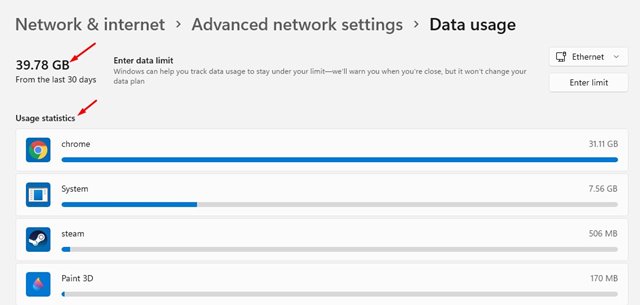
That’s it! You are done. This is how you can view internet data usage on Windows 11.
2. Reset Internet Data Usage on Windows 11
If you want to have a fresh start, you need to reset the internet data usage. Follow some simple steps below to reset internet data usage on Windows 11.
1. First, press the Windows Key + I button to open the Settings. On the Settings, click on the Network & Internet section.
2. On the right pane, click on the Advanced Network Settings option below.
3. On the next screen, click on the Data usage option.
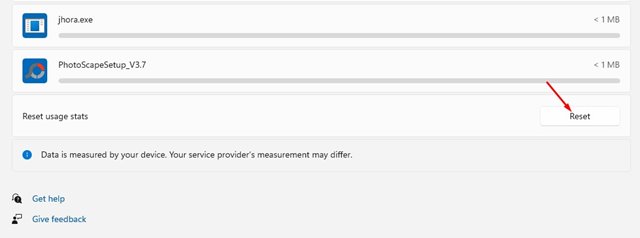
4. Now scroll down and find the Reset usage stats option. Click on the ‘Reset‘ button to reset the data usage.
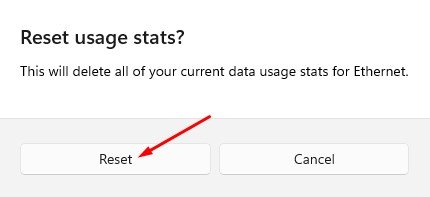
5. On the confirmation prompt, click on the Reset button again.
That’s it! You are done. This is how you can reset data usage on Windows 11.
You can easily monitor data usage on your Windows 11 PC by following our shared method. I hope this article helped you! Please share it with your friends also. If you have any doubts about this, let us know in the comment box below.
")

")