You can configure the Policy through the Group Policy Editor to modify the lockout duration, threshold, and more. Here are the best ways to unlock a locked-out account in Windows 11.
Note: You must log in to your administrator account before following the steps.
1. Unlock Locked Out Account via Local Users and Groups
We will use the Local Users and Groups to unlock locked-out accounts in Windows 11.
1. Press the Windows Key + R button to open the RUN dialog box.
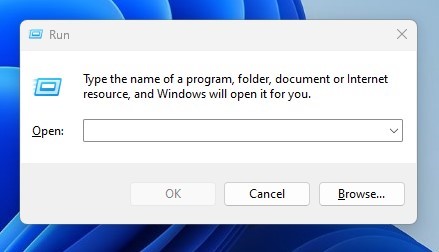
2. Type lusrmgr.msc and press Enter.
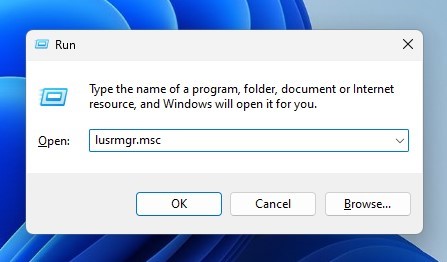
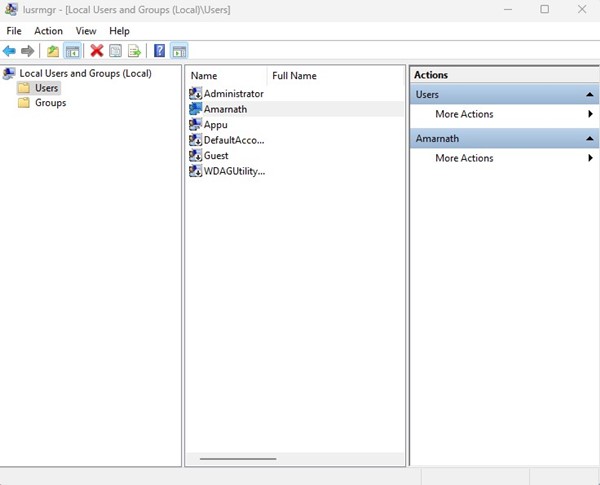
3. This will open the Local Users and Groups on your computer.
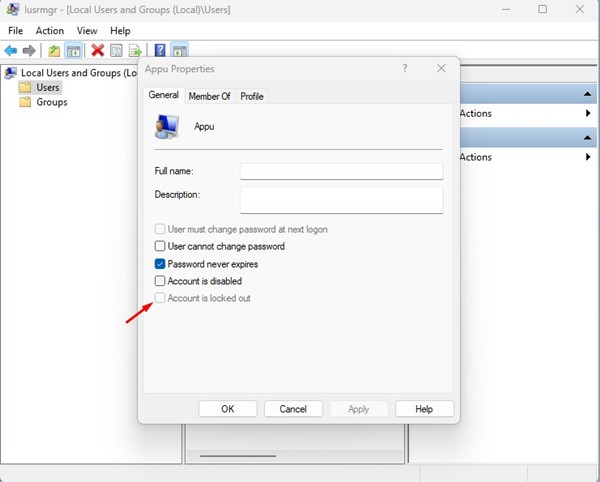
4. Right-click on the locked out account and select Properties. Double-click on the user account.
5. Switch to the General tab.
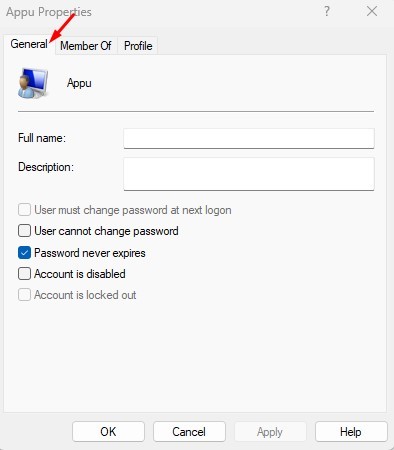
6. Uncheck the option Account is locked out. Once done, click Apply and then Ok.
This will unlock the Locked out account. Switch to the locked account, and you can log in.
2. Unlock Locked Out Account via Command Prompt
You can even rely on the Command Prompt utility to unlock a locked-out account in Windows 11.
1. Click on the Windows 11 search and type in Command Prompt. Next, right-click on the Command Prompt and select Run as administrator.
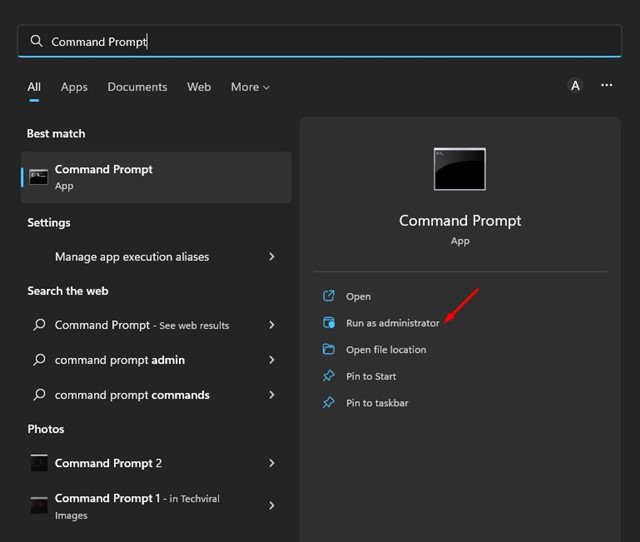
Note: If you are using an Administrator account, you don’t need to run Command Prompt as an administrator.
2. On the Command prompt, type in the given command and press the Enter button.
net user <username> /active:yes
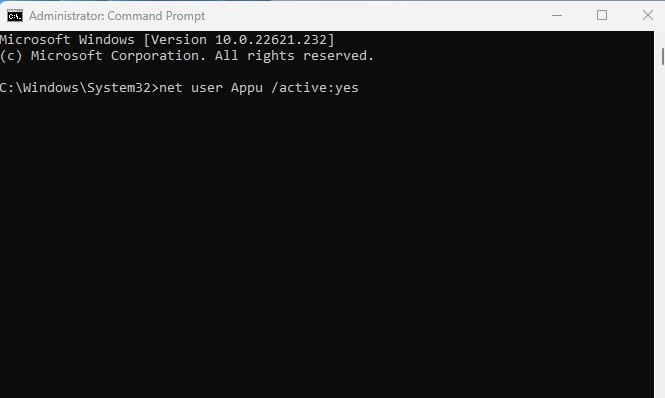
Important: Make sure to replace the <username> with the account name you want to unlock.
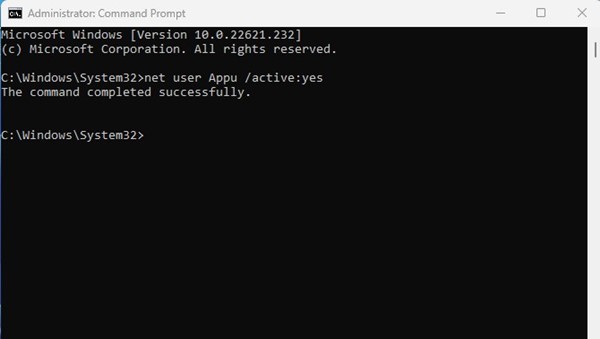
3. You will see a success message: The command completed successfully.
3. Use the Password Reset
If your account is locked out because you’ve entered an incorrect password multiple times in a row, you should use the Password Reset option.
On the Sign in screen, click the Reset Password option. You will be asked to answer the security questions you have set. You need to enter the answers to reset the login password. After resetting the password, sign in using the new one.
4. Try Booting into Safe Mode
If you’re entering the correct password but your account is still constantly logged out, it’s best to start your PC in safe mode.
Boot your computer in Advanced Startup Recovery Mode. You can force-turn off your PC three to four times to enter WinRE.
- On the Advanced Startup screen, click Troubleshoot > Advanced options.
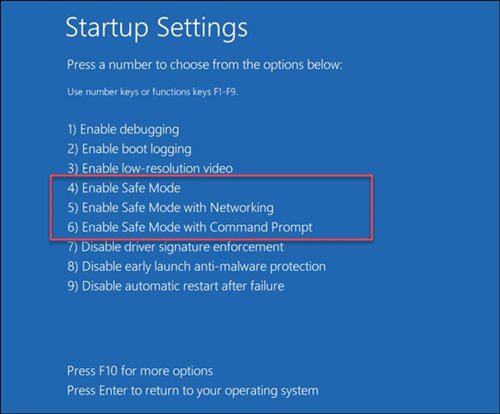
- On the Advanced Options, select Startup Settings.
- On the Startup Settings, select Restart.
- After the restart, press 4 or 5 to boot into Safe mode.
- When your PC boots into safe mode, you can try changing the password, reviewing the installed programs, etc.
Also Read: How to Backup and Restore Drivers in Windows 11 using CMD
These are the best ways to unlock a locked-out account in Windows 11. If you need more help unlocking locked-out accounts in Windows 11, let us know in the comments below.


