Volume Shadow Copy is a very important service of the Windows operating system that handles backup and restore, or the System Restore feature. If this service isn’t running or is experiencing an issue, you will receive error messages when using the backup and restore feature. Here’s what you should do to fix the error.
1. Start the Volume Shadow Copy Service
The best way to resolve such errors is to enable and start Volume Shadow Copy Services from the Services app.
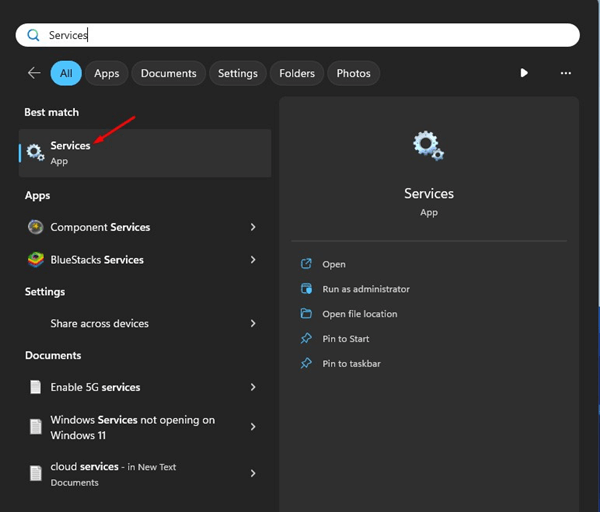
1. Open the Services app from the Windows Search.
2. Find Volume Shadow Copy Service.
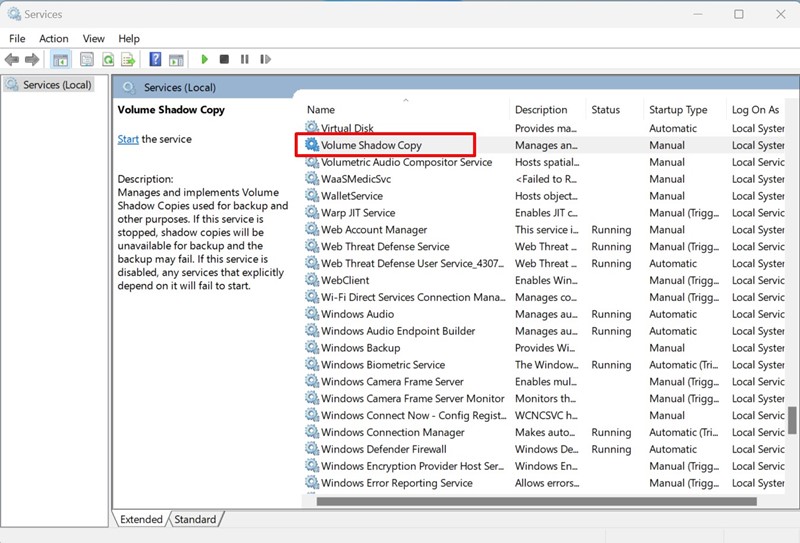
3. Double-click on the Volume Shadow Copy Service.
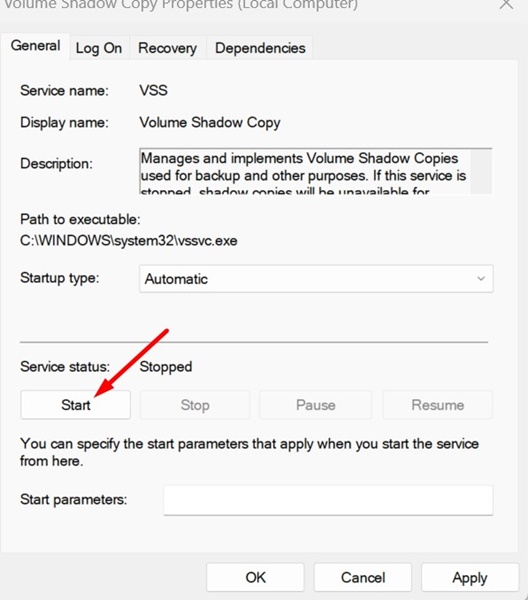
4. Select Automatic on the Startup Type and click Start.
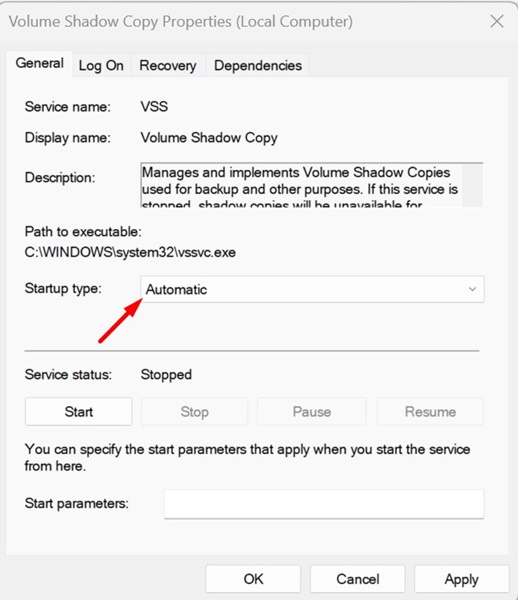
5. After making the changes, click Apply and OK.
2. Disable the Antivirus Program
Third-party security programs often conflict with the Volume Shadow Copy Service and prevent it from functioning properly. So, if a third-party security program is the culprit, you should disable it. Since the steps to disable real-time protection vary by antivirus, we won’t share any steps.
Just open the Antivirus program on your PC and check how you can disable the protection. You can also check the official website of the antivirus program to learn how to disable antivirus protection.
3. Disable the Microsoft Defender Firewall
Like the Antivirus Programs, you should disable the Microsoft Defender Firewall.
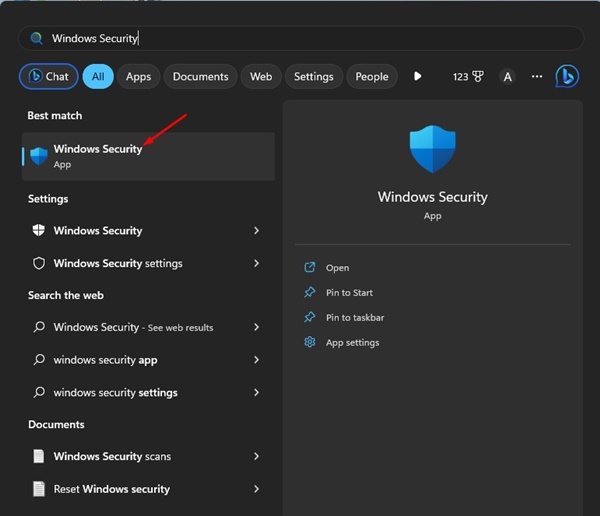
1. Open the Windows Security app from the Windows Search.
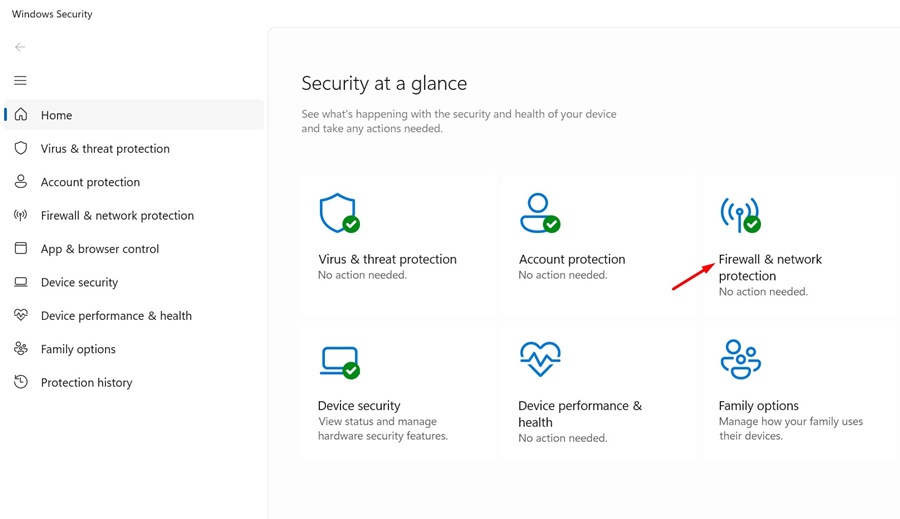
2. Switch to Firewall & network protection.
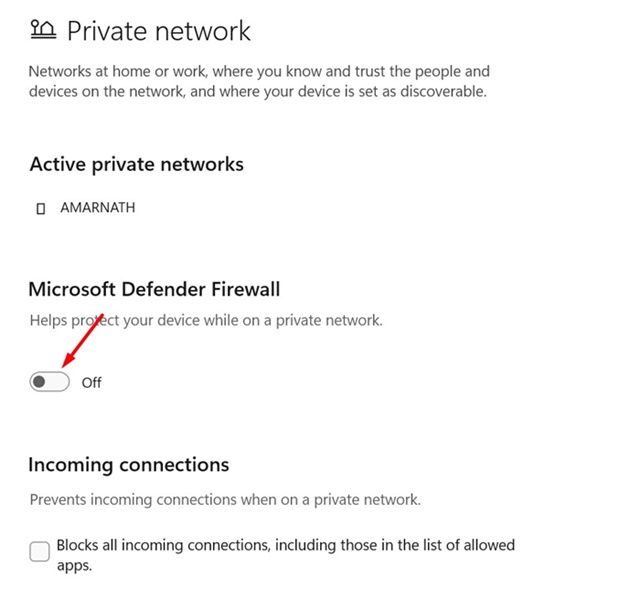
3. Select the Public or Private network profile and turn off the firewall for the selection.
4. Run the Check Disk Utility
Drive issues are another prominent reason for Volume Shadow Copy service errors. In this method, we will run the Check Disk utility to rule out drive issues.
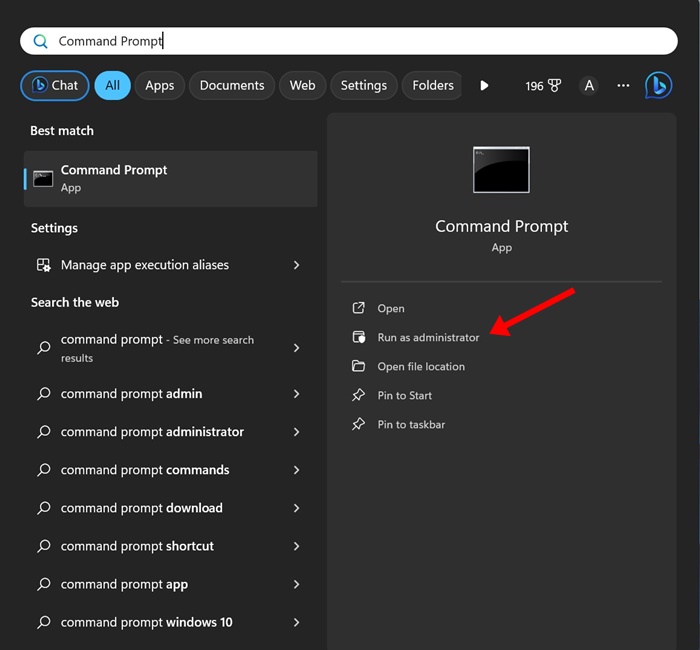
1. Type in Command Prompt on the Windows 11 Search. Right-click on the Command Prompt and select Run as administrator.
2. Execute the given command:
CHKDSK /r /f
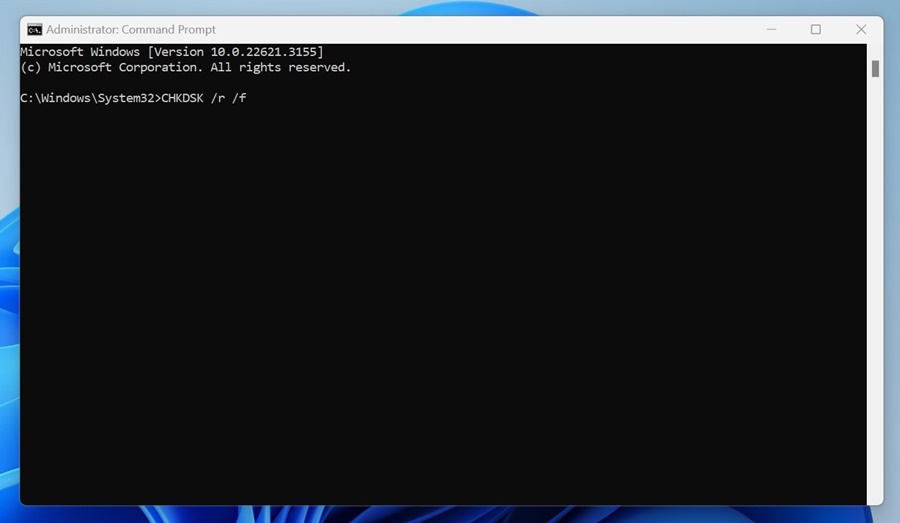
3. After executing the command, type exit on the Command Prompt.
5. Run the SFC/DISM Commands
The SFC and DISM commands find and fix corrupted system files. If you are getting a Volume Shadow Copy error on Windows because of system file corruption, you need to run these two commands.
1. Type in Command Prompt on the Windows 11 Search. Right-click on the Command Prompt and select Run as administrator.
2. Execute this command:
sfc /scannow

3. If the SFC command returns with an error, run this command:
DISM /Online /Cleanup-Image /RestoreHealth
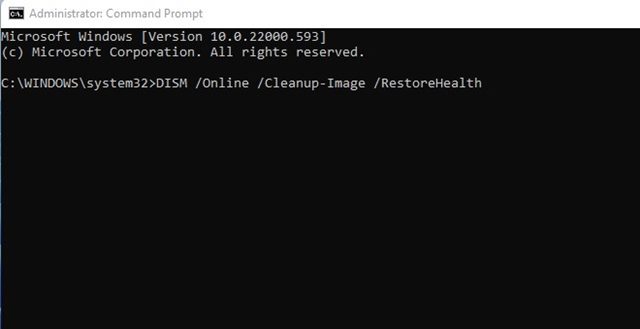
4. After executing the command, type exit in Command Prompt and press Enter.
6. Perform a Clean Boot
Third-party software packages meant for backup purposes can be another reason for the Volume Shadow Copy service not working issue.
The backup utilities and third-party apps can conflict with the Volume Shadow Copy service, leading to errors.
You should perform a clean boot to prevent any potential third-party programs from conflicting with the service.
1. Press the Windows Key + R button on your keyboard. On the RUN dialog box, type msconfig.msc and press Enter.
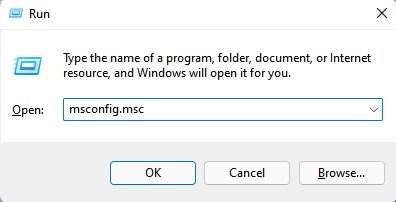
2. Switch to Services.
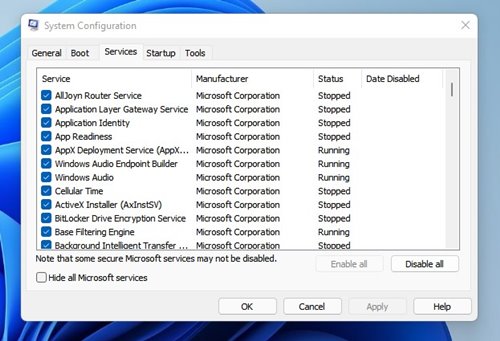
3. Check the Hide all Microsoft Services checkbox. Click Disable All.

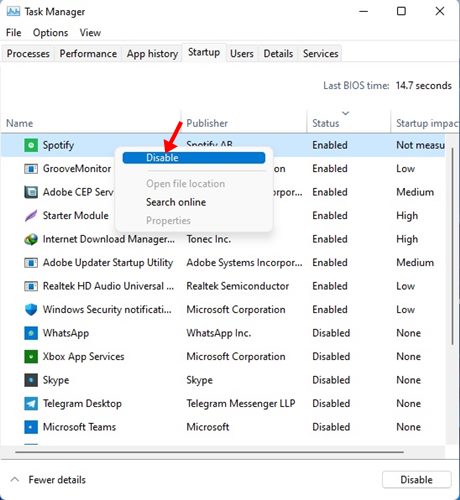
4. Open Task Manager and switch to the Startup tab. Next, select the apps available on the startup and select Disable.
After making the changes, restart your computer. This is how you can perform a clean boot on Windows 11.
These are some of the best and most effective methods to fix the Volume Shadow Copy service not working on Windows 11. Let us know if you need more help troubleshooting errors related to the Volume Shadow Copy service.


