On Windows 11, if the time and date are misconfigured, the device will have problems connecting with online services and applications. If your Windows 11 is showing the wrong date and time or is not updating automatically, here’s what you should do.
1. Allow Windows 11 to Update Time Automatically
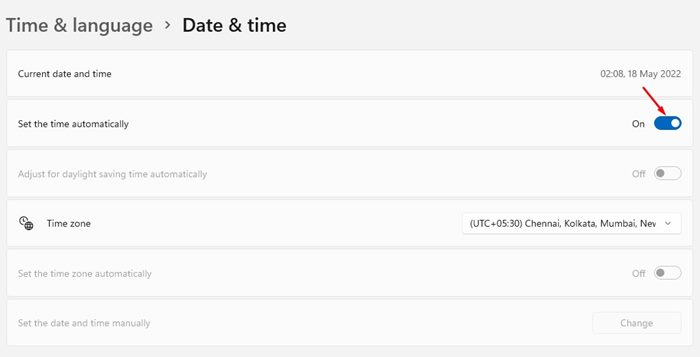
If the time & date aren’t updating, you first need to confirm whether the time is set to update automatically.
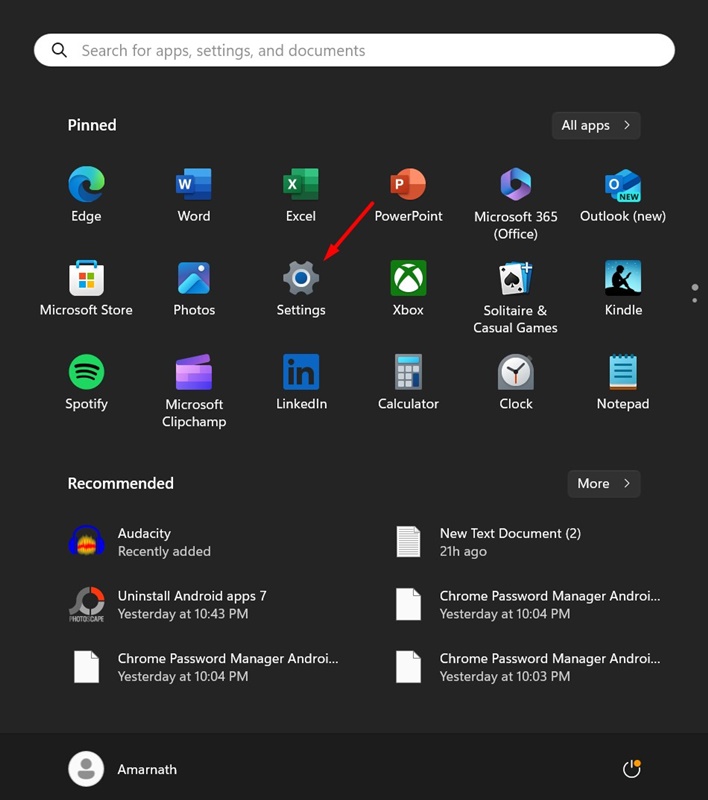
1. Click the Windows 11 Start button and select Settings.
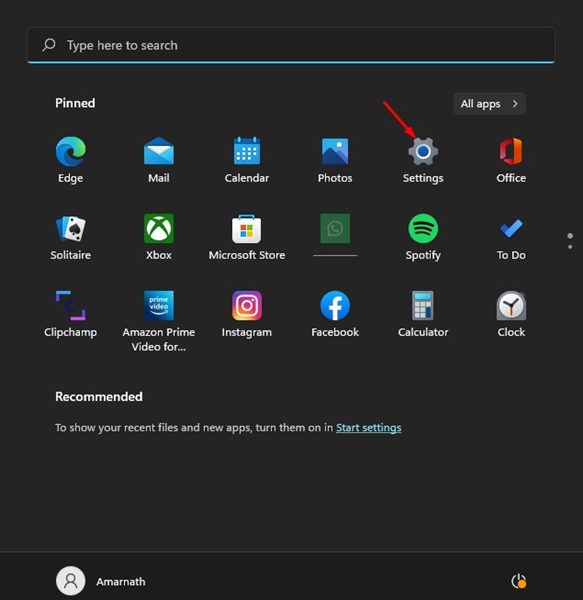
2. Click on Time & Language.
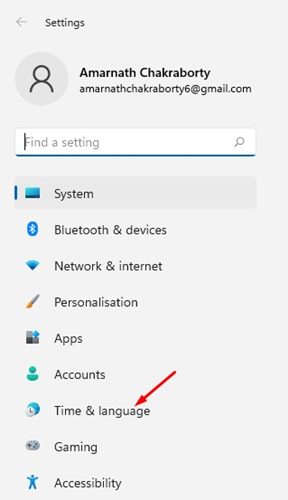
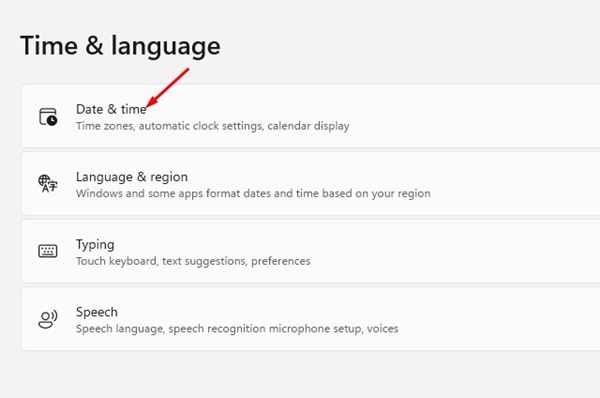
3. Click on Date & time.
4. On the Date & time page, turn on the toggle to Set the time automatically.
2. Manually Sync the Windows Clock
One of the best things you can do to resolve Windows 11 not updating time is to manually sync the Windows clock.
1. Open the Windows 11 Start menu and select Settings.
2. Switch to Time & Language.
3. Select Date & Time.
4. Click Sync Now.
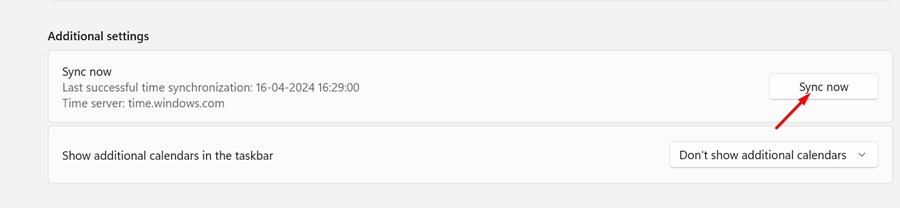
Upon successful sync, you will notice a check mark next to the Sync Now button.
3. Check the Time Zone Settings
Misconfigured time zone settings are usually the leading cause of the wrong time on the Windows operating system.
We have shared a detailed guide on how to change the time zone in Windows 11, which would help you pick the appropriate time zone based on your region.
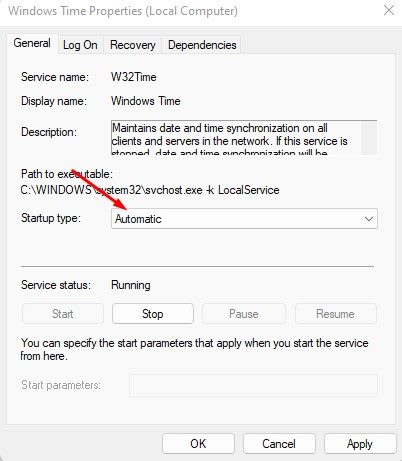
4. Check the Windows Time Service Status
If your Windows 11 device still displays the wrong time, ensure that the Windows Time Services are running.
1. Open the Services app from the Windows Search.
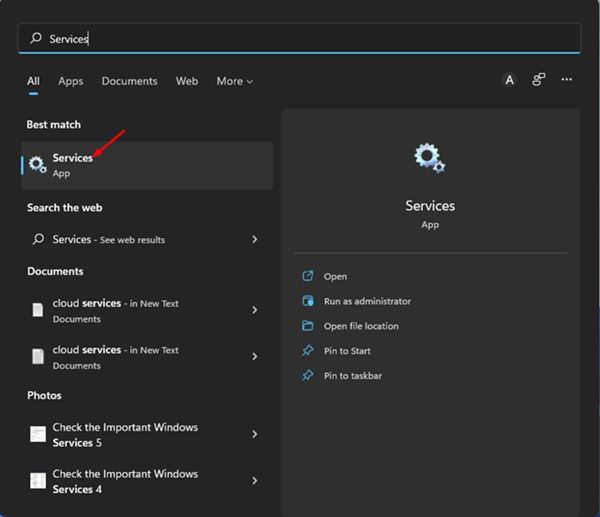
2. Find Windows Time.
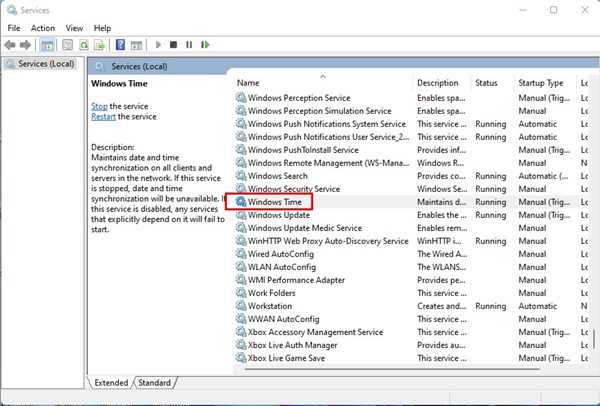
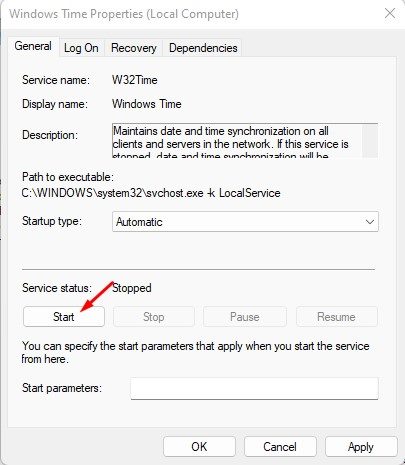
3. Double-click Windows Time. Click on the drop-down menu behind the Startup type and select Automatic.
4. Click on the Start button.
5. Click the Apply button and OK.
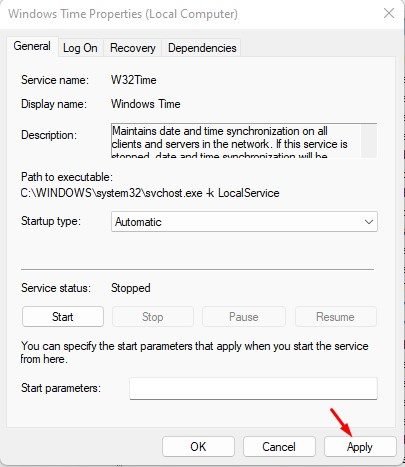
After making the changes, make sure to restart your computer.
5. Use a Different Time Server
If your Windows 11 device has problems synchronizing with the Internet time server, the time won’t update. If the wrong time issue is unresolved, you can try switching the Internet time server.
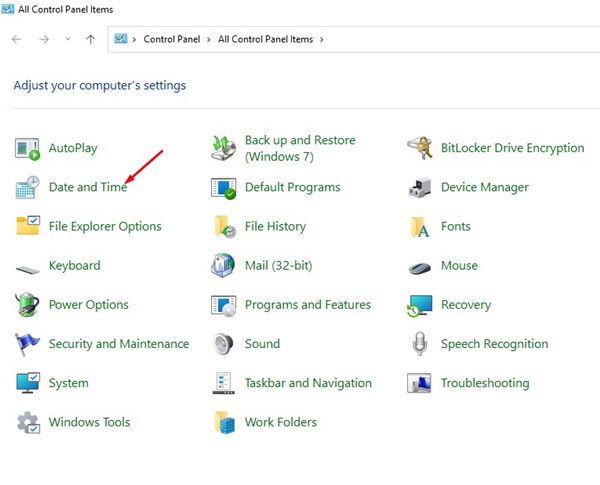
1. Open Control Panel from the Windows Search.
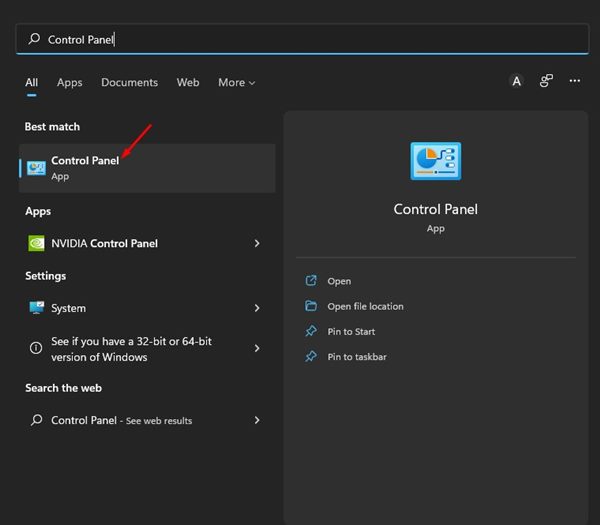
2. Click on Date and Time.
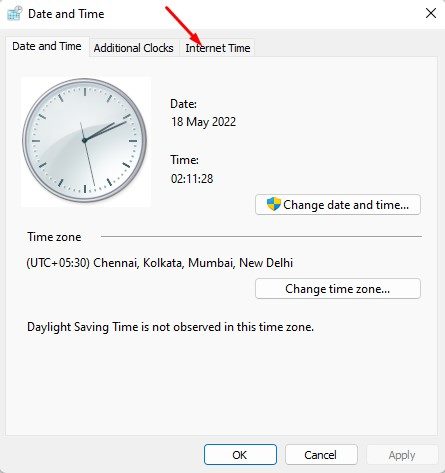
3. On the Date and Time Window, click Internet Time.
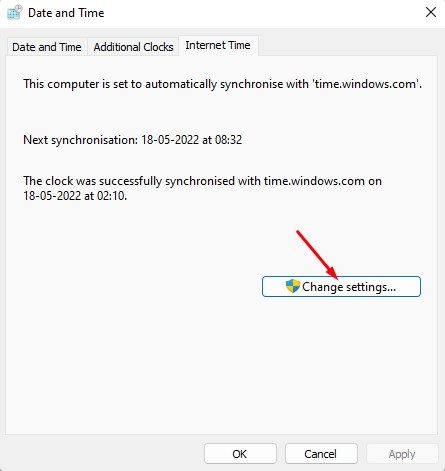
4. Click on Change settings..
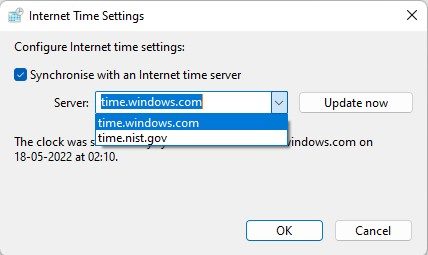
5. Check the ‘Synchronise with an Internet time server’ option and select a different Internet time server. Once you’ve done this, click Update Now.

After making the changes, click the OK button.
6. Re-register the Windows Time Process
Windows Time Service, or W32Time.exe, is a process responsible for synchronizing the date and time on all clients and servers in the network. If this service has stopped working due to malware or corrupted system files, the date and time won’t update. So, you should re-register the Windows Time Process.
1. Open the Windows 11 search and type in Command Prompt. Right-click on the Command Prompt and select Run as administrator.
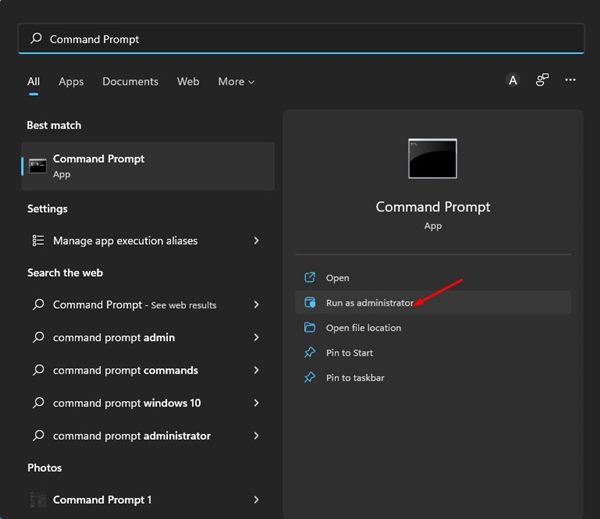
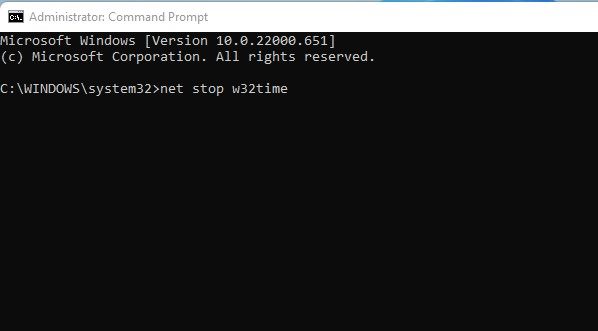
2. Execute the commands one by one.
net stop w32timew32tm /unregisterw32tm /register
3. After executing the commands, close the Command Prompt and restart your Windows 11 PC.
This will re-register the Windows Time Process in your Windows 11 Computer.
7. Re-register the Windows Time DLL file
Just like the Windows Time Process, you also need to re-register the Windows Time DLL file.
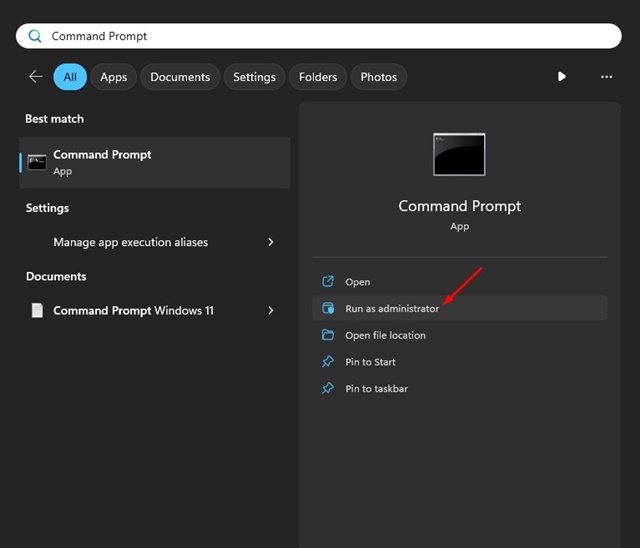
1. Type CMD in the Windows 11 search. Right-click on CMD and select Run as administrator.
2. Paste the given command and press Enter.
regsvr32 w32time.dll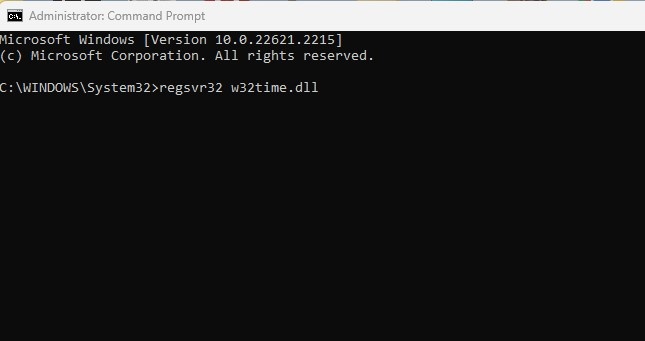
8. Check the CMOS Battery
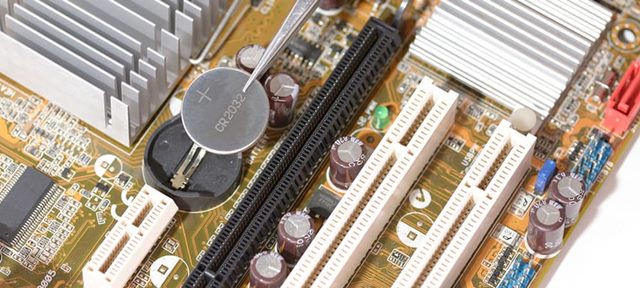
One of the first symptoms of a dead CMOS battery is the computer failing to update the time and date. If all of the methods failed to fix the Windows 11 not updating date and time problem, you need to check and replace the CMOS battery.
An incorrect date and time on Windows 11 might seem like a small issue, but many things rely on it. If it is left unresolved, it can cause many problems.
The methods we shared were supposed to fix every time and date-related problem on Windows, but if the problem is still unresolved, you may try resetting your Windows 11 PC.


