On Windows 10 & 11, you have a different tool for searching & installing apps. Windows Package Manager is the app we are talking about, and it can be accessed from the command line utilities.
Windows Package Manager, also known as Winget, is basically a command line tool that lets you find & install apps on your Windows 10 & 11 computer. The good thing about Windows Package Manager is that it searches & shows you apps from the winget repository and the Microsoft Store.
This means the apps you download from Winget are 100% safe & secure for installation, and there’s no risk involved in the process whatsoever. Another benefit of relying on Winget is that you don’t need to go through the hassle of finding a safe software download site & click on multiple download buttons.
However, the only problem with Windows Package Manager is that it’s difficult to operate. Since it’s entirely text-based, the only way to access it is via Windows Terminal. So, if you think you’re a power user and want a better way of searching & installing apps on Windows 11, continue reading the guide.
How to Use Windows Package Manager (Winget) On Windows 11
Below, we have shared some simple steps to search and install apps on Windows 11 using the Windows Package Manager. Here’s how you can use Winget on Windows 11 for downloading & installing apps.
1. How to Search for Apps on Windows 11 using Winget
The first step includes finding the app you wish to install on your Windows 11 computer. To search apps using Winget on Windows 11, follow the steps below.
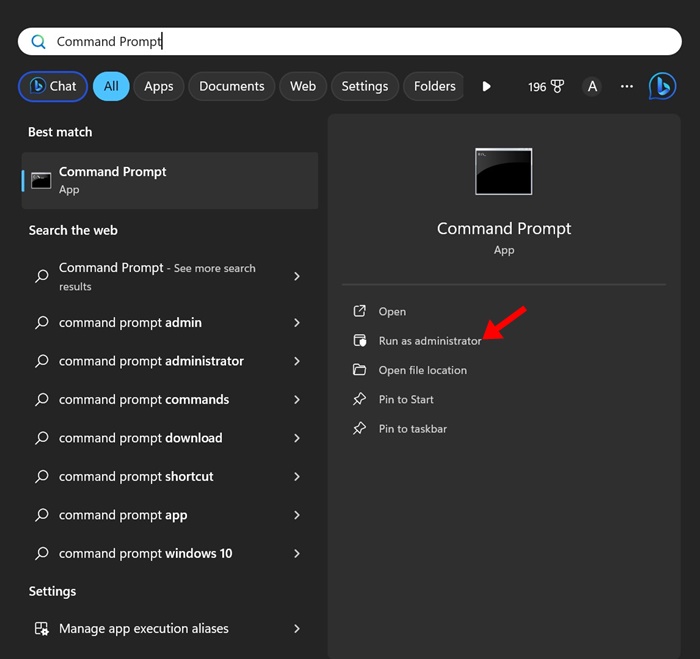
1. Type in Command Prompt on the Windows 11 search. Next, right-click on the Command Prompt and select Run as administrator.
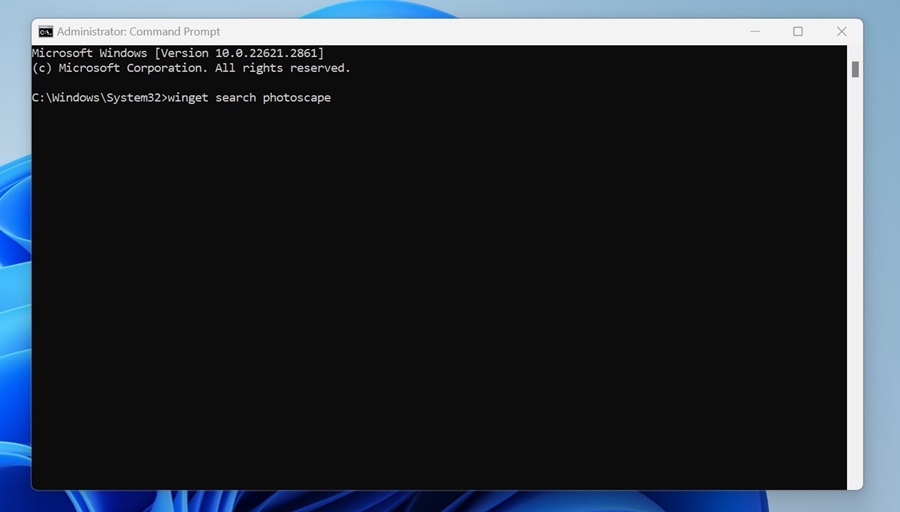
2. When the command prompt opens, you must execute a command to search for apps. For example, if you want to download the Photoscape app, execute this command:
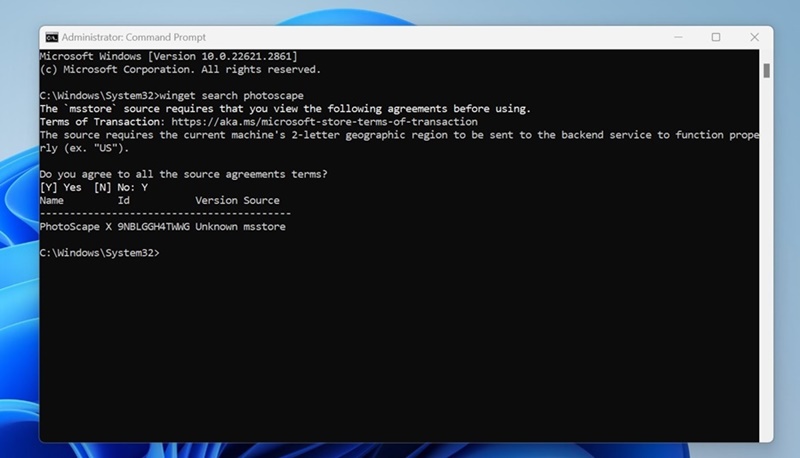
winget search photoscape
3. The Windows Package Manager will search for Photoscape in the Windows Repository and Microsoft Store.
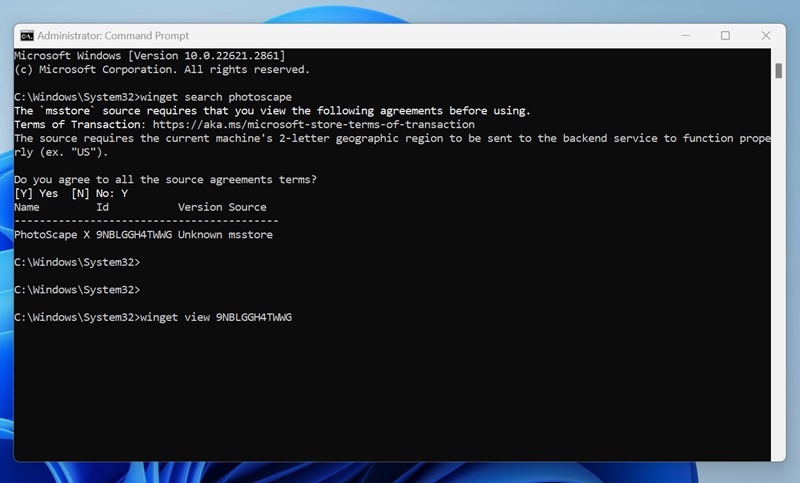
4. If you want to get details of a specific package, execute this command:
winget view app_id
Note: You must find the ‘app_id’ from the ‘Id’ column.
How to Install Apps with Windows Package Manager?
Once you find the app you want to install, you need to follow these steps to install the app. Here’s how you can install apps on Windows 11 with the winget command.
1. Follow the above steps to find the app you want to download & install.
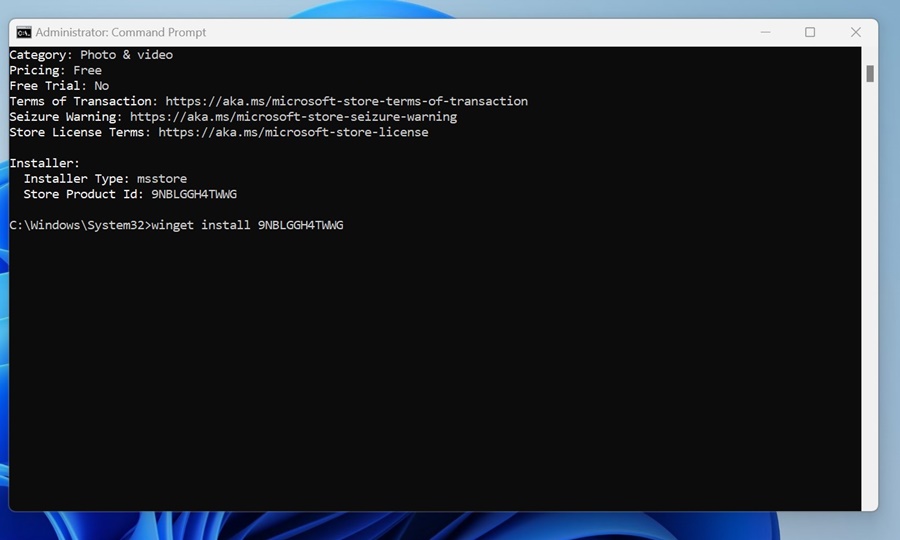
2. Once you find the app, execute this command:
winget install app_id
Note: Replace app_id with the unique package ID displayed in the ‘ID’ column.
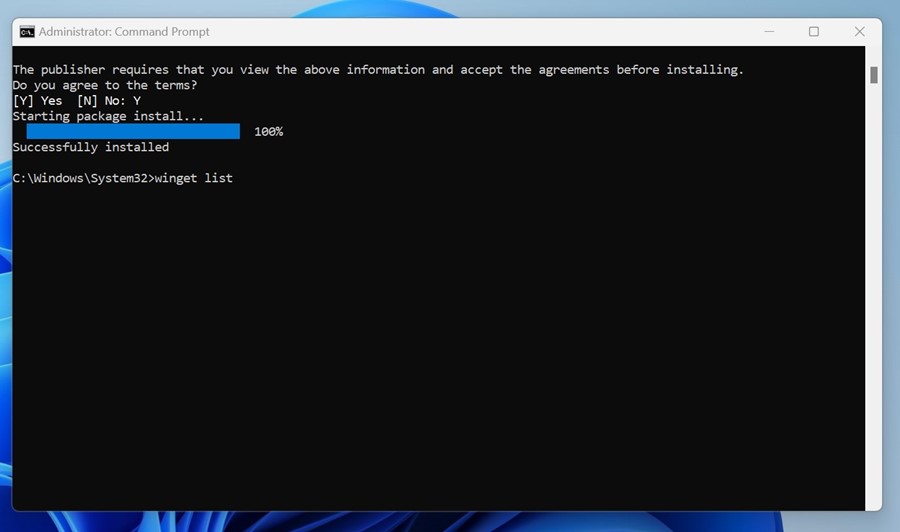
3. Now you must wait until winget downloads & installs the program on your PC.
That’s it! This is how you can download & install apps on Windows 11 with the winget command.
How to Update Windows Apps Using Winget?
You can update installed apps on Windows 11 using Winget as well. Here’s how you can update existing apps on Windows 11 using winget.
1. Open the Command Prompt with administrative rights.
2. Now execute this command to search for installed apps.
winget list
3. Now, you can see all apps installed on your computer.
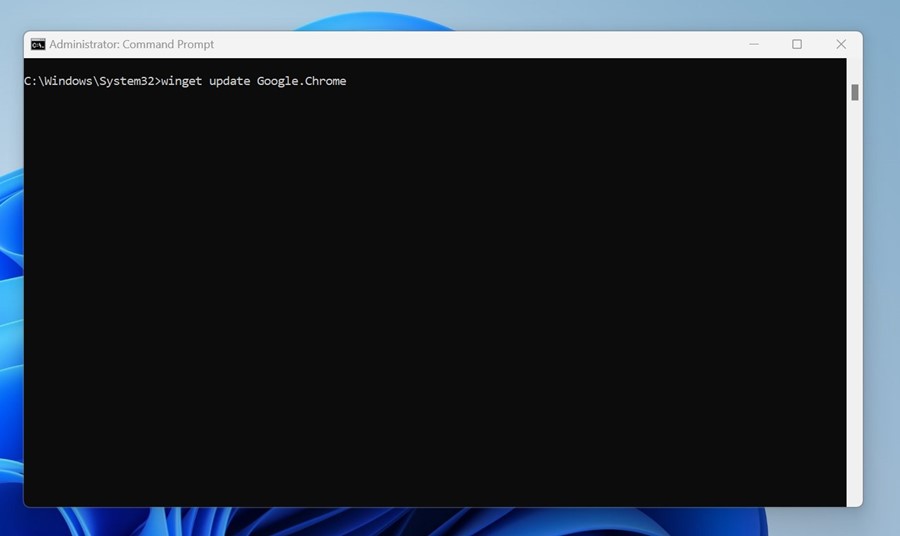
4. To update a specific app, enter winget update <ID>. Replace <ID> with the Package ID for the app you want to update.
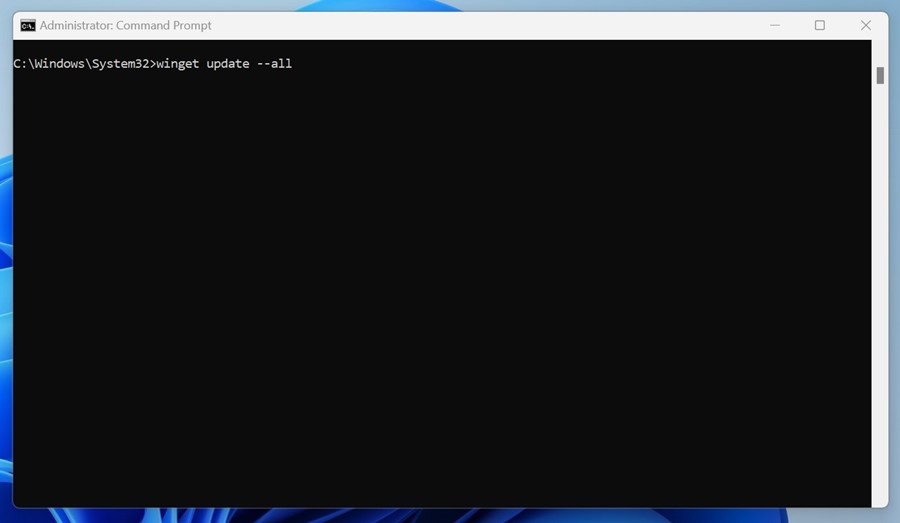
5. If you want to update all installed apps, execute this command:
winget update --all
That’s it! This is how you can update apps on Windows 11 with the winget command.
That’s it! This is how you can search for apps with the Windows Package Manager.
So, this guide is all about searching, downloading, and installing apps with Windows Package Manager. Let us know if you need more help in downloading or installing apps on Windows 11 using Winget.
