Windows Security is excellent, as it does its job pretty well; however, many Windows 11 users have been facing problems recently. For some, clicking the Protection History crashes their computer and does nothing.
What is Windows Security Protection History?
Windows Security Protection History shows you all the actions that the security software has taken to safeguard your PC. It will show you the scan results, the threats it has blocked, the threats that have been moved to the Quarantine folder, and more.
With the Protection History option, you can also allow the blocked apps, remove files from the Quarantine folder, and more. The option lets you view and revert the changes made by the security program.
If the Protection History is empty, here’s what you should do.
1. Restart your PC

Maybe bugs or glitches prevent you from accessing the Windows Security protection history.
You can eliminate such bugs & glitches by simply restarting your PC. Before you try the advanced troubleshooting, try restarting your PC and see if it helps.
To restart Windows 11, click the Windows 11 Start button and select the Power Menu. On the Power Menu, choose Restart.
After the Restart, open the Windows Security program and check if you can access the Protection History.
2. Disable any Third-Party Security Program You’re using
The Windows Security app is set to turn off automatically once a third-party security program is detected.
Chances are that your PC is using a third-party antivirus program as its default security tool; hence, the Protection History on the Windows Security app is empty.
To rule out this problem, you must disable or uninstall any third-party security program installed on your computer.
3. Clear Your Detection History Files
The existing Detection History files may be corrupted; hence, they are not showing up in the Protection History screen.
To rule out this issue, you must force Windows Security to rebuild the history by clearing your existing detection history files.
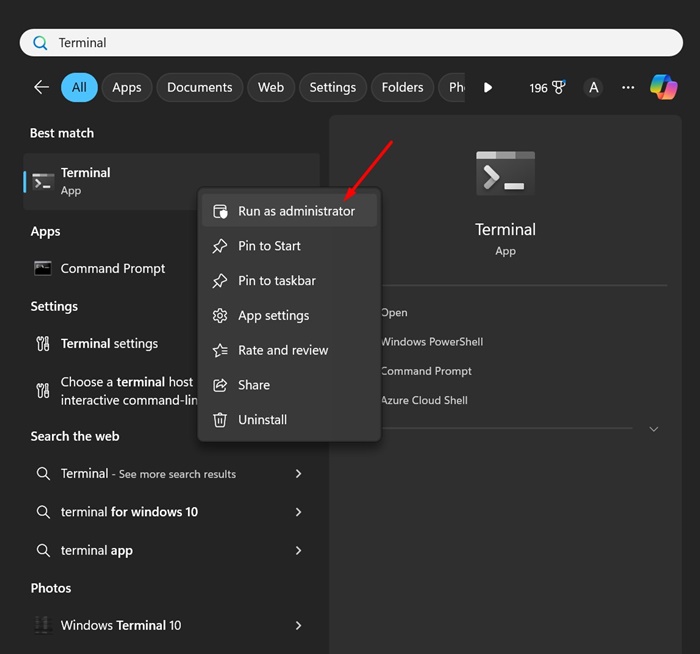
1. Type Command Prompt in the Windows 11 Search. Right-click on the Command Prompt and select Run as administrator.
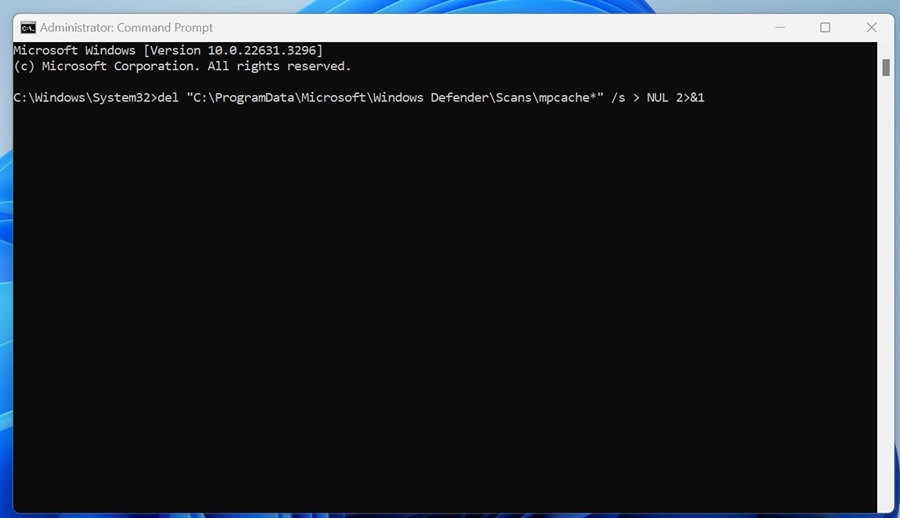
2. Execute these commands one after another:
del “C:\ProgramData\Microsoft\Windows Defender\Scans\mpcache*” /s > NUL 2>&1
del “C:\ProgramData\Microsoft\Windows Defender\Scans\History\Service\DetectionHistory*”
del “C:\ProgramData\Microsoft\Windows Defender\Scans\mpenginedb.db”
4. Manually Delete the Scan History
Even though the CMD method will clear all detection history files, manually clearing the protection history files is still recommended.
- Press the Windows Key + R button to open the RUN dialog box.
- Paste this path C:\ProgramData\Microsoft\Windows Defender\Scans\History and click OK.
- Navigate to the Service Folder and delete all files inside it.
- Close the File Explorer.
5. Restart the Windows Security Protection Features
After deleting the detection history files, you need to restart the real-time protection and cloud-delivered protection.
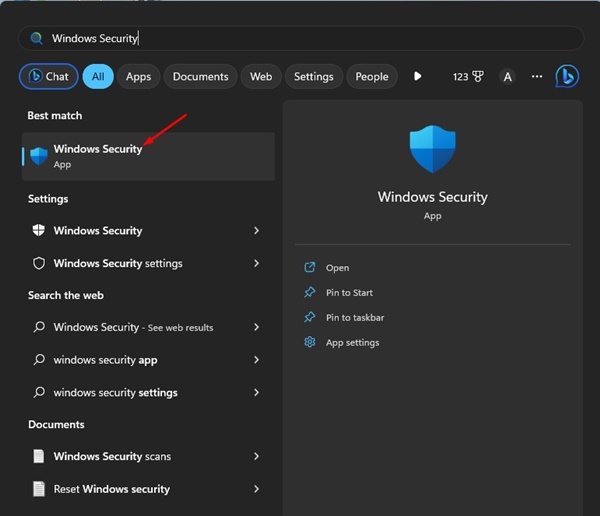
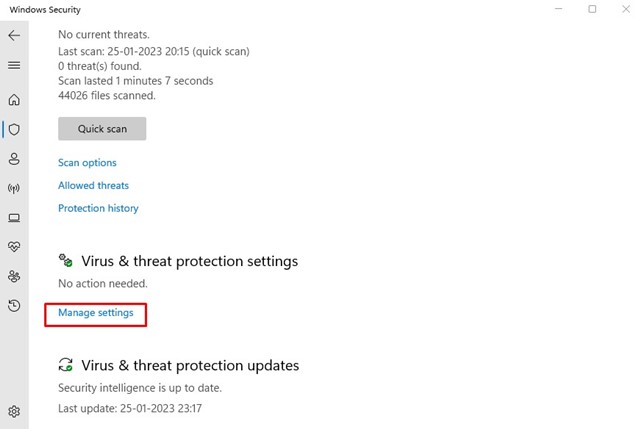
1. Open the Windows Security app from the Windows Search.
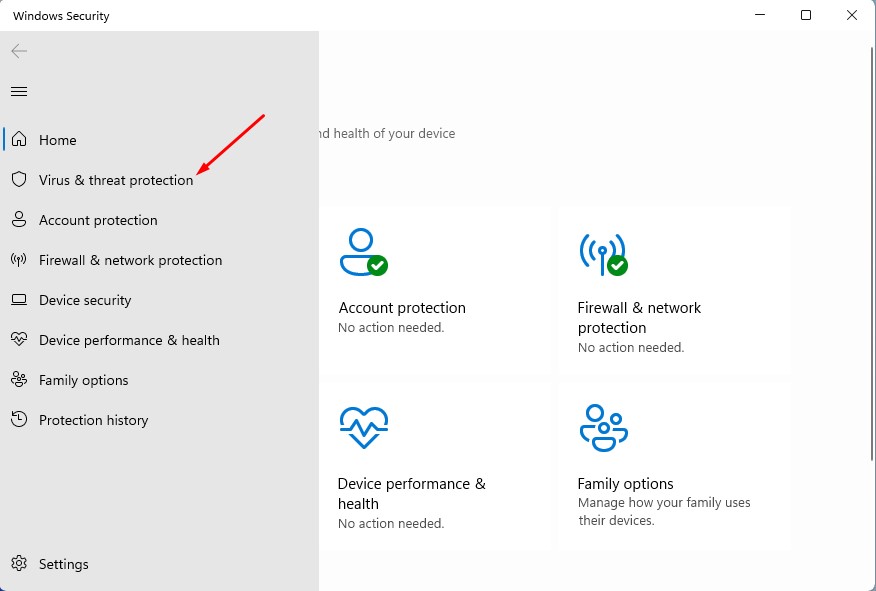
2. Switch to Virus & Threat Protection.
3. Click Manage Settings.
4. Turn off and on the toggle for Real-Time Protection and Cloud-Delivered protection.
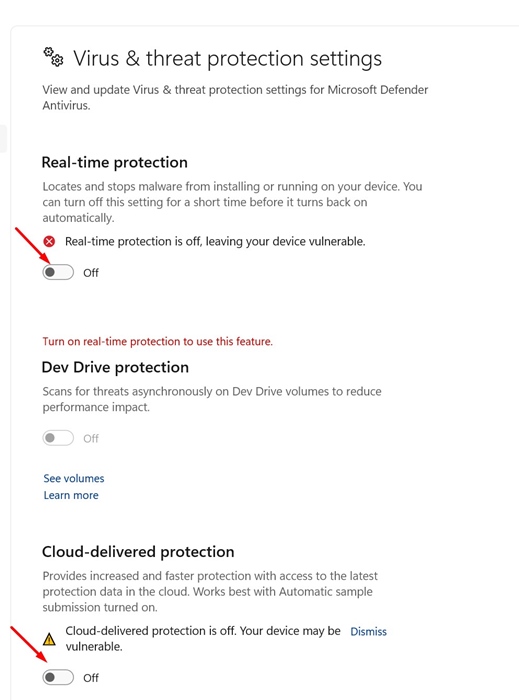
Once enabled, perform a full scan. If the scan finds any malware or security threats, it will be blocked and will show up in the Protection History screen.
6. Repair & Reset the Windows Security App
Sometimes, problems with the Windows Security app also prevent the Protection history from showing up. To fix this issue, you can repair or reset the Windows Security app.
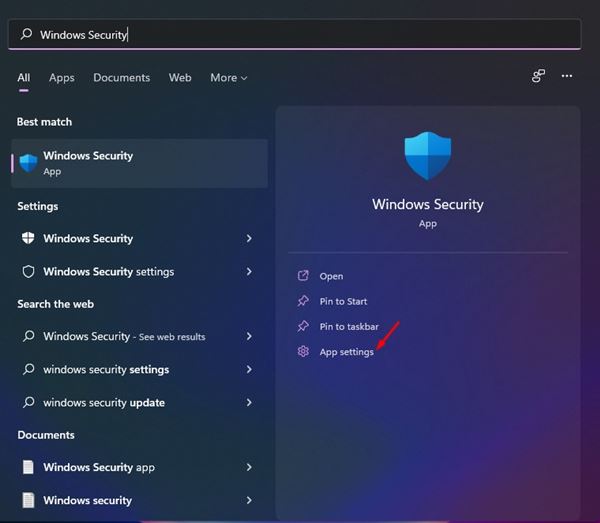
1. Type in the Windows Security app in the Windows Search. Next, click on the App Settings.
2. Click Repair.
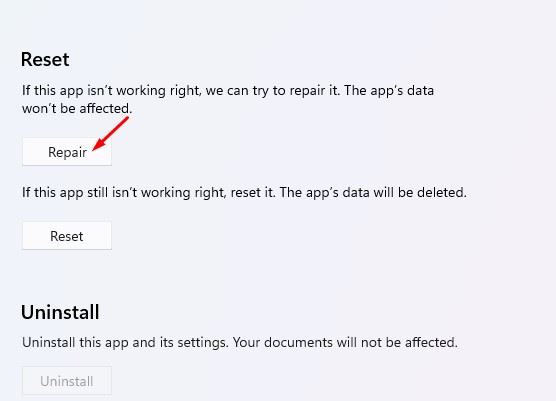
3. This will repair the Windows Security app.
4. Continue using the Windows Security app. If it detects a threat, it will appear in the Protection History.
5. If you still face the same issue, click Reset.
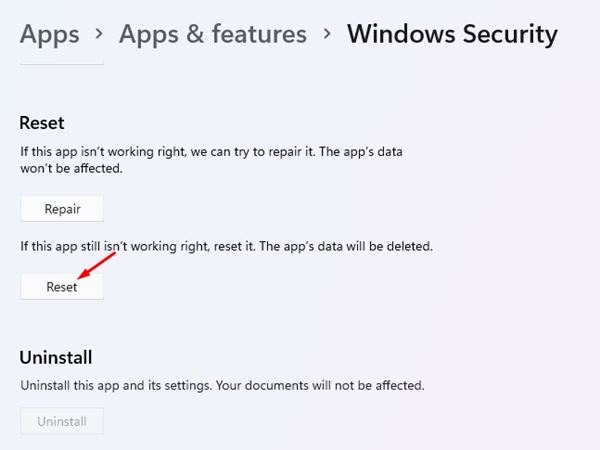
Resetting the Windows Security app will delete all system components. Make sure to restart your Windows PC after making the changes.
7. Run the SFC and DISM Commands
System file corruption is one prominent reason for the Windows Security Protection History being blank issue. You need to run the SFC and DISM commands to rule out the system file corruption issue.
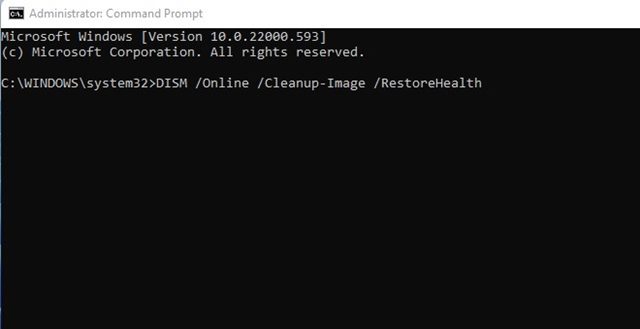
1. Type CMD in the Windows Search. Right-click on CMD and select Run as administrator.
2. Execute this command:
sfc /scannow

3. If the SFC scan returns with an error, execute this command:
DISM /online /cleanup-image /restorehealth
From now on, the detected threats should appear on the Protection History screen.
8. Re-register the internal components of Windows Security
One of the best ways to fix issues related to the Windows Security app is to refresh its internal components.
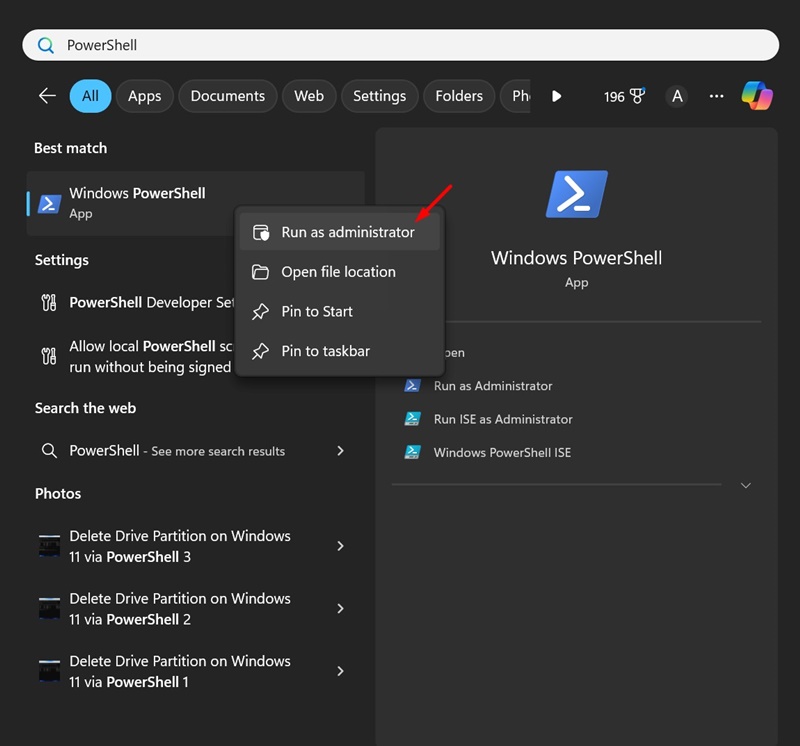
1. Type in PowerShell on the Windows 11 Search. Next, right-click on the PowerShell and select Run as administrator.
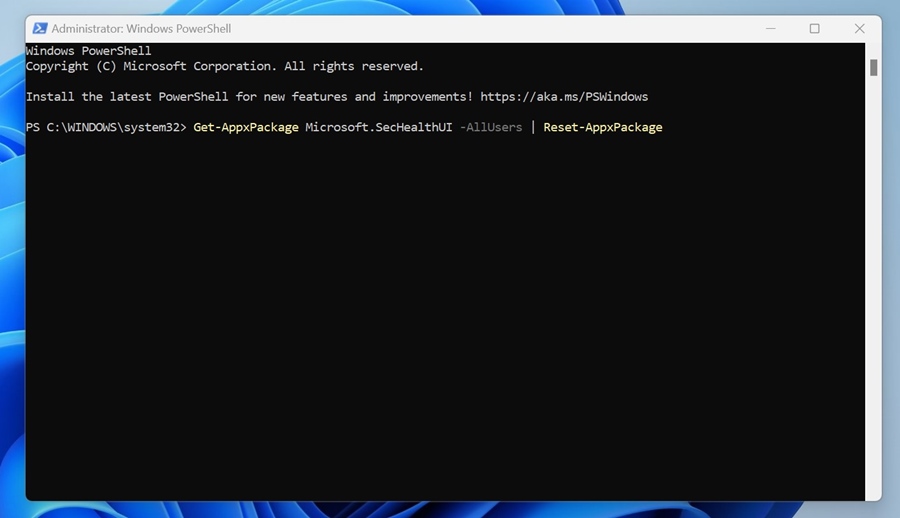
2. Execute this command.
Get-AppxPackage Microsoft.SecHealthUI -AllUsers | Reset-AppxPackage
3. After executing the command, restart your PC. Again, open the PowerShell utility with admin rights and execute this command:
Add-AppxPackage -Register -DisableDevelopmentMode "C:\Windows\SystemApps\Microsoft.Windows.SecHealthUI_cw5n1h2txyewy\AppXManifest.xml"

After executing the command, restart your Windows PC. This will re-register the Windows Security app.
This guide is all about how to fix the Windows Security Protection History is missing or showing blank issue. Let us know in the comments below if you need more help troubleshooting this issue.


