We all know that email has been associated with spam messages almost constantly. Still, over the years, it has evolved simply to infect internet users’ systems. But, hold on, emails are not only the hiding place for spam, as spam can also reside in SMS inboxes.
Google is fully aware of this, and now it has decided to end it. Android has already launched a new security system for all users that will help them end the arrival of spam on any Android device.
This new functionality will prevent these unwanted messages from entering our Android devices. In this way, little by little, users are getting a new protection system that is implemented directly in the well-known Messages apps for Android.
However, we all must bear in mind that for all this to work in the best way, the messages that we receive through this communication system must be sent to Google itself, which certainly will not please everyone, especially those who look closely at everything related to their privacy.
Steps to activate the new “Spam Protection” feature on Android
So, if you don’t have any problem with this, let’s get started and explore the tutorial to activate the feature on your Android device.
1. First, you must download the Messages app on your Android device (if you do not have one).
2. Now open the Messages app on your Android device.

3. After the above step, tap on the three dots in the top right corner of your screen.

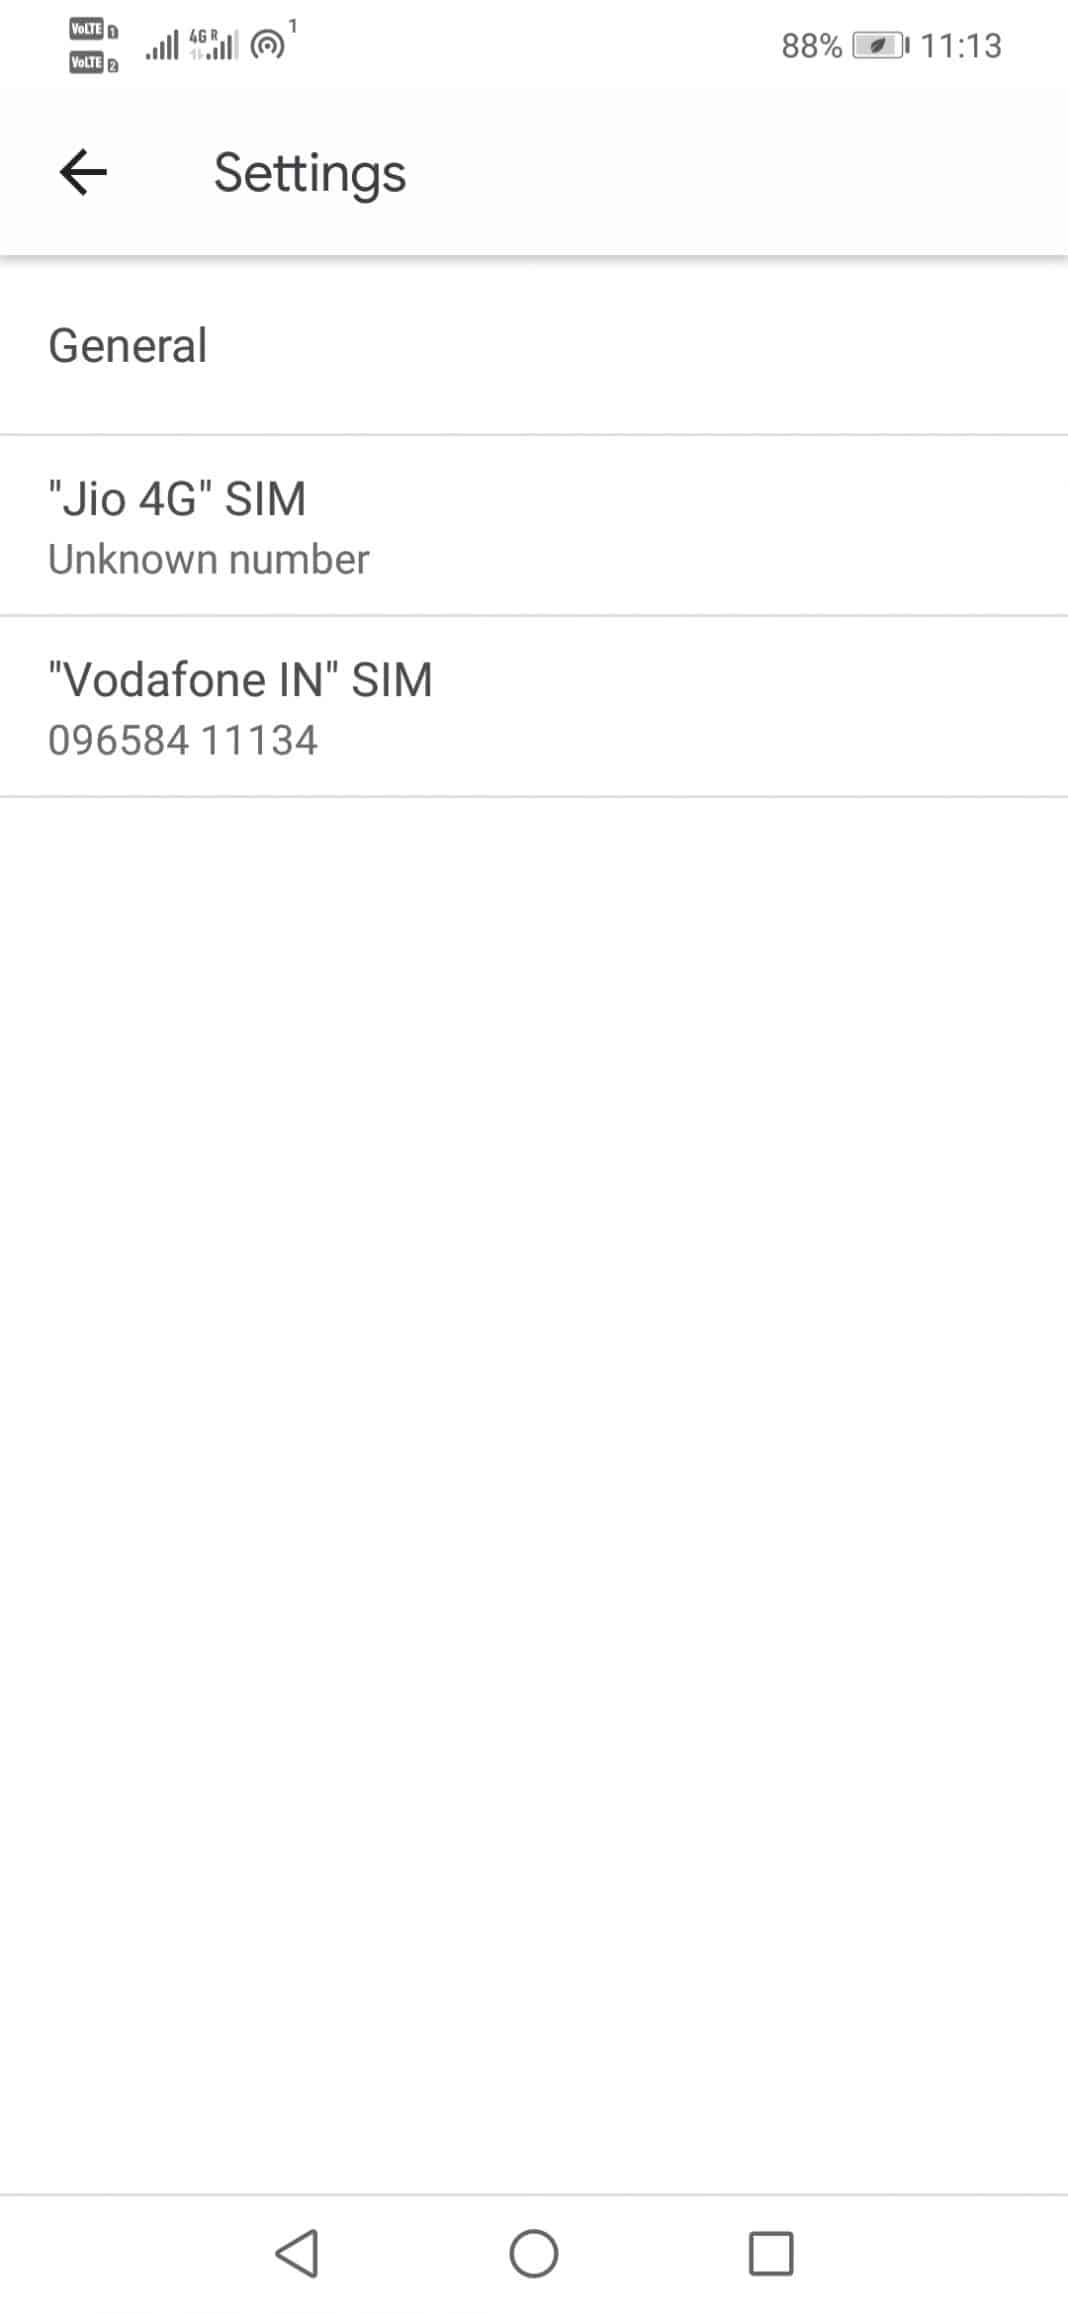
4. Now tap on the Settings option. Then tap on your desired operator option.
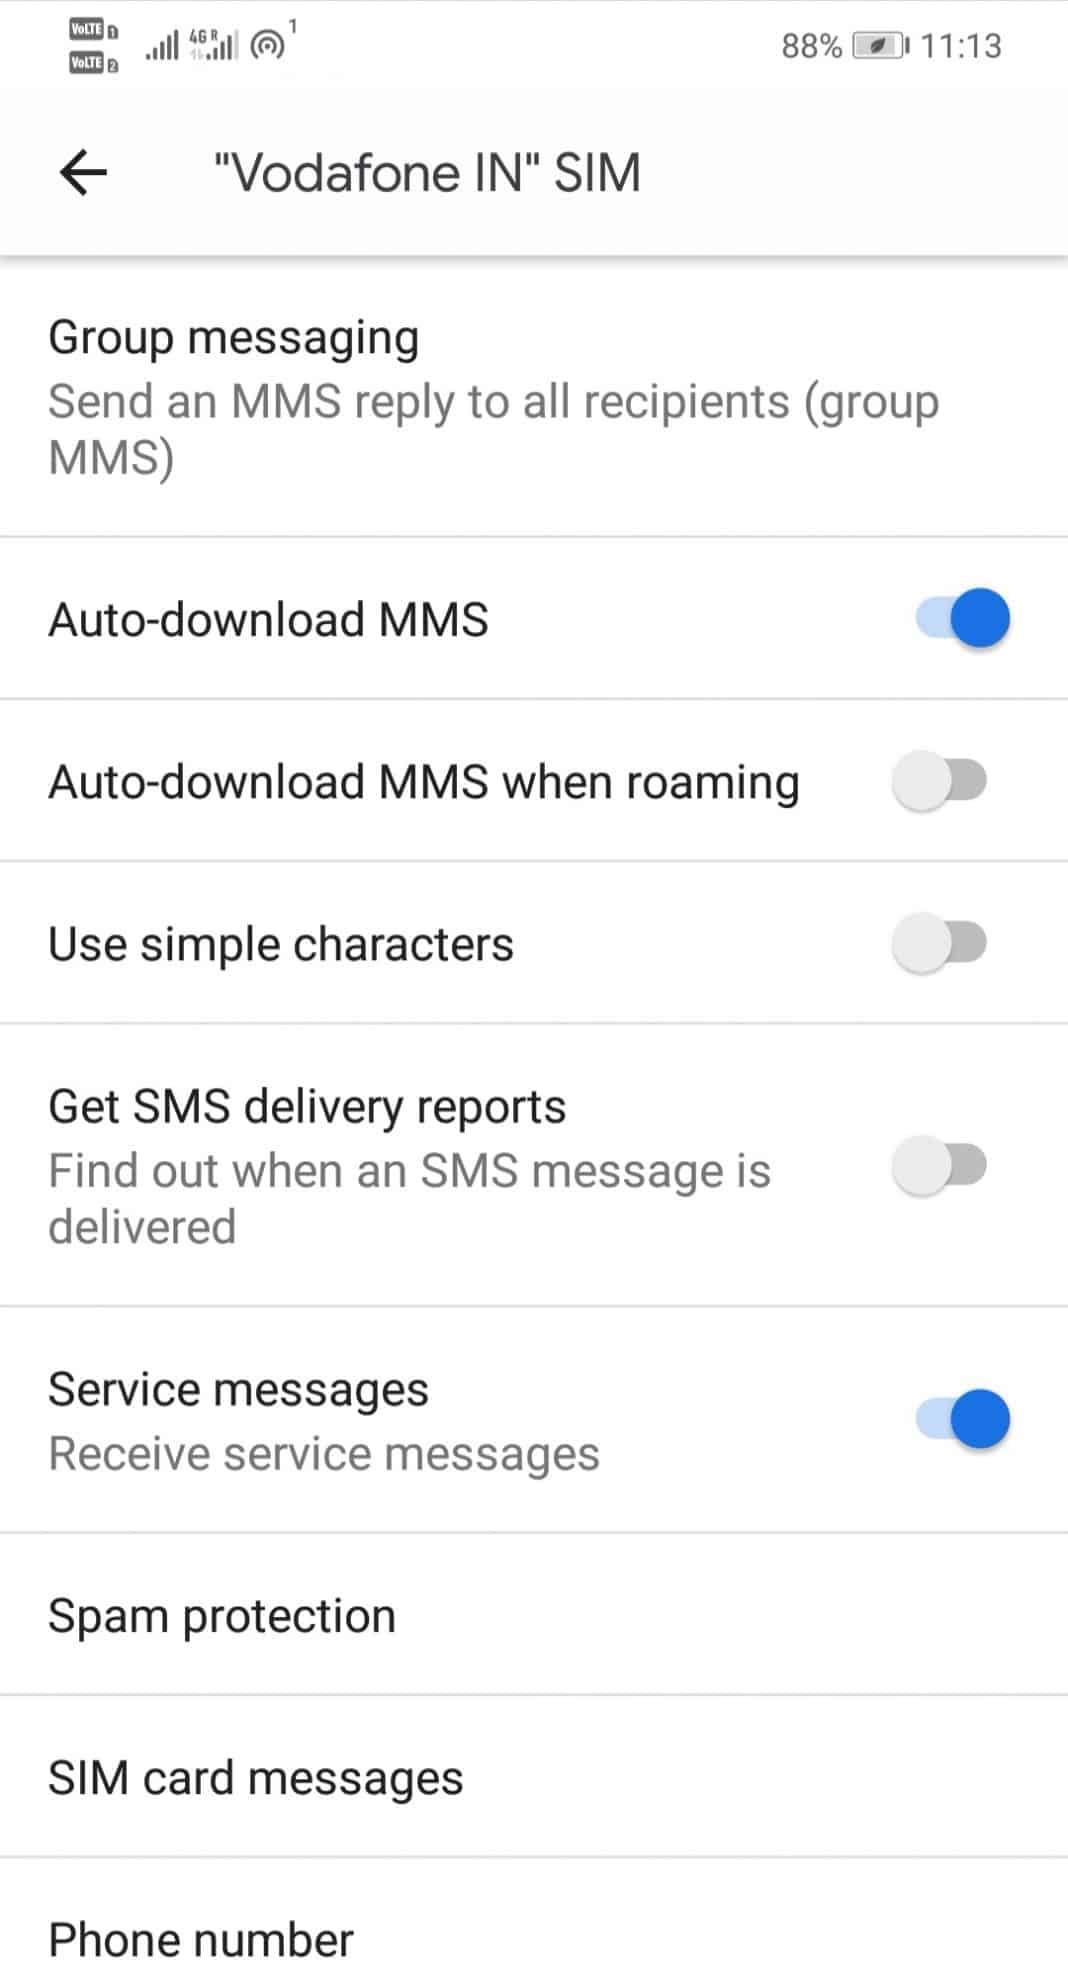
5. Now tap on the Spam protection option.
6. Next, tap on the toggle beside ‘Enable spam protection‘ to activate the feature.

That’s it; now you are done.
If in case if you want to deactivate the feature anytime, you can reverse the changes you have made.
Moreover, at the same time on the screen, we can see a warning that informs us that some details of the message will be shared with Google if the function is activated, all to detect spam most efficiently. So, if you liked the tutorial, do not forget to share this article with your friends and family.


