If you have an external keyboard that uses a different layout from the standard QWERTY, you can easily change the keyboard layout from Windows 11’s Settings. Here’s how you can add and switch keyboard layouts in Windows 11.
1. How to Add a New Keyboard Layout on Windows 11
You can easily add a new keyboard layout on Windows 11 by going through the Time & Language settings of Windows 11.
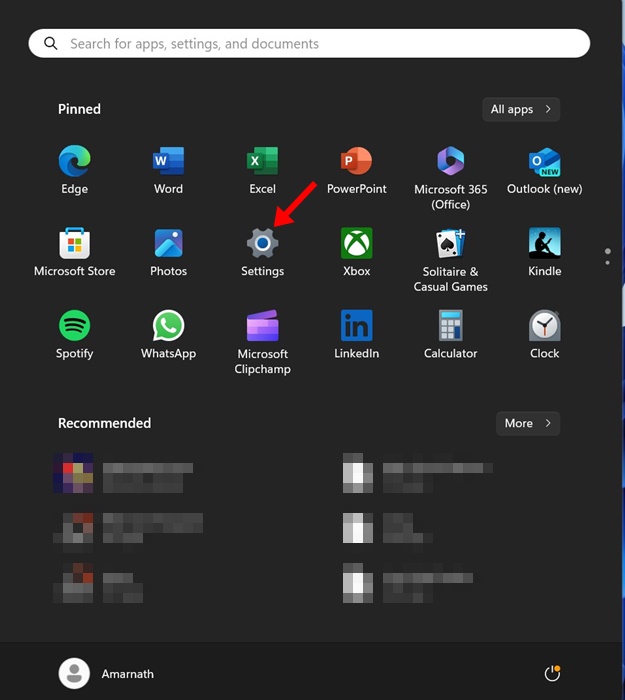
1. Click on the Windows 11 Start button and select Settings.
2. Switch to the Time & Language.

3. Click on Language & Region.

4. Click the three dots next to the added language and select Language options.

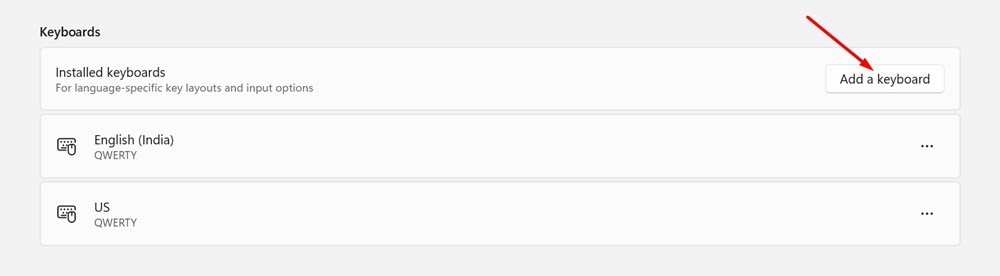
5. On the Language options screen, scroll down to the Keyboards section. Next, click on Add a Keyboard.
6. Pick the Keyboard layout of your choice from the list.

This will immediately add a new keyboard layout to your Windows 11 computer.
2. How to Add More Keyboard Layouts?
If you aren’t satisfied with the default ones, you can get more keyboard layouts. But, for that, you need to add a new language pack.
1. Open the Settings app and reach the Language & Region page.
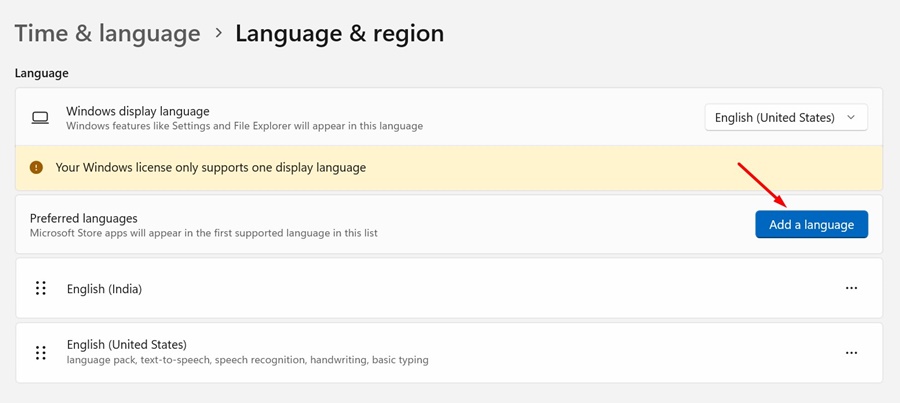
2. On the Preferred Languages section, click Add a language.
3. Select the language you want to downoad & install and click Next.

4. Move to the Language & Region screen. Click on the three dots next to the added language and select Language options.
5. Scroll down to the Keyboards section. Click on Add a Keyboard.
6. Pick the Keyboard layout of your choice from the list.
3. How to Switch Keyboard Layout in Windows 11
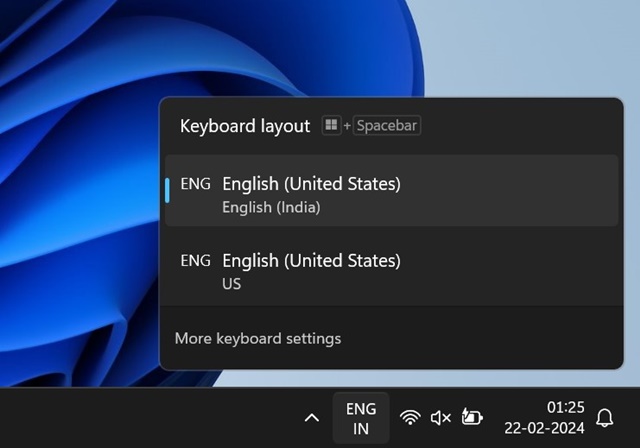
To change the keyboard layout in Windows 11, you need to click the Language Switcher that sits in the system tray. Once you click on the Language Switcher, you can switch between the different keyboard layouts.
On Windows 11, you can also press and hold the Windows key and press the Space bar to switch between different keyboard layouts.
4. How to Remove Keyboard Layout in Windows 11?
If you want to clean up the mess in the Language switcher, you can remove the keyboard layouts you never use by following these steps.
1. Open the Settings app.
2. Navigate to the Time & Languages > Language & Region.
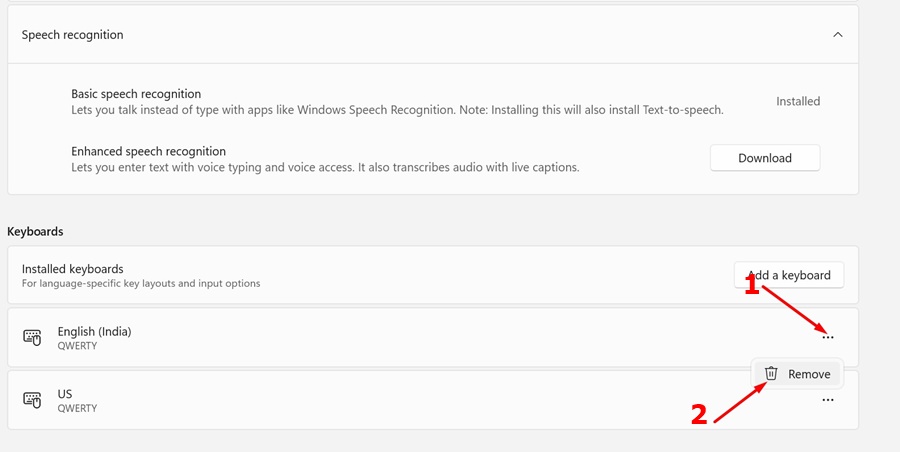
3. Click on the three dots next to the keyboard layout you want to remove.
4. Select Remove.
5. If you added a language pack to get the Keyboard layout, you can remove the language from the same screen. Just click on the three dots next to the language and select Remove.
This will immediately remove the keyboard layout on your Windows 11 computer.
Adding keyboard layouts on a Windows 11 PC is super easy, but you will lose some storage space if the keyboard layout requires the addition of a language. Let us know if you need more help in adding or changing the keyboard layout on a Windows 11 computer.


