Changing the account type to Administrator will eliminate the need to run apps in Administrator mode manually. Similarly, if you want to provide a specific user account in a more secure environment, you can switch the account type to Standard user. Changing account type on Windows 11 is pretty easy; you can do it via the Settings app or Control Panel.
1. Change Account Type using Settings
You can use the Settings app to change the account type easily.
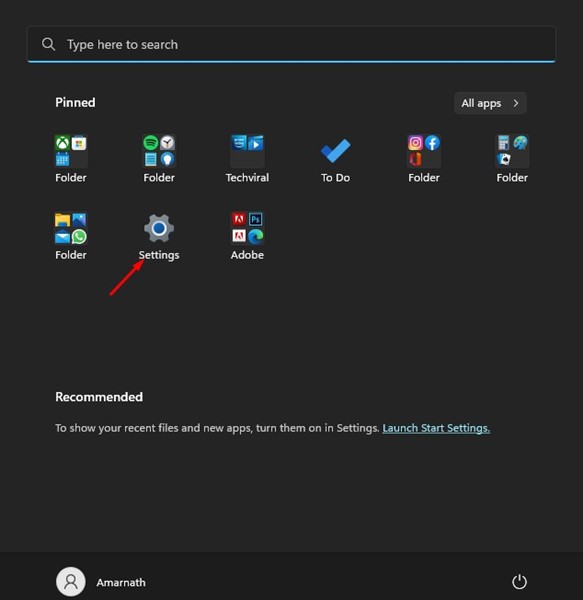
1. Click the Windows 11 Start button and select Settings.
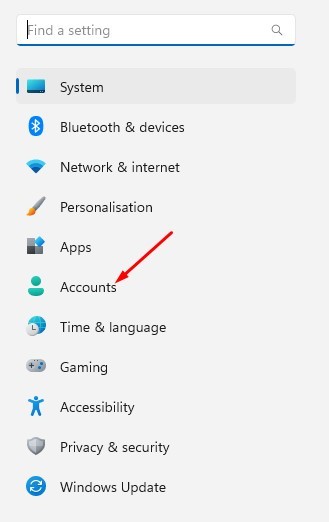
2. Switch to the Accounts tab.
3. Expand the account and select the Change Account type.
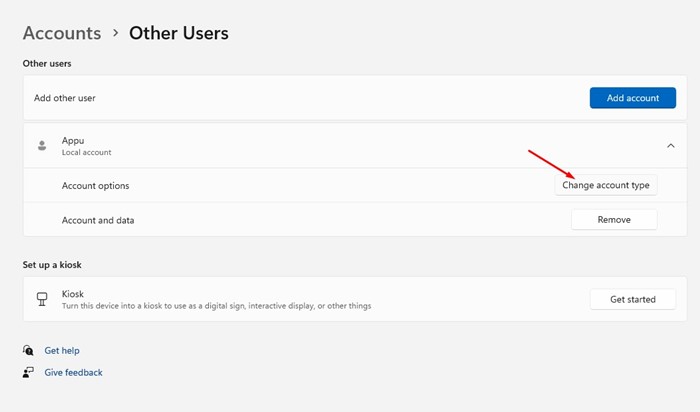
4. Select either Standard or Administrator. Once you have done this, click OK.

2. Change the Account type using the Control Panel
You can also change the Account type in the Windows Control Panel.
1. Click on the Windows 11 search and type Control Panel.

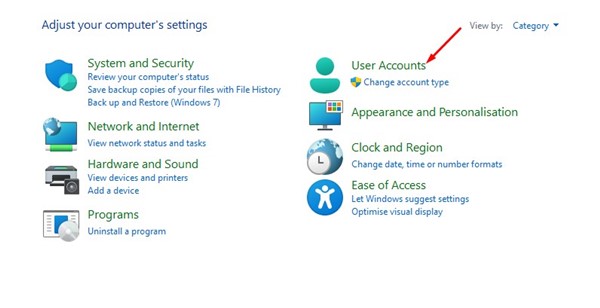
2. Click User Accounts.
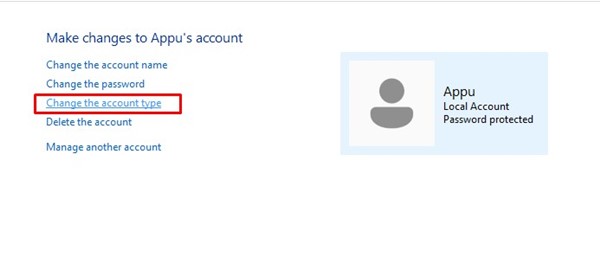
3. Select the user account you want to change the type for.
4. Click the Change the account type link.
5. Select Standard or Administrator when choosing a new account type. Once done, click on the Change Account type.

3. Change Account Type on Windows 11 Using User Account Settings
This method will use a RUN command to access the user account settings and then change the account type.
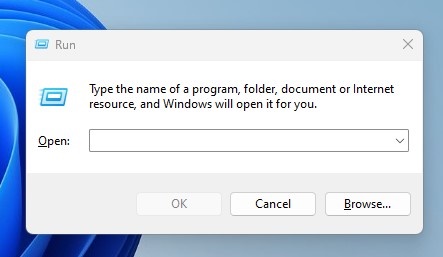
1. Press the Windows Key + R button on your keyboard. This will open the RUN dialog box.
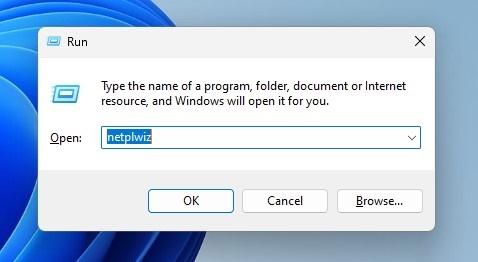
2. Type netplwiz in the RUN dialog box and press Enter.
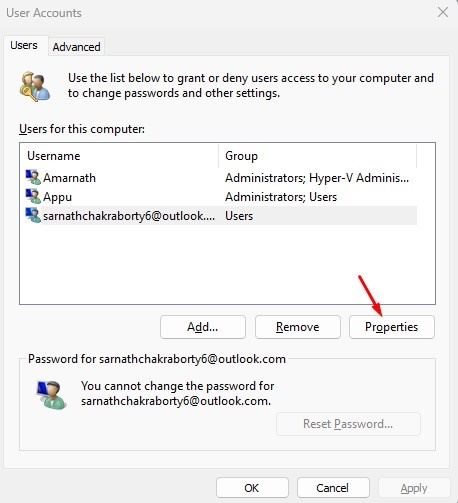
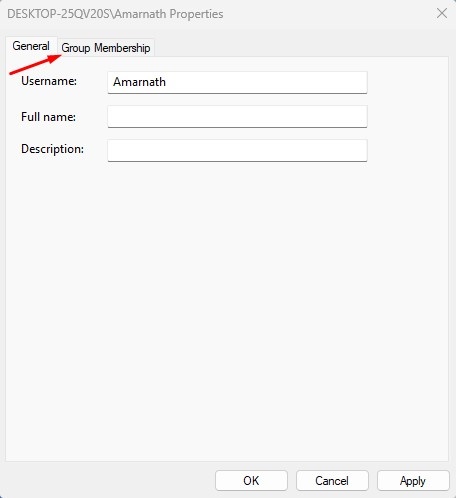
3. Select the user account whose account type you want to change. Click on Properties.
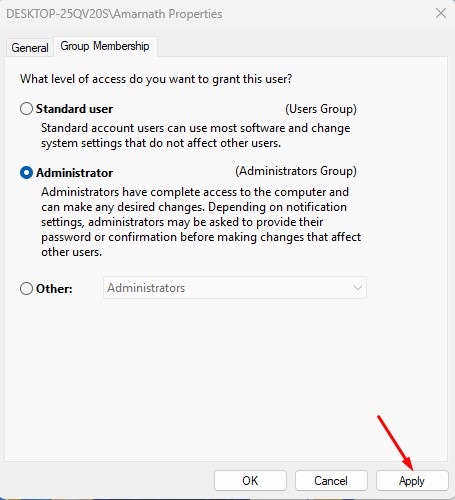
4. Switch to Group Membership.
5. Select the account type as per your preference and click Apply.
4. Change Account Type on Windows using CMD
If you’re a power user, you can utilize the Windows Command Prompt to change the Account type.
1. Type CMD on the Windows Start Menu. Right-click on CMD and select Run as administrator.
2. Execute this command:
net localgroup administrators [USERNAME] /add
Note: Replace USERNAME with the account name you want to make an Administrator.
3. If you plan to switch back to Standard User, use this command instead.
net localgroup administrators [USERNAME] /del
Also read: How to Switch User Accounts in Windows 11
These are some simple ways to change the account type on the latest Windows 11 computer. If you need more help, let us know in the comments below.


