Just like Android, Windows 11 also supports adding multiple email accounts. Now you all might be wondering why anyone would want to add additional email accounts to Windows 11. Many users have more than one email account and may want to use a different email to sign in with the Windows apps.
The apps you download from the Microsoft Store use the email account settings on your Windows 11 to sign in and sync data. Hence, if you have multiple email accounts, you can easily add them to your Windows 11 PC.
Add Multiple Email Accounts on Windows 11
Windows 11 allows you to use multiple email accounts on your PC, and you can manage all emails from a single place. Hence, if you are interested in adding multiple email accounts on your Windows 11 PC, you are reading the right guide. Below, we have shared a step-by-step guide on adding multiple email accounts on Windows 11 and removing existing emails. Let’s get started.
1) How to Add Multiple Email Accounts on Windows 11?
To add multiple email accounts on Windows 11, you must follow some of the simple steps we have shared below. Here’s how to add multiple email accounts on Windows 11 PC.
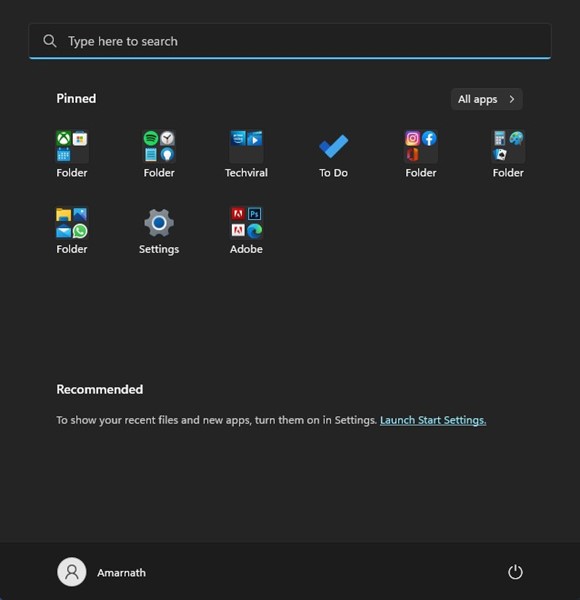
1. First of all, click on the Windows 11 Start menu and click on Settings.
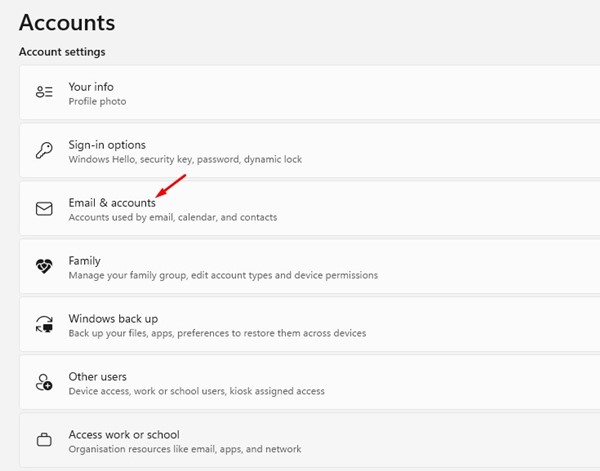
2. On the Settings app, switch to the Accounts tab on the left pane.

3. On the right side, scroll down and click on Email & accounts.
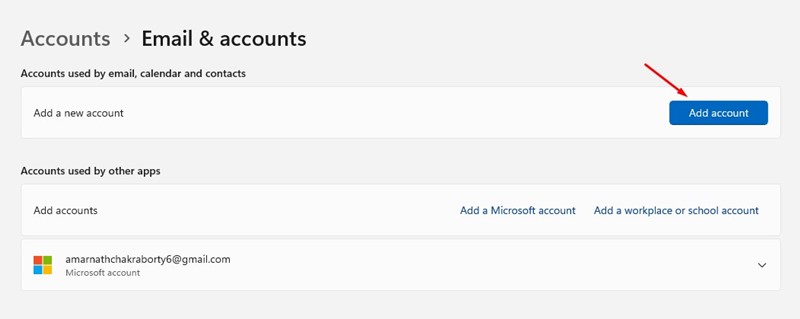
4. Next, on the Email & accounts screen, click on the Add account button.
5. You will be asked to select the type of account you want to add. For example, if you’re going to add a Google account, choose Google.
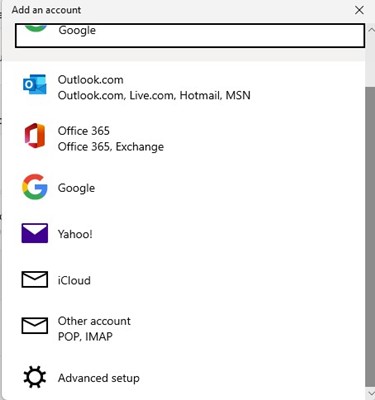
6. On the Sign in with Google prompt, enter the credential for the Google Account you want to add.
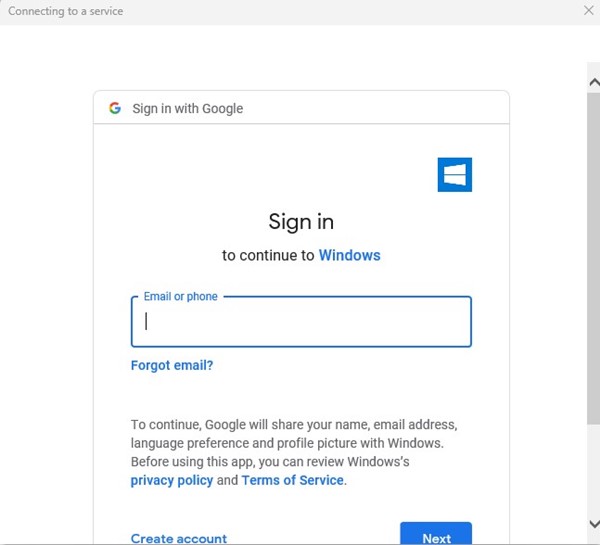
7. Follow the on-screen instruction to complete the account addition process.
That’s it! This is how you can add multiple email accounts on your Windows 11 PC.
2) How to Remove Email Accounts?
If you ever wish to remove an email account from your Windows 11 PC, you must follow these simple steps.
1. First, click on the Windows 11 Start button and select Settings.
2. On the Settings app, switch to the Account tab on the left.
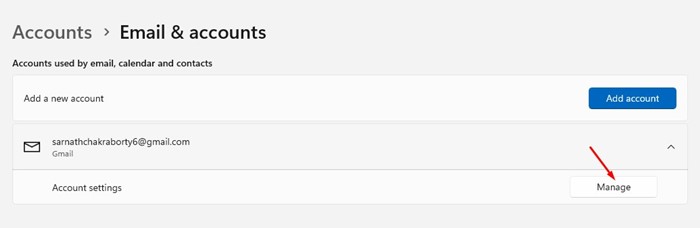
3. On the right side, scroll down and click on Email & accounts.
4. Expand the account you want to remove and click on the Manage button.
5. On the Account Settings wizard, click on the Remove this account from this device link.
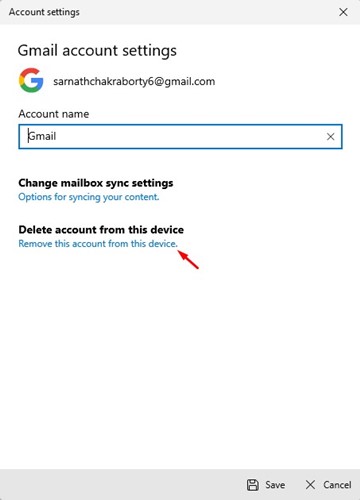
That’s it! This will immediately remove your email account from your Windows 11 device.
Also read: How to Connect & Manage Multiple Email Accounts in Gmail
So, this is how you can add and use multiple email accounts on your Windows 11 PC. If you need more help adding email accounts to your Windows 11, let us know in the comments below.


