We are going to share an interesting trick on adding recycle bin option in your Android smartphone. You just need to install an app to revert back the file you had deleted.
In your computer when you accidentally erase any file then you utterly go to recycle bin and restore that file and relapse back in your internal storage. But what in Android device that works on the Linux-based operating system? In Android, when you delete any file then it gets enduringly deleted from your device as there is no recycle bin there to revert back the file that you have deleted.
But actually, you can add this component to your Android device. So we are here with the method for Add Recycle Bin Feature On an Android. Yes, this is possible with a simple way that I have discussed below.
How To Add Recycle Bin Feature On Your Android Smartphone
With the recycle bin feature in your Android device, you can now easily make your data secure from being deleted by yourself or any other person too. And the process is extremely easy and is just based on a simple Android app that will temporarily store deleted files that you can restore. Just follow the below steps to proceed. You’ll need to use the Dumpster App.
Features Of Dumpster:
- Restore deleted pictures, music files, videos and pretty much almost any file type (pdf, mp3, doc, Avi, mp4, jpg, png, rar, ogg, txt and much more:
- No Rooting needed but if you do, you will get improved performance.
- Internet connection absolutely not required.
- NEW: Recover uninstalled apps
- Restore Dumpster backup files with a single tap.
- Preview deleted photos, videos, and audio files before recovering.
- Send files to Dumpster using “share” or “send to” from any file manager or gallery app out there.
- Scheduled auto-clean of old deleted items.
- Protect your privacy with a special lock screen and access restriction.
Steps To Install And Use Dumpster For The First Time:
Step 1. First of all, download and install Dumpster app from Play store.
[appbox googleplay com.baloota.dumpster]
Step 2. Now when you open the app, there will be long agreement displayed, either waste your lots of time to read those or simply click on agree and proceed.

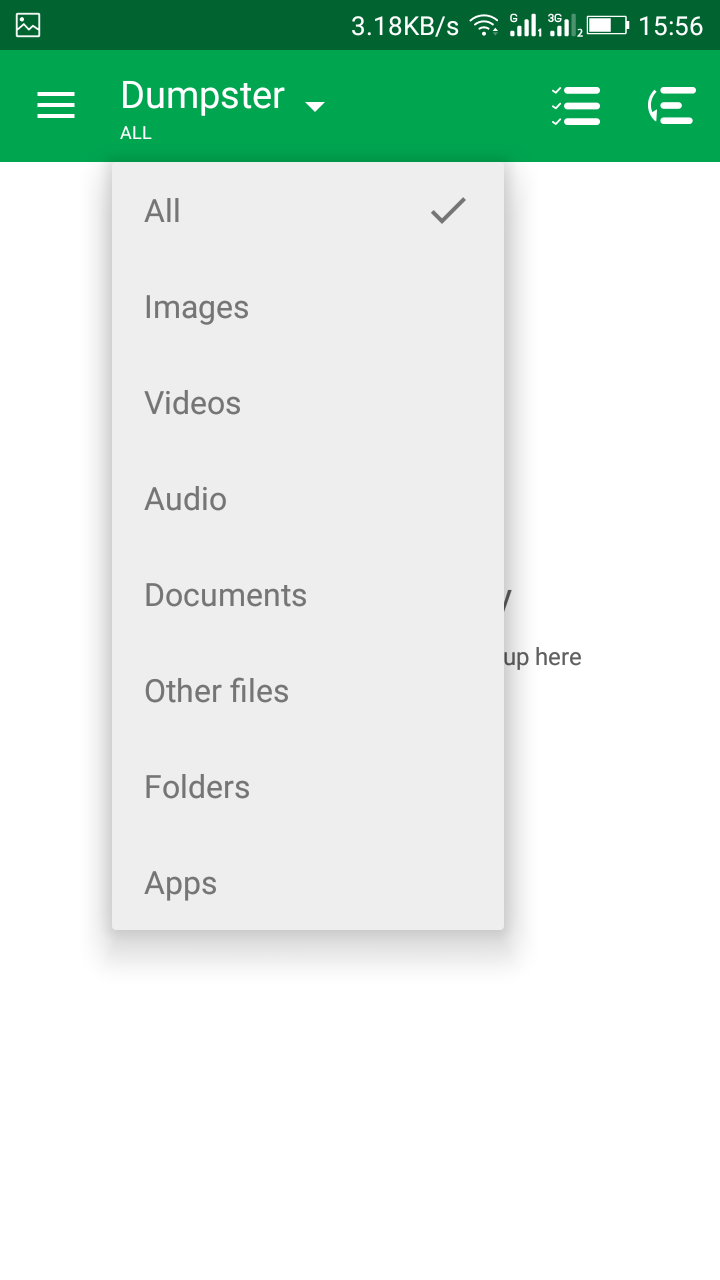
Step 3. Now in the next step, select the media which you want to store in the app which gets deleted from your storage.
Step 4. Now this app is ready to store all the data that is being deleted in your Android device.

Note that if your Android is rooted that you can give superuser access to this app for better working of this app.
Also Read: How To Increase Battery Life Of Your Android Smartphone (2 Methods)
Using ES File Explorer
ES File Explorer (File Manager) is a full-featured file (Images, Music, Movies, Documents, app) manager for both local and networked use. It also provides the option to add recycle bin. Files that you deleted using Es File explorer can be recovered through Recycle Bin option. Here’s how to use it.
Step 1. First of all, download and install ES File Explorer from Google Play Store.
[appbox googleplay com.estrongs.android.pop]
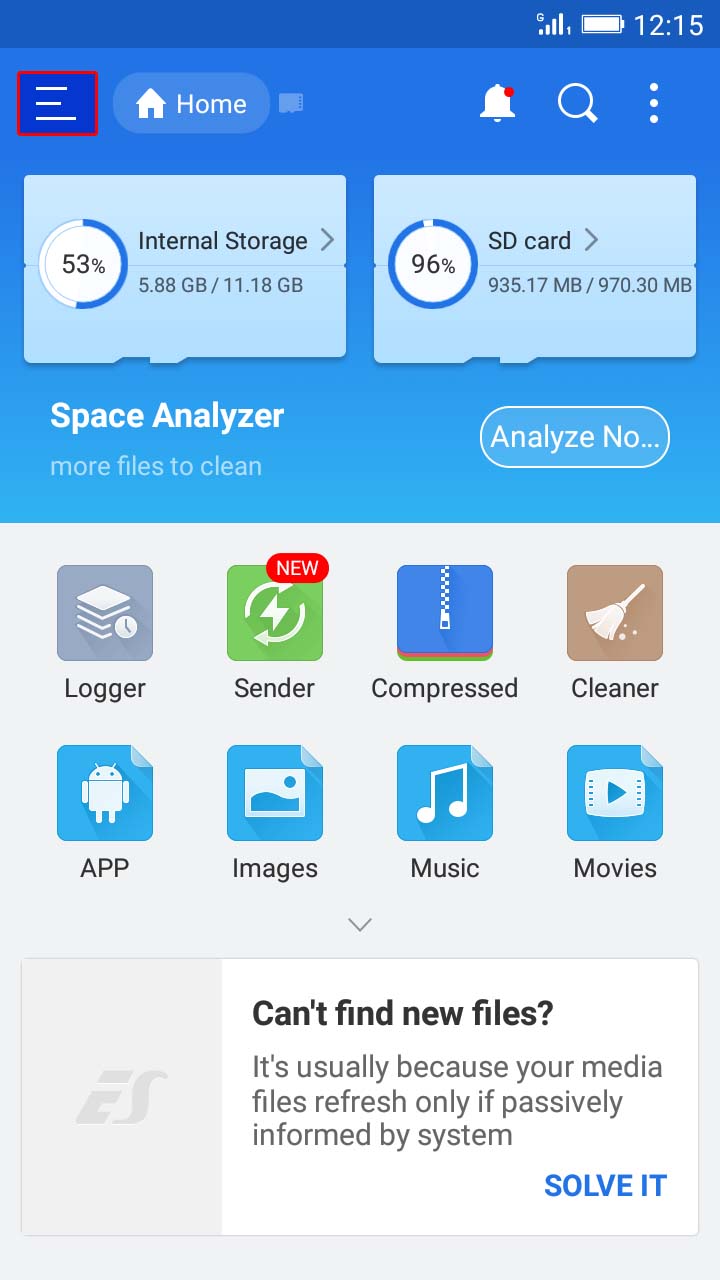
Step 2. Now launch the app and click on the menu in the left sidebar.
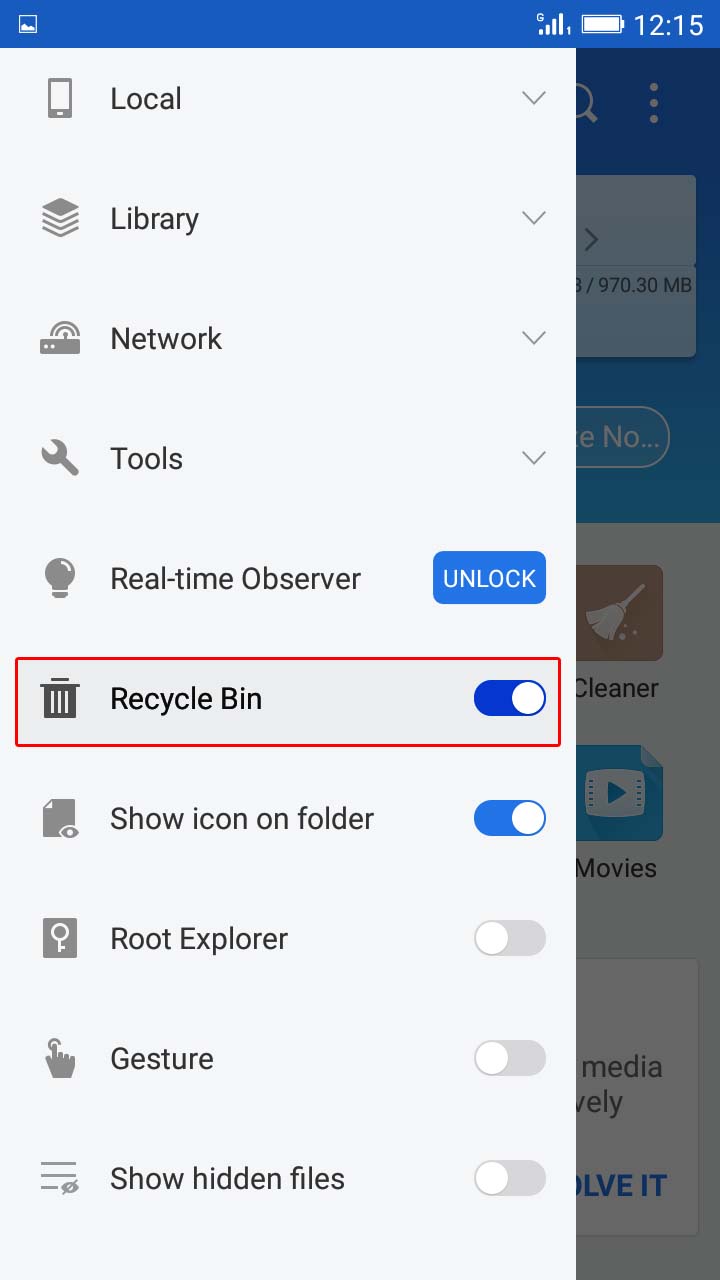
Step 3. Now you need to look for the option “Recycle Bin” and enable it.
Step 4. Now if you want to recover it, simply click on “Recycle Bin” option from the left sidebar and you will see all the deleted files there.

Also Read: How To Record Screen On Android Without Root (No Root)
By this, you can undoubtedly revert back all the files that you may delete accidentally or deliberately and secure your sensitive data from being deleted. Hope you like the discussion. Don’t forget to share it with your friends and leave a comment below if you need our help at any step.


Wow very nyc trick…!! I read all the posts related to android ..! all are amazing