Recently, after installing the latest update released for Windows 11, many users have been facing issues with the taskbar. According to the users, the Windows 11 taskbar won’t stay hidden.
If you’re a Windows 11 user facing the same problem, follow this guide. Below, we have shared some simple troubleshooting tips to fix the Windows 11 Taskbar auto-hide not working issue.
1. Restart your Windows 11 PC

If the Windows 11 taskbar is not functioning as it should, you should restart your Windows PC.
Restarting the Windows 11 PC may fix bugs and glitches preventing the Windows Taskbar from functioning properly.
Hence, click on the Windows 11 Start Menu and the Power button. On the Power Menu, select Restart. After the restart, check whether the Windows 11 taskbar is not hiding automatically. The issue has been fixed.
2. Make sure the Auto-Hide Feature is Enabled
Before making further changes, it’s important to check if the auto-hide feature is enabled. Here’s how to do so on Windows 11.
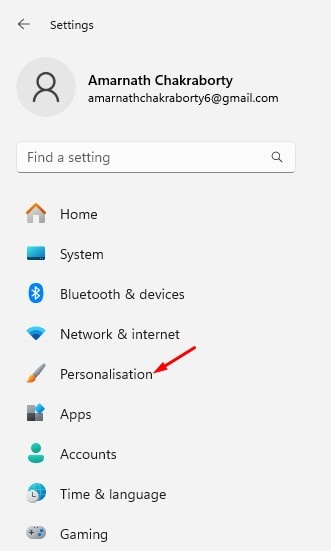
1. Click on the Windows 11 Start button and select Settings.
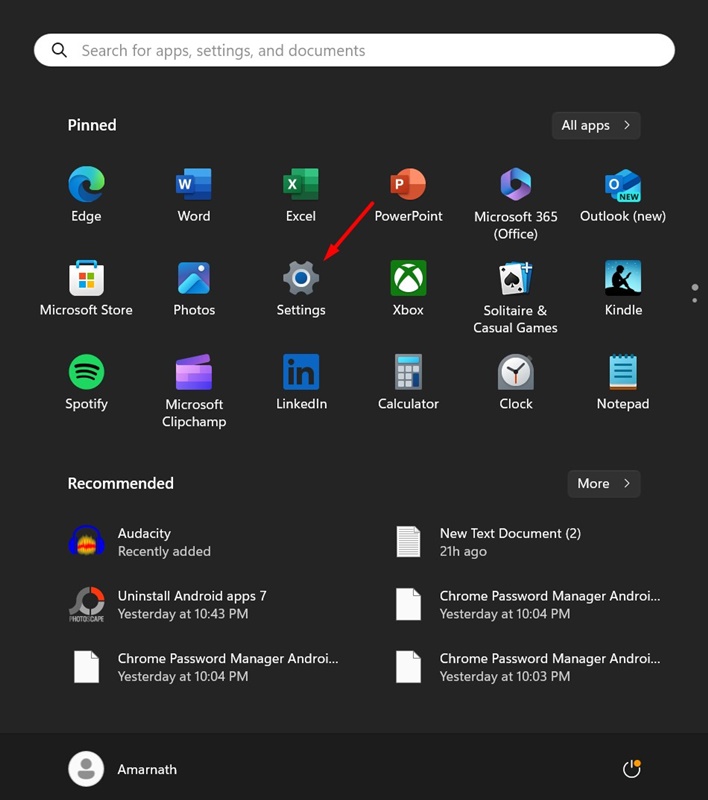
2. When the Settings app opens, switch to the Personalization tab on the left pane.
![]()
3. On the right side, click on the Taskbar.
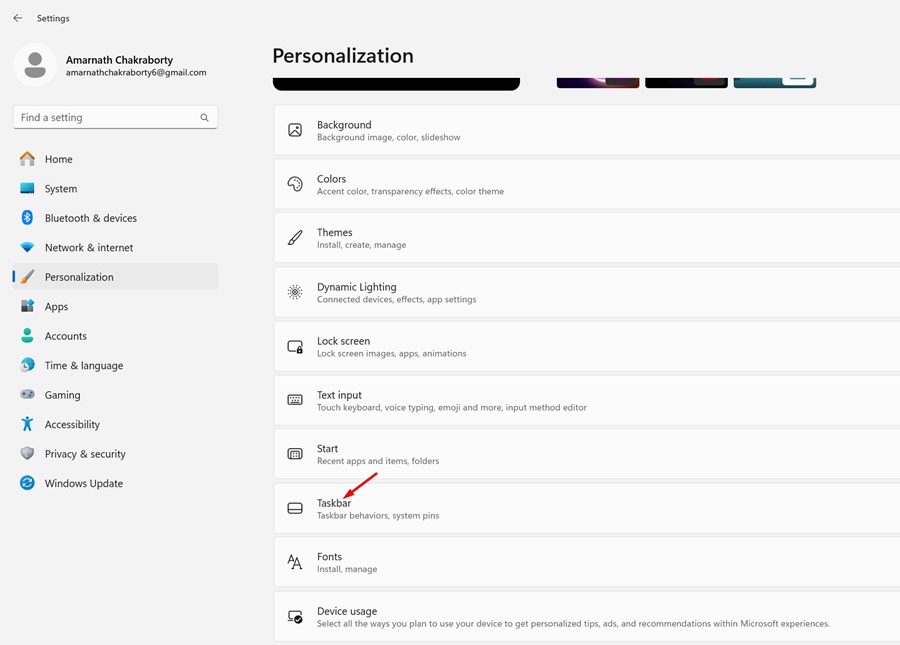
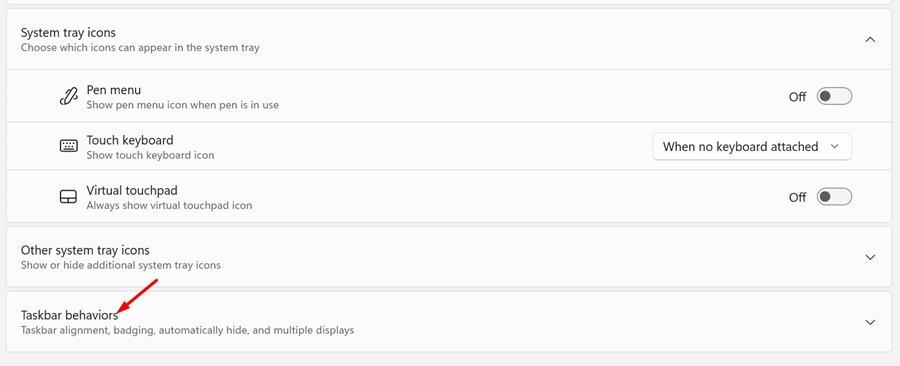
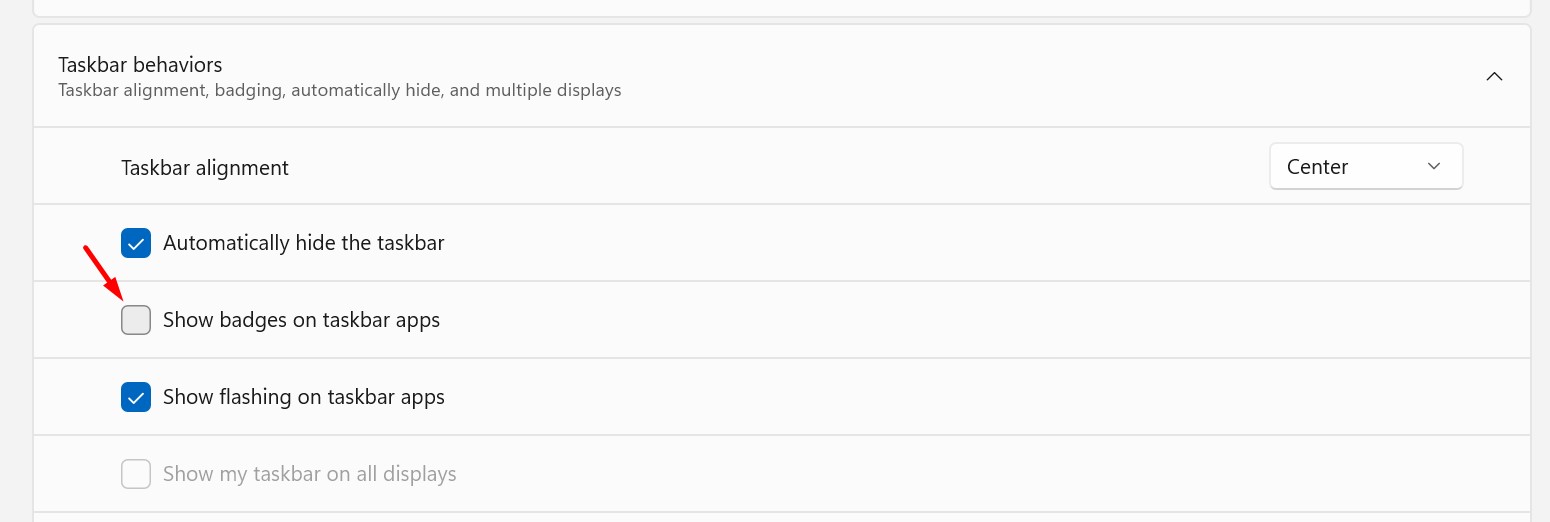
4. Expand the Taskbar behaviors section.
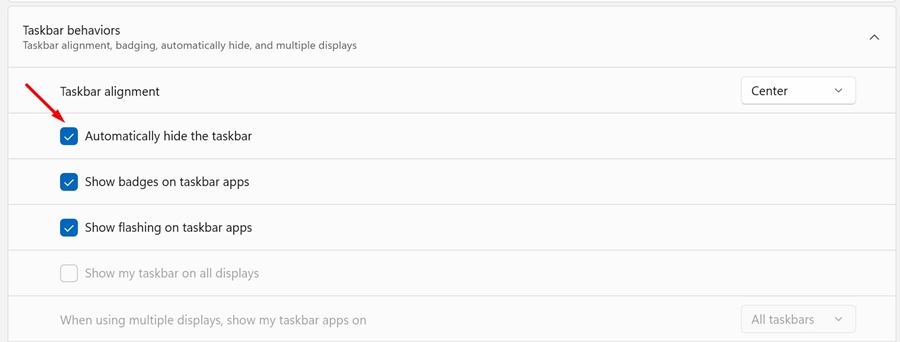
5. Make sure the ‘Automatically hide the taskbar’ checkbox is enabled.
3. Disable the Show Badges on Windows 11 Taskbar
Many Windows 11 users have claimed to resolve the Taskbar not auto hiding issue by disabling the Show badges option on the Taskbar Behavior settings. So, you can also try doing it and see if it works.
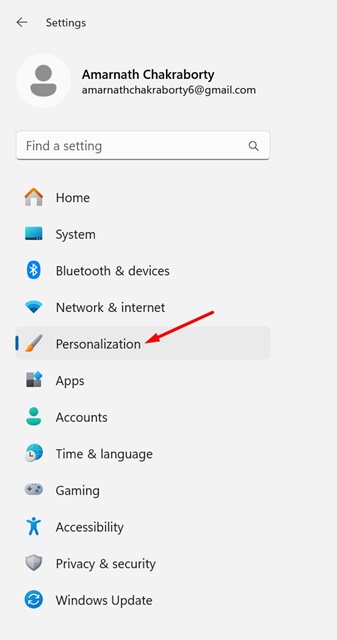
1. Click on the Windows 11 Start button and select Settings.
2. When the Settings app opens, switch to the Personalization tab on the left pane.
3. On the right side, click on the Taskbar.
4. Expand the Taskbar behaviors section.
5. Next, uncheck the ‘Show badges on taskbar apps’ option.
4. Make the Taskbar Alignment to the Center
Many users on the Microsoft forum have found that the fix for Taskbar auto-hide is not working on Windows 11. According to them, aligning the Taskbar with the center helped them fix the issue. You can also try doing it; here’s what you need to do.
1. Click on the Windows 11 Start button and select Settings.
2. When the Settings app opens, switch to the Personalization tab on the left pane.
3. On the right side, click on the Taskbar.
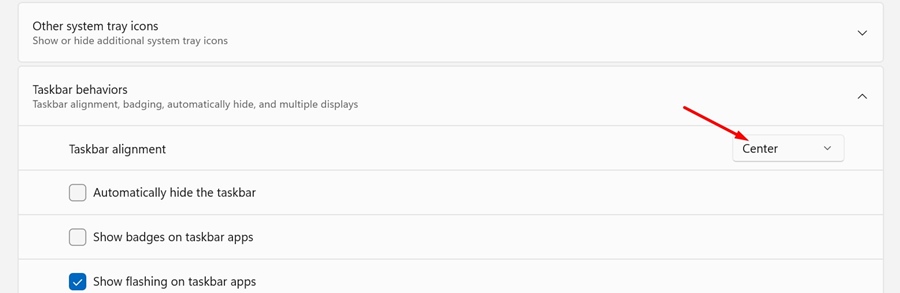
4. Expand the Taskbar behaviors section.
5. Next, click the drop-down next to Taskbar alignment and select Center.
5. Restart the Windows Explorer Process
If there’s a problem with the Windows Explorer process on your PC, certain visual features may not work like the auto hide taskbar.
You must access the Windows 11 Task Manager and restart the Windows Explorer Process. Here’s what you need to do.
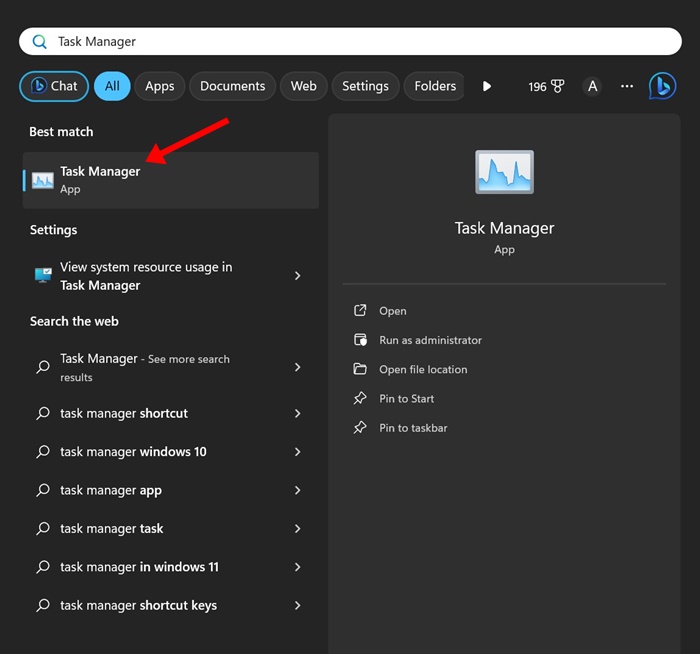
1. Type Task Manager in the Windows 11 Search. Next, open the Task Manager app from the list of best-match results.
2. When the Task Manager opens, switch to the Processes tab.
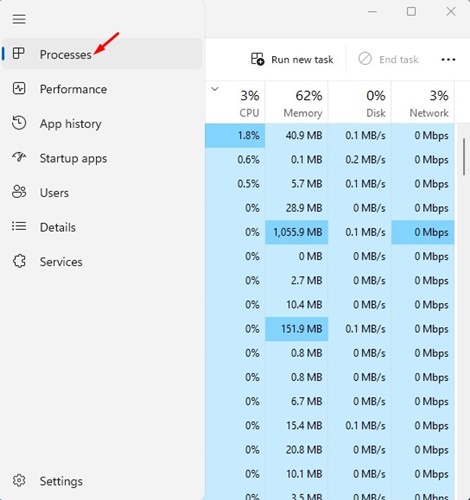
3. On the right side, find the Windows Explorer process.
4. Right-click on the Windows Explorer process and select Restart.

Your PC’s screen will go black for a second, indicating that the Windows Explorer process has been restarted.
6. Run the SFC and DISM Commands
If corrupted system files are the reason the auto-hide taskbar does not work on Windows 11, you need to run the SFC and DISM commands via the Command Prompt utility. Here’s what you need to do.
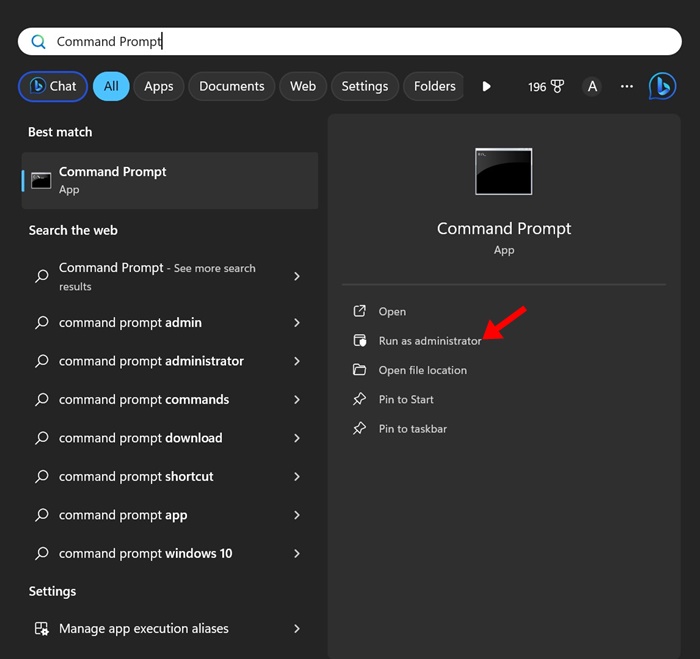
1. Type Command Prompt in the Windows 11 Search. Next, right-click on the Command Prompt and select Run as administrator.
2. When the Command Prompt opens, execute the given command:
sfc /scannow

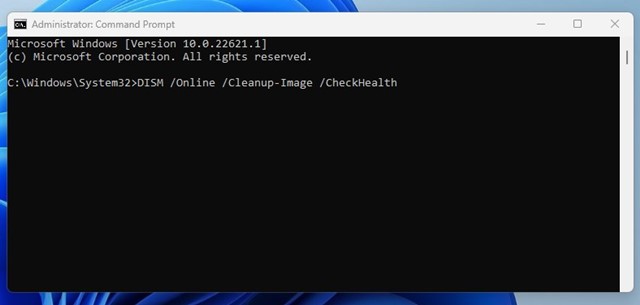
3. If the SFC scan returns with an error, execute these commands one by one:
Dism /Online /Cleanup-Image /CheckHealth
Dism /Online /Cleanup-Image /ScanHealth
Dism /Online /Cleanup-Image /RestoreHealth
After executing all these commands, restart your Windows 11 PC. Then, check whether your Windows 11 Taskbar is auto-hiding.
7. Perform a System Restore
If the auto hide feature for Windows 11 taskbar is still not working, it’s best to perform a system restore. System Restore will roll back your device settings to a date when everything is working fine. Here’s how to perform a system restore on Windows.
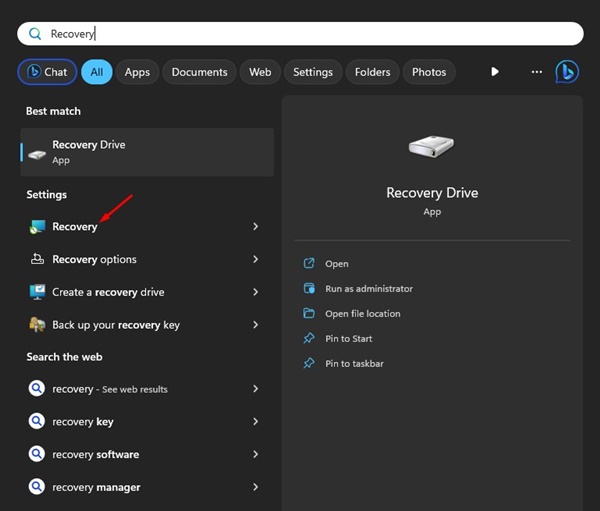
1. Type in Recovery on the Windows 11 Search. Next, open the Recovery app from the list of best-match results.
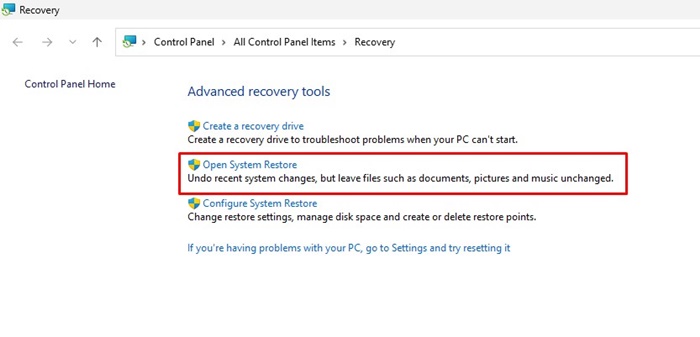
2. On the Recovery screen, click on Open System Restore.
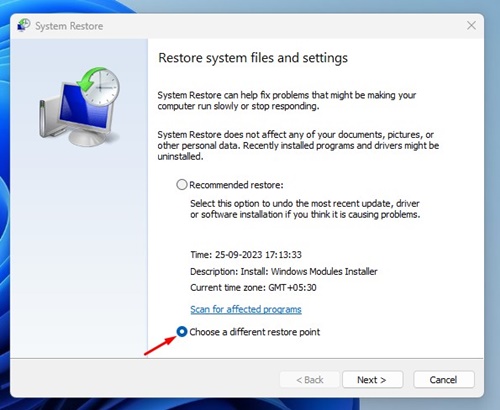
3. On the next screen, select Choose a different restore point.
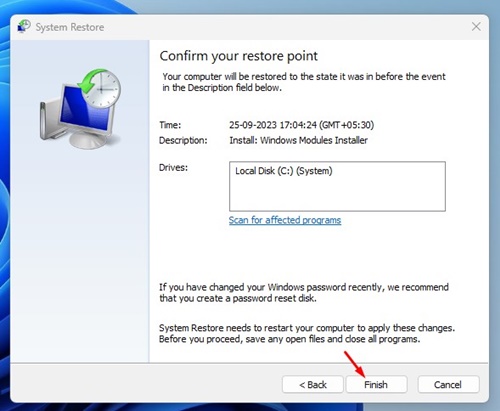
4. Select a Restore point created on a date when the Windows 11 taskbar auto-hide is working properly and click Next.
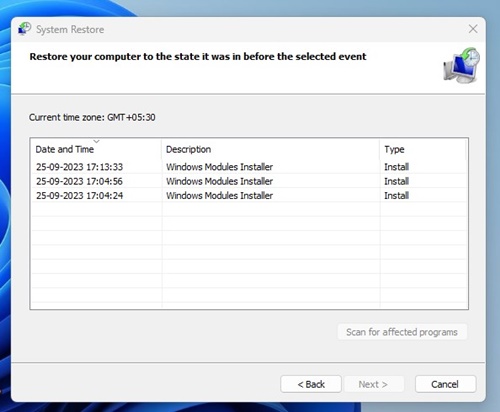
5. On the confirmation prompt, click Finish.
8. Install the Pending Windows Updates
It’s possible that the version of Windows you’re using has a bug or glitches preventing the Auto Hide feature for the taskbar from functioning properly.
You can eliminate such bugs & glitches by installing the pending Windows Updates. Here’s how you can update your Windows 11 PC.
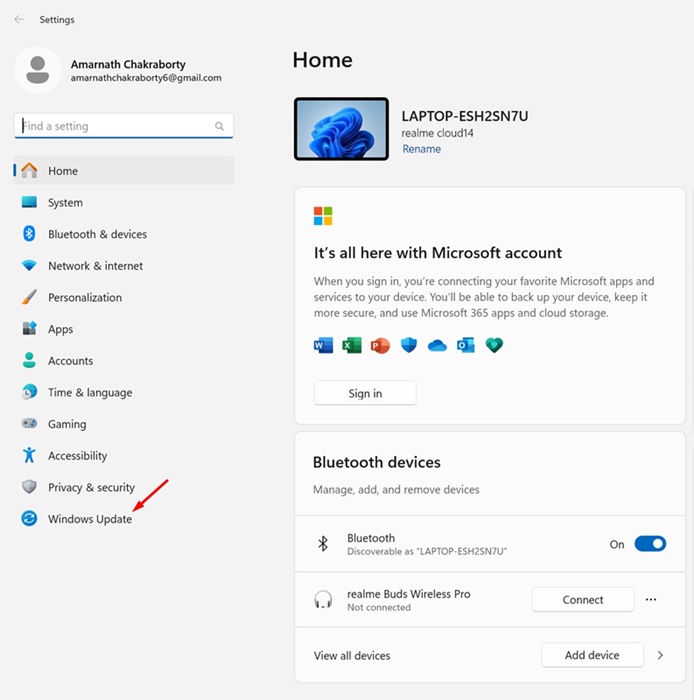
1. Click on the Windows 11 Start Button and select Settings.
2. When the Settings app opens, switch to the Windows Update.
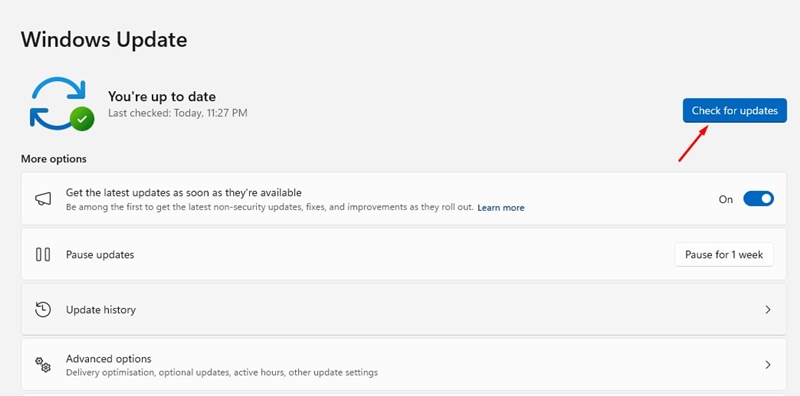
3. On the right side, click on Check for Updates.
These are a few simple methods to fix auto-hide for the Taskbar not working on Windows 11. Let us know if you need more help on this topic in the comments. Also, if you find this guide helpful, don’t forget to share it with your friends.


