Well, it’s no doubt that Google Chrome is right now the best and most popular web browser for desktops. It’s not that other web browser for Windows doesn’t exist, but Chrome offers better features and extension support.
On Techviral, we have already shared quite a few guides on the Google Chrome web browser. And today, we are back again with another best tutorial to help you better manage your browser history.
If you have been using Chrome, you may know that the web browser doesn’t allow you to delete history based on date. You need to scroll through all history manually; you can’t find Chrome history of any particular date.
Better Manage Your History In Google Chrome
Hence, you need to start using a History Manager extension to manage your Chrome history better. Below, we have shared some simple steps to better manage your history in the Chrome browser. Let’s get started.
1. First, launch the Google Chrome browser on your PC. Next, download and install the extension History Eraser, which will create a custom dashboard for you that will help you to better access the history of any date and time.
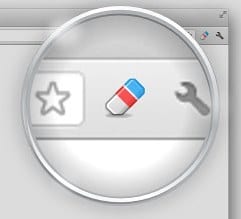
2. Click on the “Add to Chrome” button to get the extension added to your browser, and once the extension is added, you will see the icon at the top right corner of your browser.
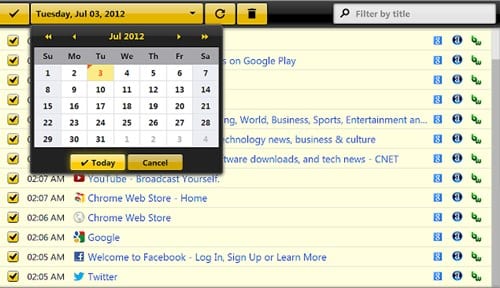
3. You need to click on that icon. Now, you will see a custom dashboard in your Chrome. It will show you the history by date and time. You can also edit many things that will help you change the default history page to a newly customized one that will have more options, and you can easily access any particular data.
You can also change things for URLs and particular pages. That’s it. You are done, now you have one customized history panel.
So, this is how you can better manage your Chrome history with a simple extension. If you need more help with Chrome’s history management, let us know in the comment box below.


