
If you are not satisfied with the default mouse settings, you may look for ways to change them to suit your comfort. If you have set up Windows 11 for business or work purposes, it’s essential for you to feel comfortable with the mouse pointer’s sensitivity, speed, and cursor style.
We have already shared a few guides on mouse customization on Windows 11, such as changing the mouse pointer style, enabling the ClickLock functionality, etc. Today, we will be discussing how to change the mouse speed in Windows 11.
1. Change Mouse Pointer Speed via Settings
We will use the Windows 11 Settings app to change the mouse pointer speed in this method.
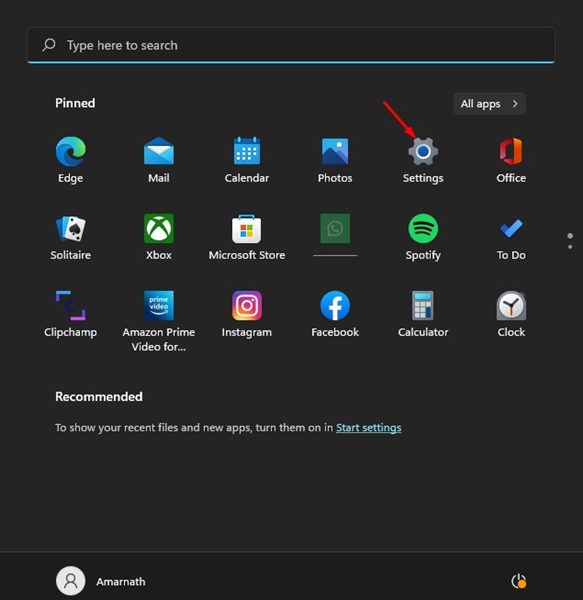
1. Click on the Windows 11 Start button and select Settings.
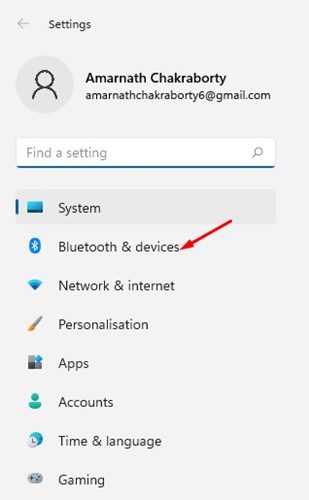
2. In the Settings app, click on Bluetooth & devices.
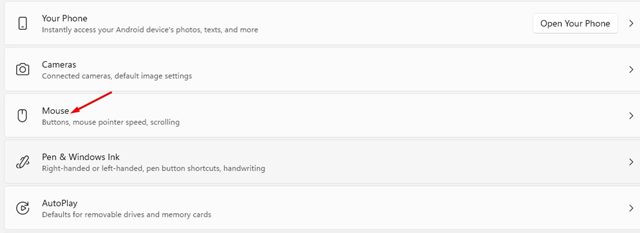
3. Scroll down and click on Mouse.
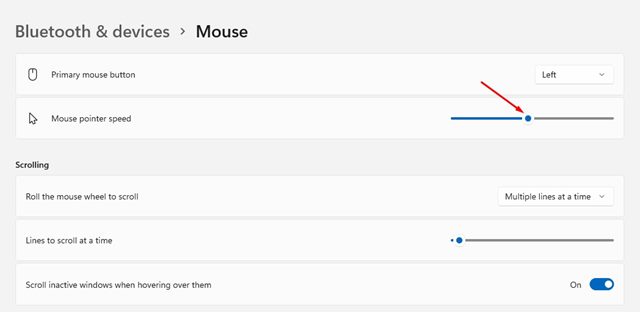
4. On the Mouse Settings page, use the slider behind the Mouse pointer speed to increase or decrease the Mouse speed.
2. Change Mouse Pointer Speed via Control Panel
You can even use the Control Panel in Windows 11 to change the mouse pointer speed. Here’s how to change mouse speed via Control Panel on Windows 11.
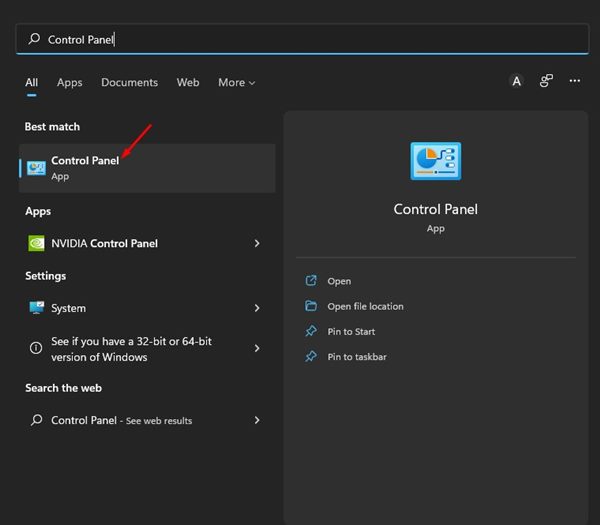
1. Open Control Panel from the Windows Search.
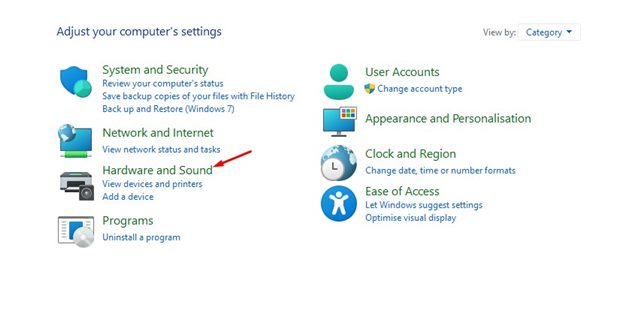
2. In Control Panel, click on Hardware and Sound.
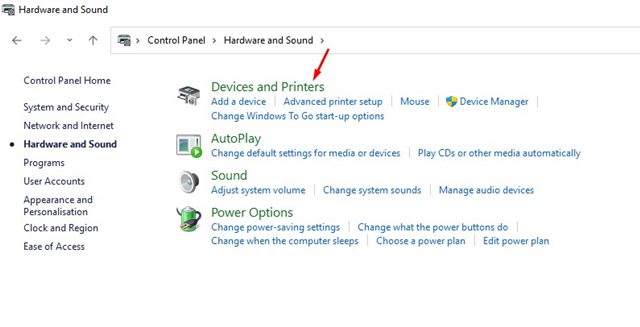
3. On the Hardware and Sound page, click on Devices and Printers.
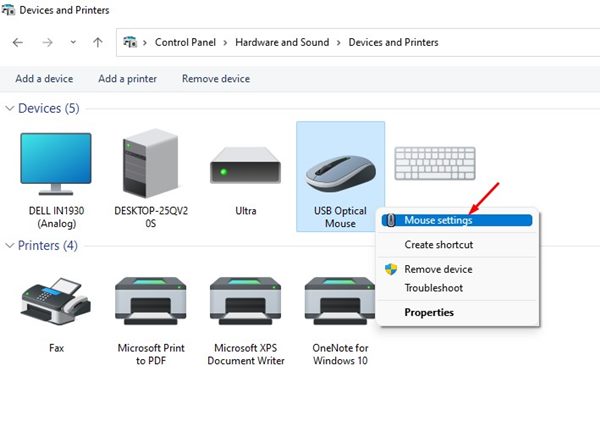
4. Right-click on Mouse and select Mouse Settings.
5. In Mouse Properties, switch to the Pointer tab.

6. Use the slider underneath ‘Select a pointer speed’ to increase or decrease the Mouse pointer speed.
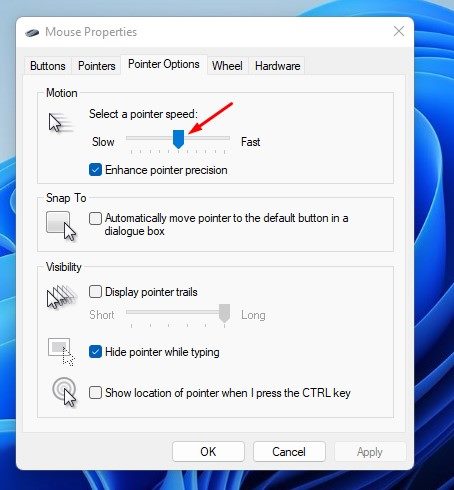
7. After making the changes, click on the Apply button and then on Ok.
Windows 11 is a highly customizable operating system, and so are the mouse options. You can follow these two methods to increase or decrease the mouse pointer speed on your Windows 11 PC. So, that’s all about changing the Mouse speed in Windows 11; if you know any other way to adjust the mouse speed, let us know in the comments.