Microsoft introduced new Power Mode settings to Windows 10 operating system. The Power Mode settings in Windows let you control your computer’s power consumption. If you are using a laptop, you might find this feature very helpful.
Like Windows 10, Windows 11 also allows users to change settings to balance the performance with energy consumption. The new Windows 11 operating system uses the ‘Balanced’ power mode by default.
The ‘Balanced’ mode is the recommended setting; hence, it automatically optimizes the performance with power consumption. However, you can change this default setting to save energy at the cost of performance or get the best performance at the cost of battery usage.
Steps to Change Power Mode Settings on Windows 11
Depending on your needs, you can change the power settings to enhance your PC’s performance. Hence, in this article, we will share a step-by-step guide on how to change Power Mode Settings in Windows 11.
1) Change Power Mode
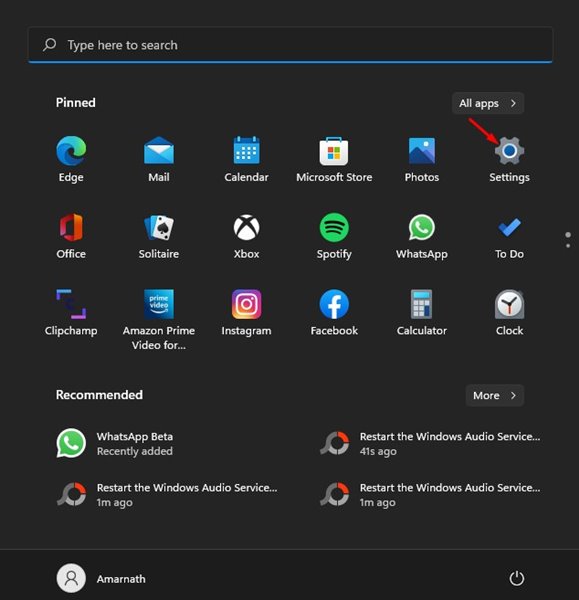
1. First of all, click on the Windows 11 start button and select Settings.
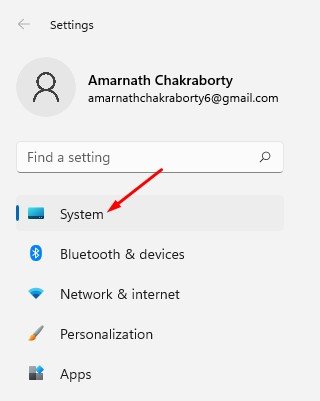
2. On the Settings page, click on the System tab as shown below.
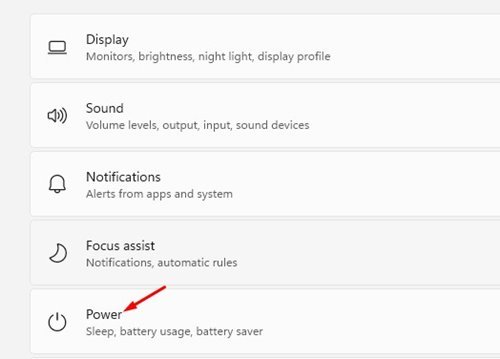
3. Click on the Power & battery settings option on the right pane.
4. On the next screen, scroll down to the ‘Power Mode’ and click on the drop-down arrow.
5. You will find three options – Best power efficiency, Balanced, and Best Performance. Here’s what each power option means:
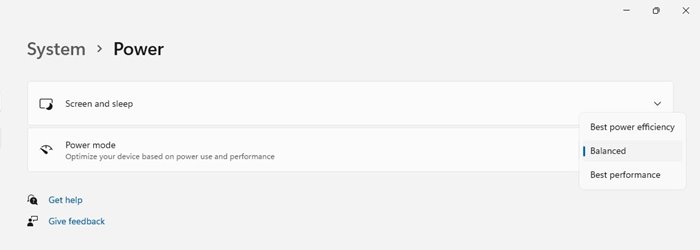
Best power efficiency: This option saves energy by reducing the device’s performance whenever possible.
Balanced: This option automatically adjusts your PC’s performance with energy consumption on supported hardware.
Best Performance: This one optimizes your PC for best performance at the cost of energy consumption.
6. Depending on your needs, you need to select the Power mode.
That’s it! You are done. This is how you can change the power mode via Settings on Windows 11.
2) Change Power Mode via Control Panel
In this method, we will use the Control Panel to change the power mode. Here’s what you need to do.
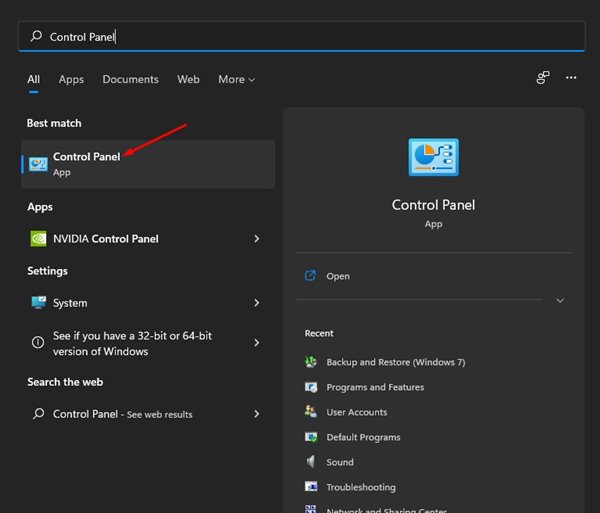
1. First of all, click on the Windows 11 search and type in Control Panel. Then, open Control Panel from the list.
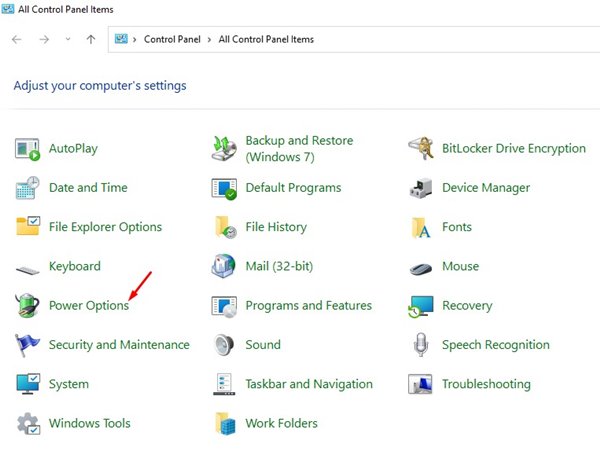
2. On the Control Panel, click on the Power Options as shown below.
3. Now, you will be able to see the Power Modes. The default Power Plan is set to balance. You can change it to Power Saver or High performance.
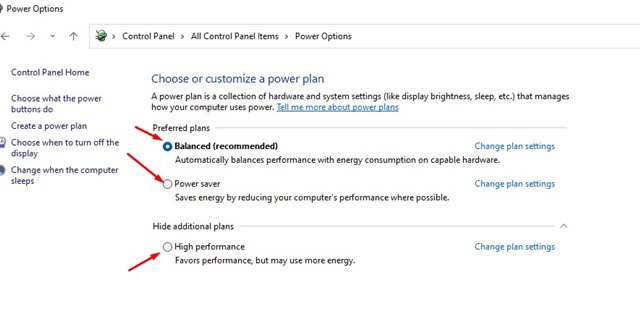
4. To customize the Power plans, you need to click on the Change plan settings and make the appropriate changes.

That’s it! You are done. This is how you can change the power mode settings on Windows 11.
It’s pretty easy to change the power mode on Windows 11. You can use any of the two methods to change the Power mode settings. I hope this article helped you! Please share it with your friends also. If you have any doubts related to this, let us know in the comment box below.
")

")