You may want to change the network adapter name for a few reasons and there are multiple ways to rename it. Here are the best ways to change network adapter name on Windows 11.
1. Change the Network Adapter Name on Windows 11 via Settings
You can directly change the network adapter name on Windows 11 via Settings.
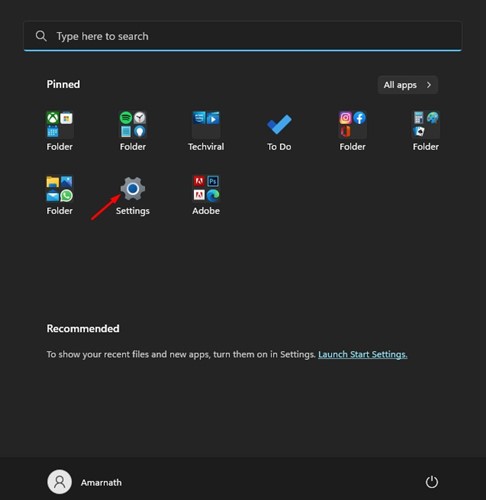
1. Click the Windows 11 Start button and select Settings.
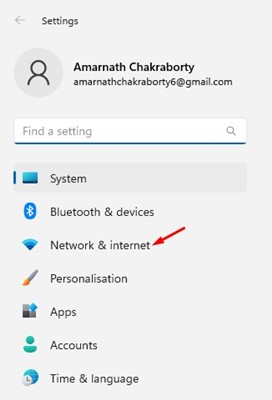
2. Switch to Network & Internet.
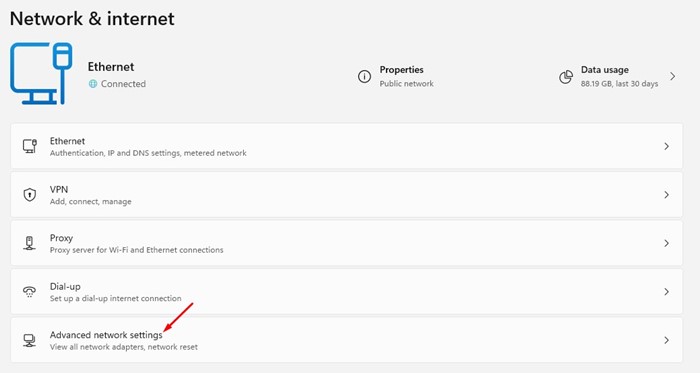
3. Click Advanced Network Settings.
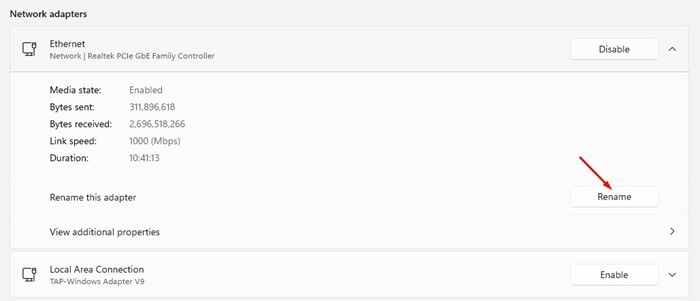
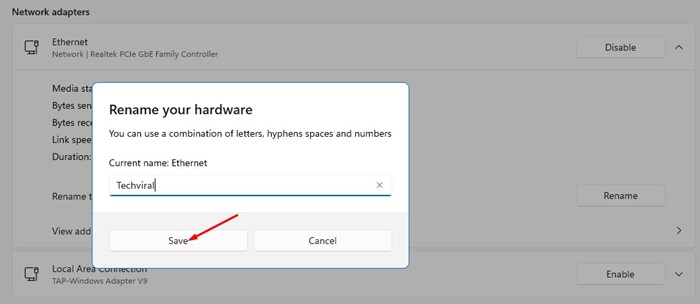
4. You will see all your network adapters. To rename a network adapter, tap on the drop-down arrow beside the Network adapter name.
5. Click on Rename.
6. Enter the new name and click Save.
2. Rename the Network Adapter using the Control Panel
This method uses the Control Panel to change the Network adapter name in Windows 11.
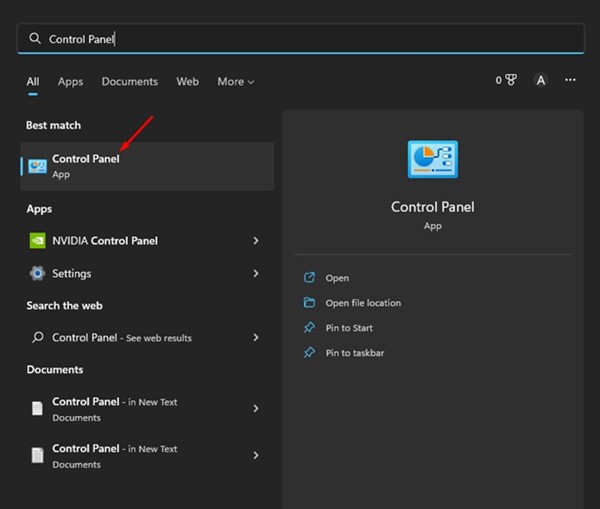
1. Open Control Panel from the Windows Search.
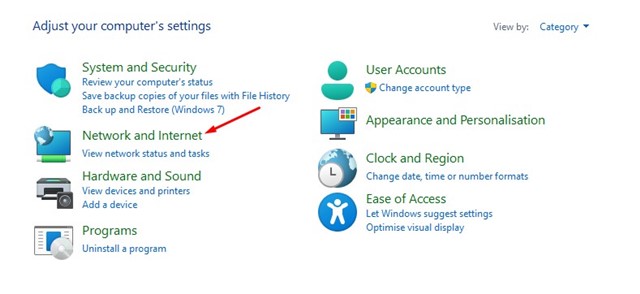
2. Click on Network and Internet.
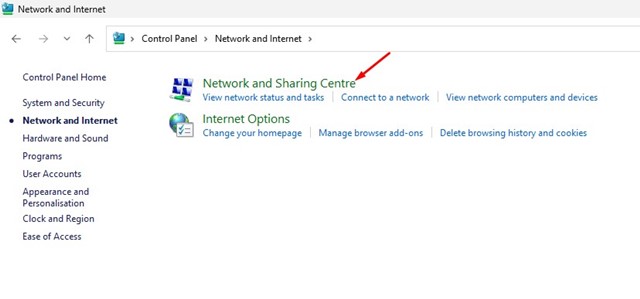
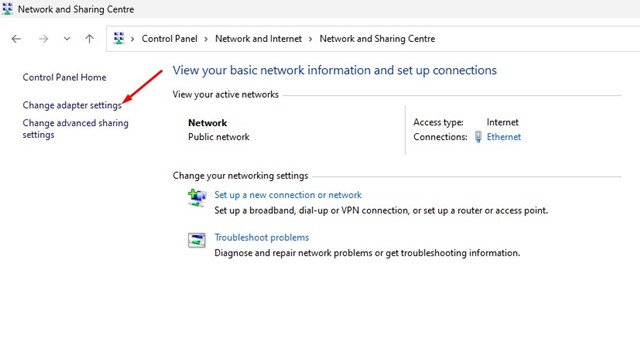
3. Click on Network and Sharing Center.
4. Click on Change adapter settings on the left pane.
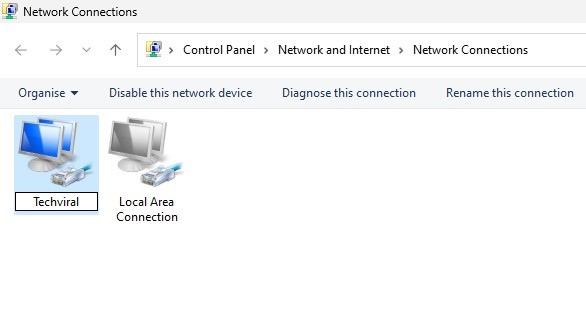
5. Right-click on the Network adapter you want to rename and select Rename.
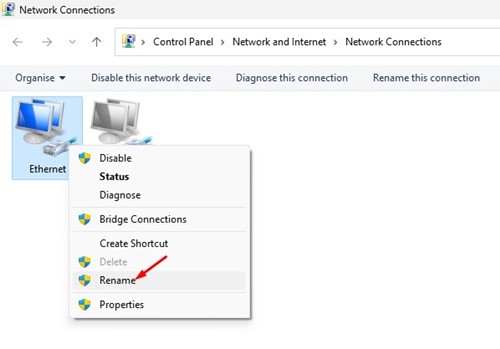
6. Enter the new name you want to set.
3. Rename Network Adapter using Command Prompt
If you’re comfortable handling the command prompt, here’s how you can use it to rename the network adapter.
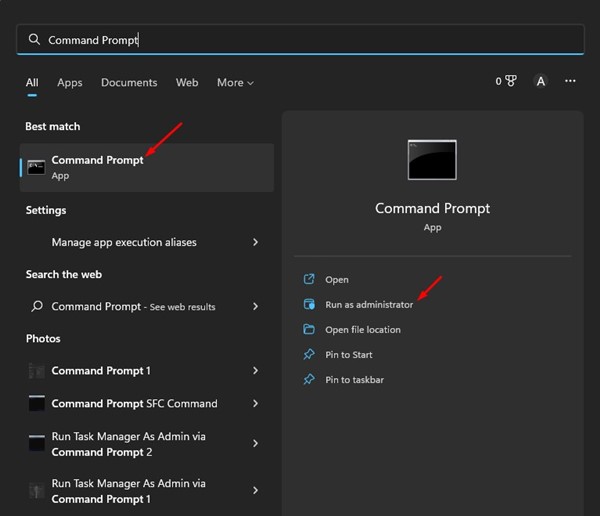
1. Click on Windows 11 search and type in Command Prompt. Right-click on the Command Prompt and select Run as administrator.
2. Enter the command: netsh interface show interface
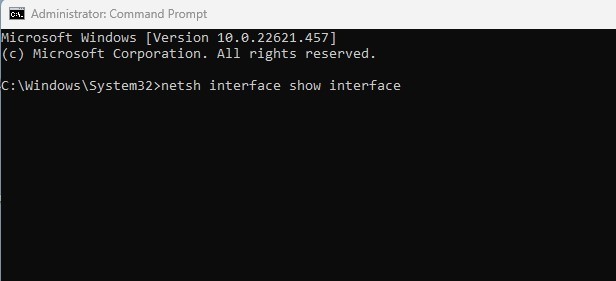
3. This will list all Network adapters. You need to note down the name of the network adapter you want to rename.
4. Execute the command:
netsh interface set interface name="OLD-NAME" newname="NEW-NAME"
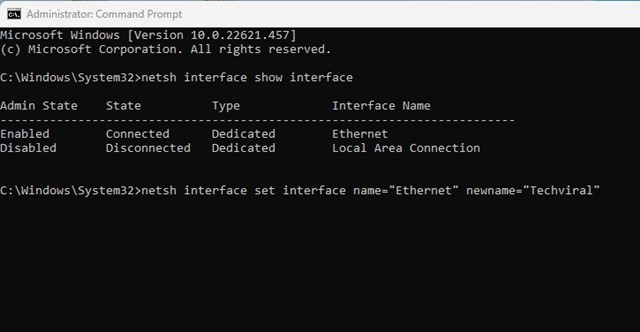
Important: Replace OLD_NAME with the existing name of your network adapter. Next, replace the NEW-NAME with the name you want to set.
4. How to Rename Network Adapter Name Using PowerShell
Like the Command Prompt, you can utilize Windows PowerShell as well to rename the Network adapter.
1. Type PowerShell in the Windows Search. Right-click on the PowerShell and select Run as administrator.
2. Run the following command to see all network adapters:
Get-NetAdapter | Format-List -Property Name
3. Note the name of the adapter you want to rename. Next, execute this command:
Rename-NetAdapter -Name "OldName" -NewName "NewName"
Note: Replace OldName in the command with the current name of your network adapter. Then, replace the ‘NewName’ with the name you want to assign.
Also read: Windows 11 ISO Free Download
These are some of the best methods for renaming network adapters on Windows 11 computers. If you know other ways to change the network adapter name on Windows 11, let us know in the comments below.

