Windows offer several built-in system junk cleaning utilities to free up storage space. You can use them via Command Prompt to clean your system. Here’s how you can clean your Windows PC using CMD.
1. Defragment the Hard Disk via CMD
In this method, we will defrag our hard disk via CMD. This method will clean all junk files stored on selected drives.
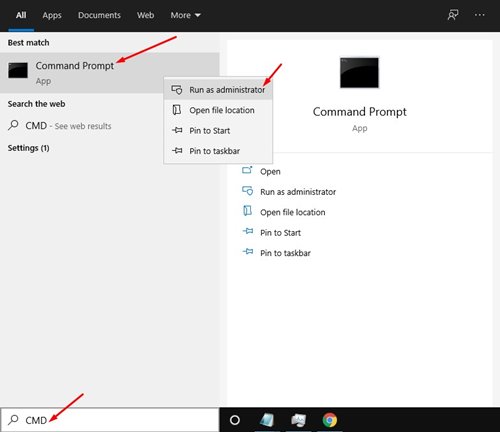
1. Click the Windows Start button and type in CMD. Right-click on the Command Prompt and select Run as Administrator.
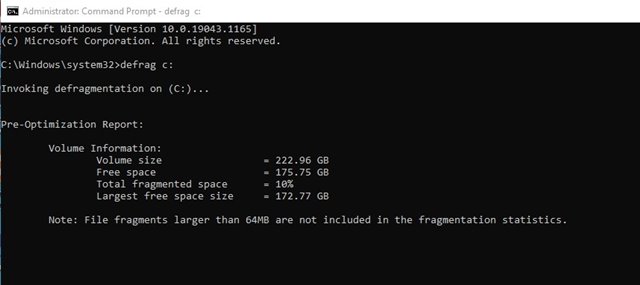
2. Enter the command:
defrag c:

Important: The above command will defrag the C: Drive of your PC. Change the drive letter if you want to defrag any other drive.
3. The Disk Defragment tool will scan the selected drive and remove the junk & temp files.
2. Run Disk Cleanup Utility via CMD
We will run Windows’ built-in Disk Cleanup utility to free up storage space.
1. Click on the Windows Start button and type in CMD. Right-click on the Command Prompt and select Run as Administrator.
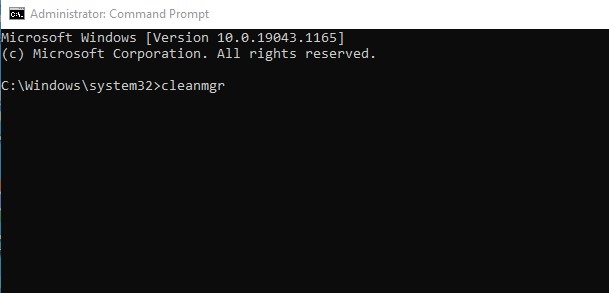
2. Type in cleanmgr and press Enter.
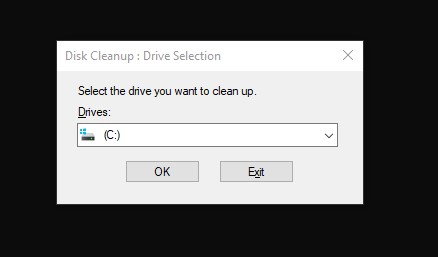
3. This will launch the Disk Cleanup utility. Select the drive you want to clean and click the Ok button.
4. If you wish to skip the drive selection pop-up, enter the command:
cleanmgr /sageset
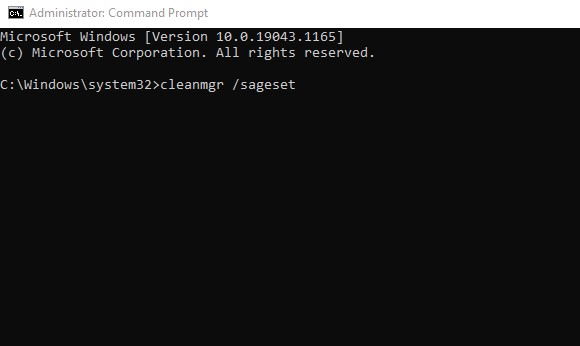
You need to select the files to delete after executing the above command
5. If you wish to delete files automatically, then execute the command:
cleanmgr /sagerun

The above command will automatically scan your drives and delete junk files from your PC.
3. Clear Temporary Files Using the Command Prompt
You can also use the Command Prompt utility to clear the temporary files.
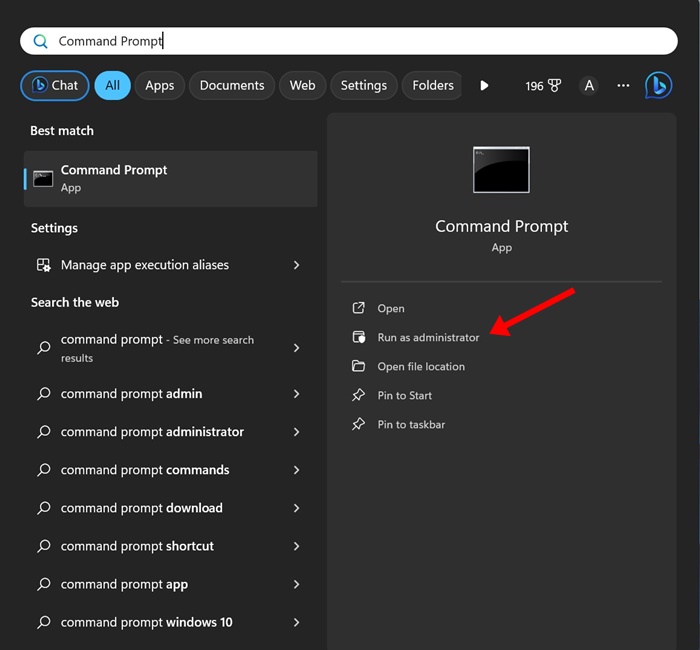
1. Click on Windows 11 Search and type Command Prompt. Right-click on the Command Prompt and select Run as administrator.

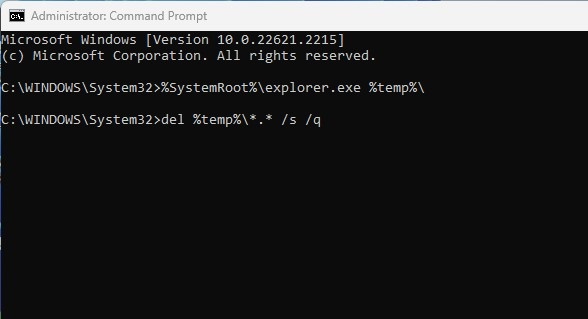
2. Execute the given command:
%SystemRoot%\explorer.exe %temp%\

3. You can use the CTRL + A function to select all files. Once selected, you can delete it. Or else, execute the command to delete all temporary files.
del %temp%\*.* /s /q
4. Delete the Prefetch Files Using the Command Prompt
Prefetch files are temporary files you can delete to free up storage space. Here’s how to delete those files from CMD.
1. Open Command Prompt with admin rights (Right click > Run as administrator).
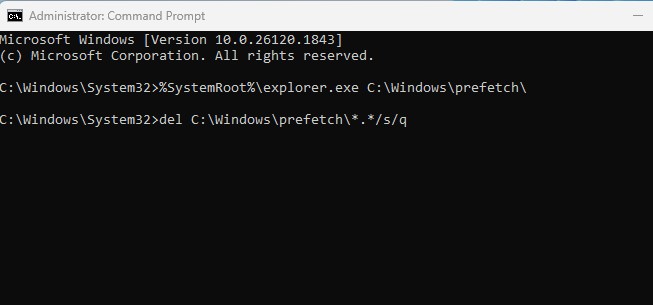
2. Execute this command:
%SystemRoot%\explorer.exe C:\Windows\prefetch\
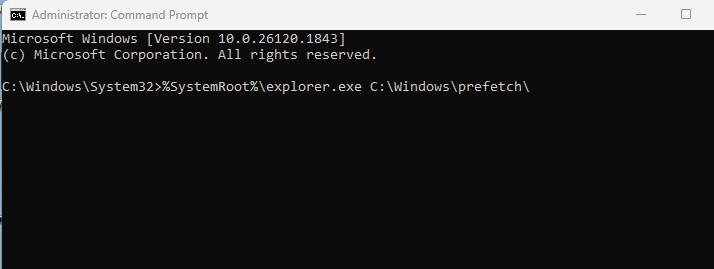
3. Execute this command to delete the Prefetch files:
del C:\Windows\prefetch\*.*/s/q
This guide explains how to clean your Windows PC via Command Prompt. If you have any doubts, let us know in the comment box below.

