You may have your reason for clearing Autofill in Chrome; maybe the saved entries are incorrect, or you’ve recently moved to a new location, and so on. Whatever the reason is, clearing autofill entries in Chrome is super easy. Here’s how you can do it.
How to Clear a Single Autofill Entry in Google Chrome?
Let’s say you just moved to a new location and want to update the new location; instead of clearing all autofill entries, you can remove the saved address and add the new one.
1. Open the Google Chrome browser on your computer.
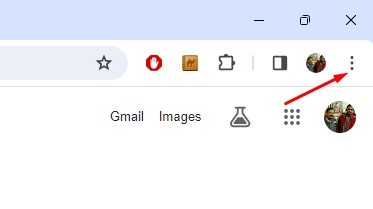
2. Click on the three dots at the top right of the screen.
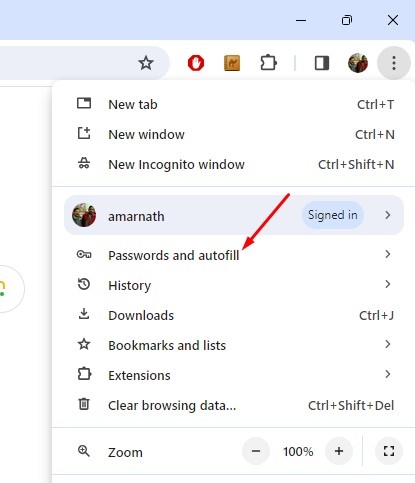
3. Select Passwords and autofill.
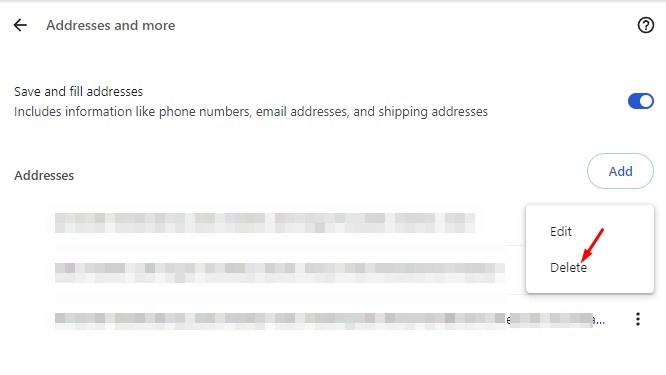
4. Select either Address and More or Payment Methods. Then, choose the type of autofill content you want to remove.

5. To remove an address entry or payment method, click on the three dots beside the entry. Select Delete from the options that appear.
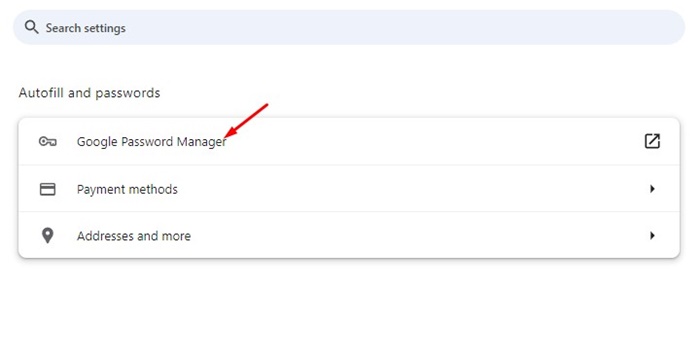
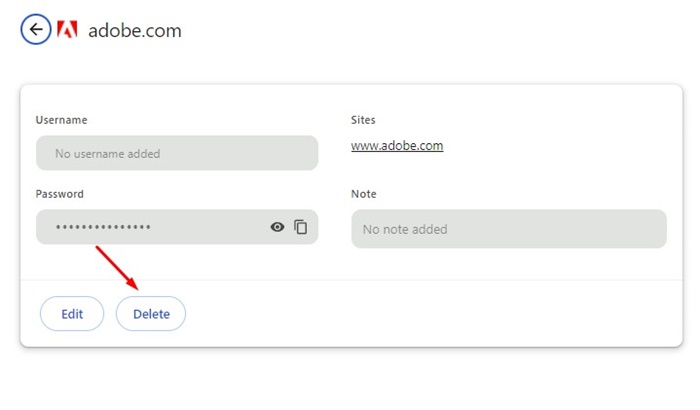
7. Similarly, to delete a password entry, select Google Password Manager and click the password entry you want to remove.
8. When the password entry opens, click Delete.
How to Remove All Autofill Entries in Google Chrome?
You can also remove all autofill entries from your Google Chrome browser by following these simple steps.
1. Launch the Google Chrome browser.
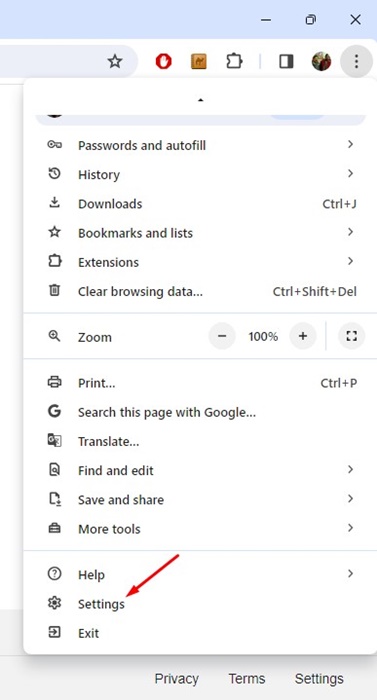
2. Click on the three dots at the top right corner.
3. On the Chrome menu, select Settings.
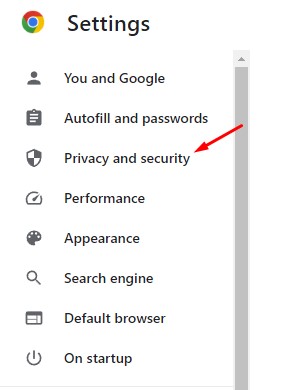
4. Switch to Privacy and Security.
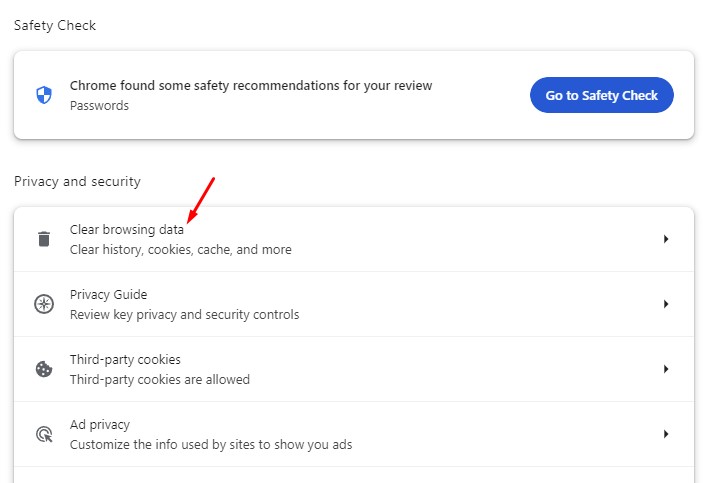
5. Click Clear Browsing Data.
6. Switch to the Advanced tab.
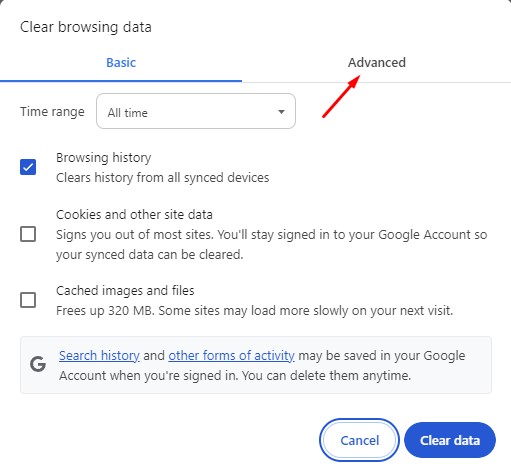
7. Select All time on the Time Range.
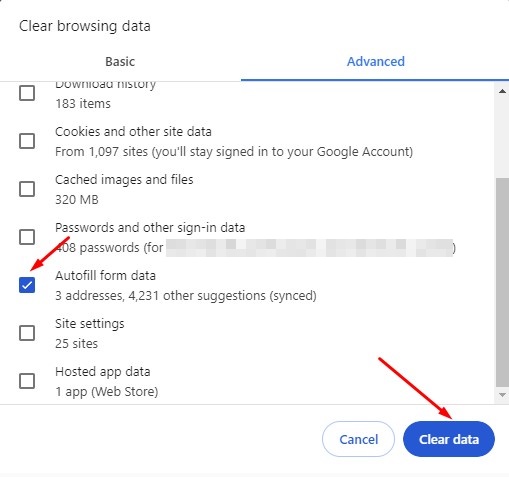
8. Check the Autofill form data and uncheck all other selected items. Once done, click Clear Data.
How to Completely Disable Autofill in Chrome
Even though Autofill is a great feature that saves time, you may want to turn it off for some reason. Here’s how you can completely turn off Autofill in Chrome.
1. Launch the Google Chrome browser on your computer.
2. Click on the three dots at the top right corner and select Settings.
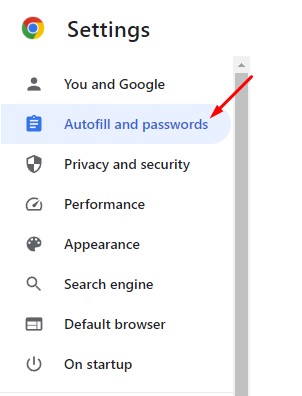
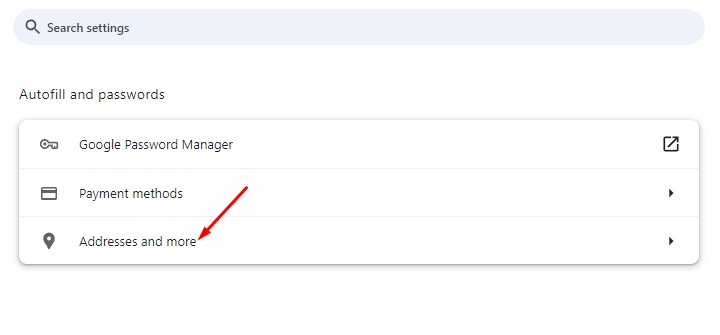
3. Select Autofill and passwords.
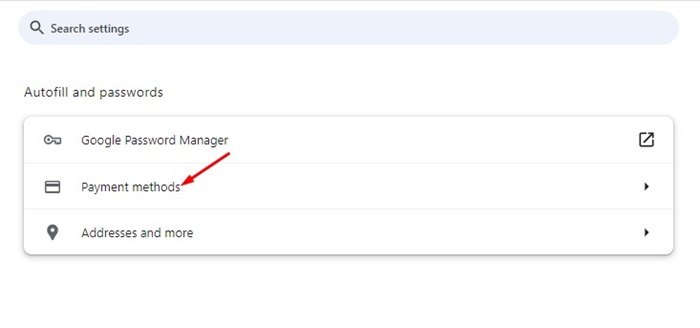
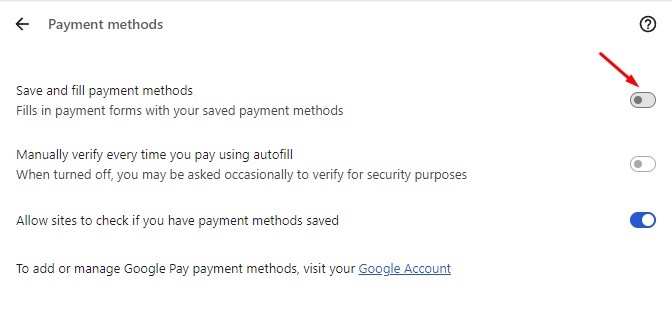
4. Select Payment methods.
5. Turn off the toggle for Save and Fill payment methods.
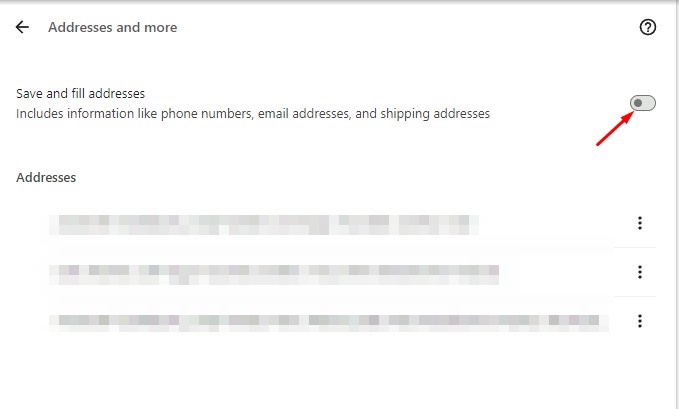
6. Go back to the previous page and select Addresses and more.
7. Turn off the toggle for Save and Fill addresses.
8. Return to the previous page and select Google Password Manager.
9. Select Settings.
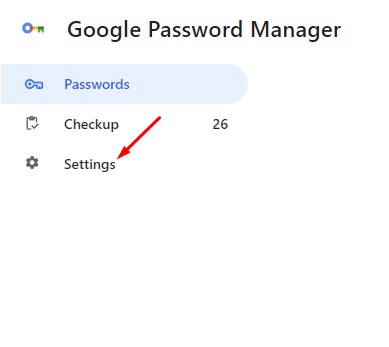
10. On Settings, turn off the toggle for ‘Offer to save Passwords’, and ‘Sign in automatically’.
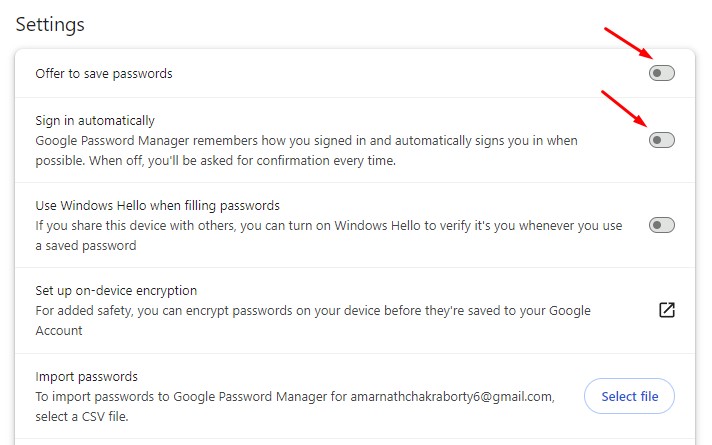
This will turn off the autofill feature in your Google Chrome browser. After you make the changes, Chrome will no longer collect your passwords, addresses, and payment methods.
These are simple steps to clear autofill in the Google Chrome browser. Follow the steps we have shared to manage your autofill entries effectively in the browser.


