We deal with hundreds of files with different extensions every day on our computer. Each file has a file extension that tells the operating system what type of file, and each of them needs a specific app to open. For example, .jpg and .png files need a photo viewer to open.
If you double click on the example.jpg, Windows 10 knows it’s an image file and will open it with the Photo Viewer. Similarly, if you double click on the .mp4 or .mkv file, Windows 10 will open the media player’s file.
Since Windows knows which app to open when the user doubles click on any particular file extension, it disables the file extension preview. However, setting up Windows to show file extensions could be extremely helpful for security. For example, a file named ‘malware.jpg.exe’ will appear to you as ‘malware.jpg’ in the file explorer, making you think that it’s just a picture.
Also Read: Windows 10 Tips & Tricks in 2020 (Hidden Start Menu, God Mode & More)
Steps to Configure Windows 10 to Show File Extensions
Hackers do these little things to trap innocent users. So, it’s always best to show file name extensions in Windows Explorer. You will also manage the files better if you choose to show file name extensions in Windows Explorer.
In this article, we will share a detailed guide on how to show file name extensions in Windows Explorer. Let’s check out.
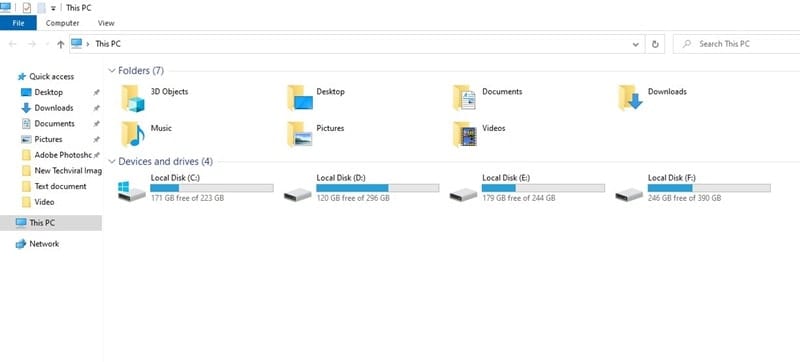
Step 1. First of all, open File Explorer on Windows 10 computer.
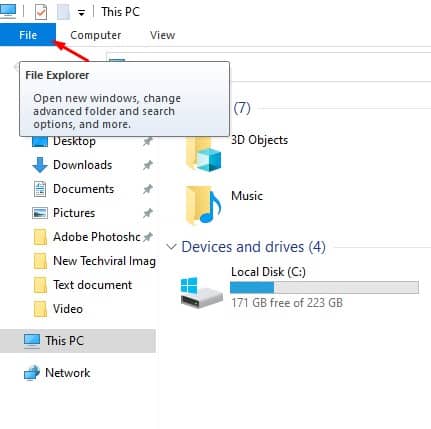
Step 2. Once done, click on the ‘File’ option.
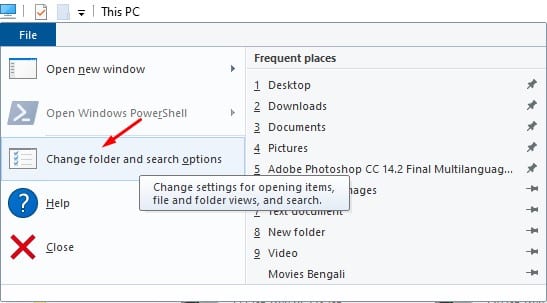
Step 3. From the drop-down menu, select ‘Change folder and search options’
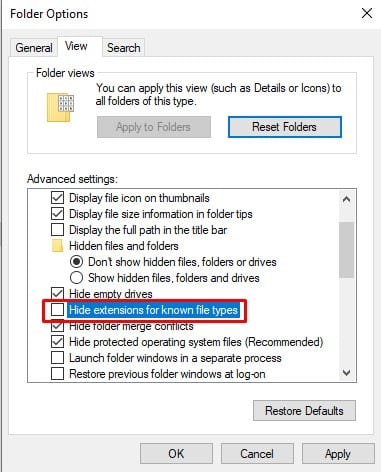
Step 4. Select the ‘View’ tab.
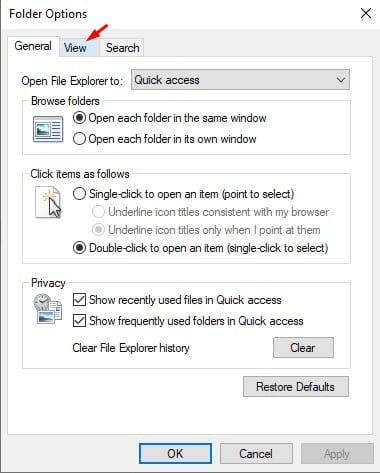
Step 5. Now scroll down and untick the ‘Hide extensions for known file types’ option.
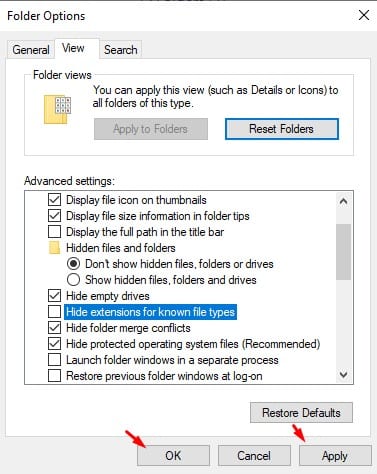
Step 6. Once done, click on the ‘Apply’ button and then on ‘Ok.’
Step 7. Now move to the folder where you have some files stored. You will be able to see the file extension behind the name.
If you wish to hide the file extension, you need to tick the ‘Hide extensions for known file types’ option in Step no. 5.
That’s it! You are done. This is how you can make Windows 10 show file extensions in the File Explorer.
So, this article is all about how to make Windows show file extensions in the file explorer. I hope this article helped you! Please share it with your friends also. If you have any doubts related to this, let us know in the comment box below.


