If you often hand your laptop to your family members, they can check the sites you visit, the photos you have saved, and the sensitive data stored in it. To prevent these privacy breaches, Microsoft’s Windows 11 Home edition allows you to create a Guest account.
1. Create a Guest Account on Windows 11 via Settings
You can create a Guest account by utilizing the Settings app.
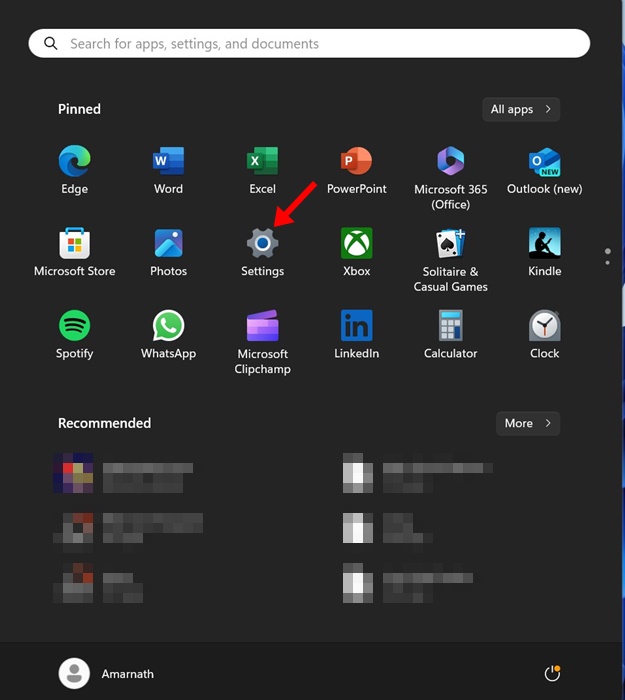
1. Open the Settings app.
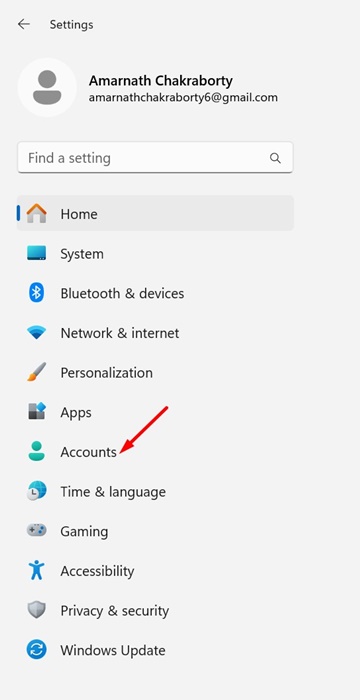
2. Switch to the Accounts tab.
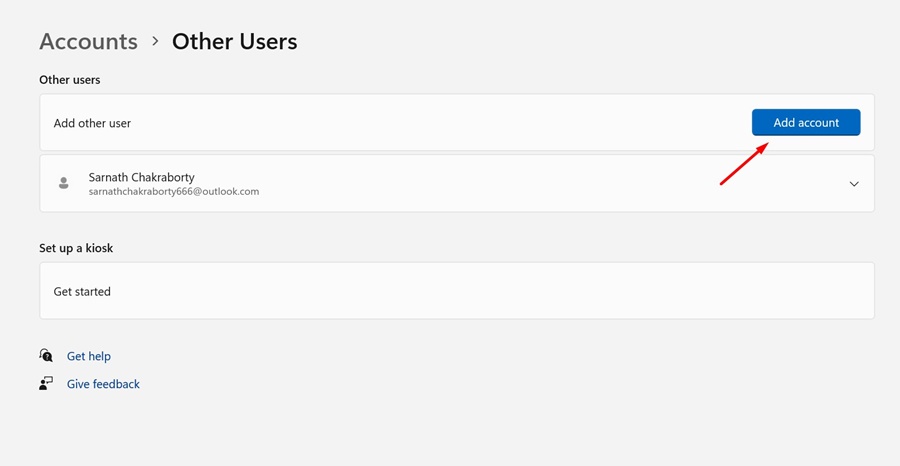
3. Click on Other users and the Add Account button beside Add other user.
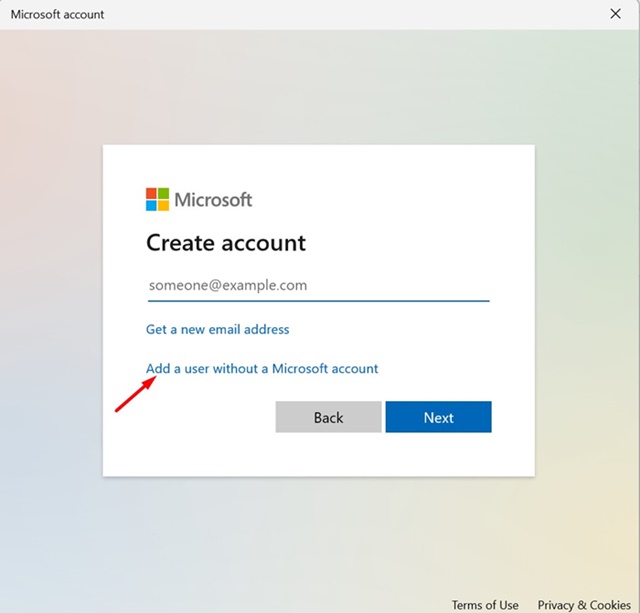
4. Click on the I don’t have this person’s sign-in information.
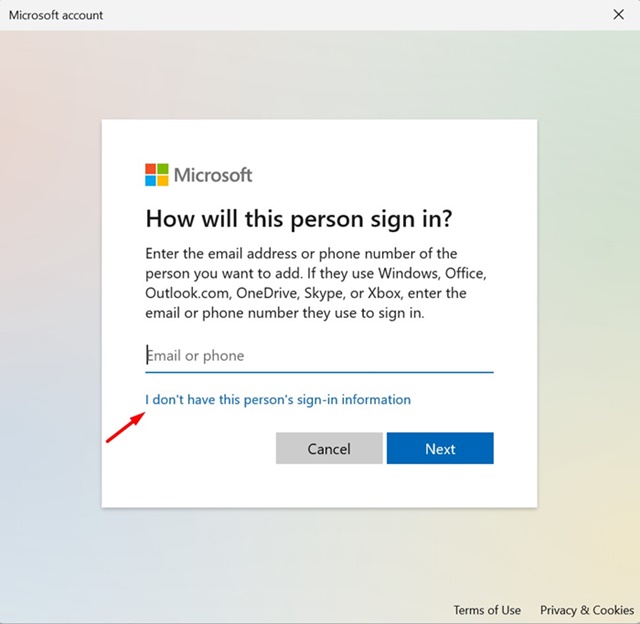
5. Select Add a user without a Microsoft account.
6. On the Create a new user for this PC prompt, add a name like Guest.
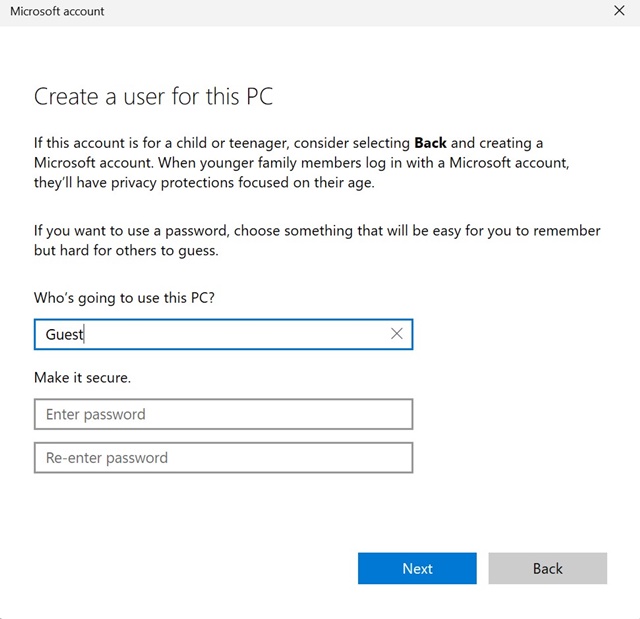
7. You can also add a password if you want. Once done, click on Next.
2. Create a Guest Account on Windows 11 Home via Terminal
This method will use the Terminal app to create a Guest account.
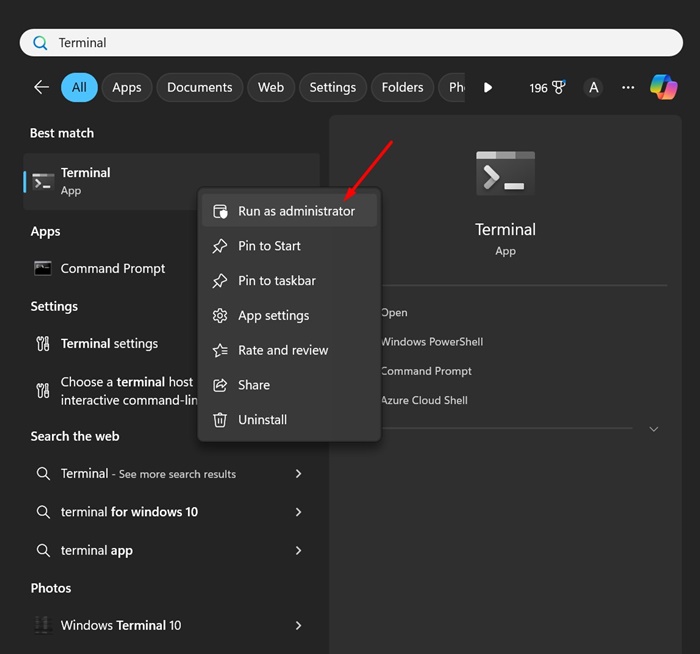
1. Type Terminal on Windows 11 Search.
2. Right-click on the Terminal and select Run as administrator.
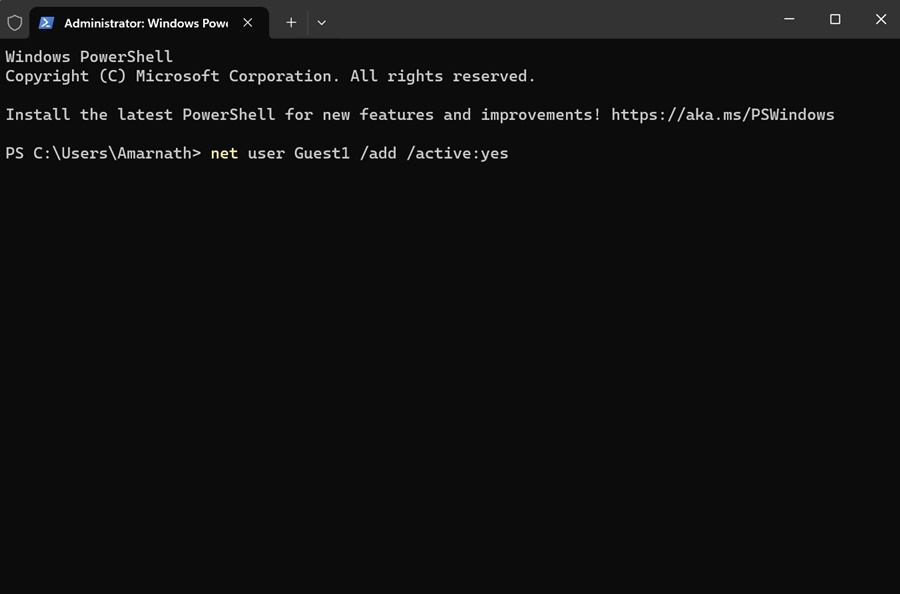
3. Execute this command:
net user {username} /add /active:yes
Important: Replace {username} with the name you want to assign to the Guest account.
4. If you want to add a password, execute this command:
net user {username} *
Important: Replace {username} with the name of the Guest account you’ve just created.
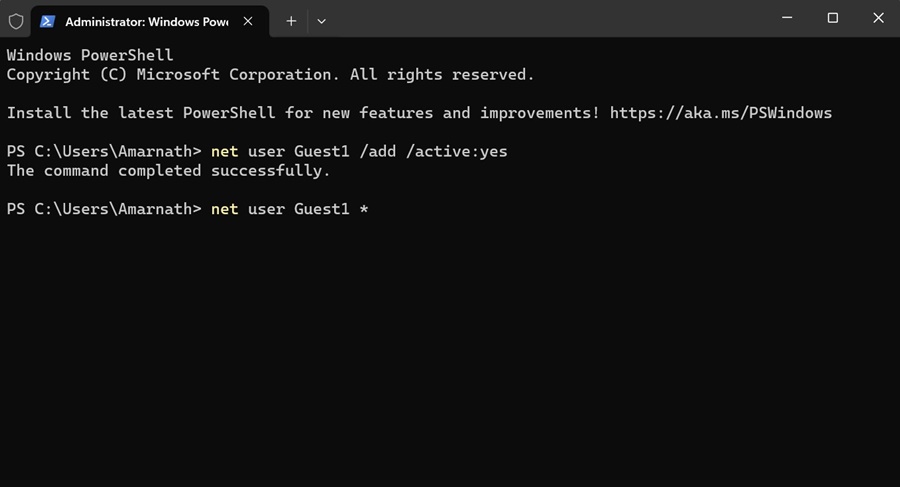
5. After executing the command, you will be asked to enter the password you want to set. Enter the password you want to set.
Note: You won’t see the password as you type. So, type the password carefully.
6. You must remove the user from the Users group. For that, enter the command shared below:
net localgroup users {username} /delete
Note: Replace {username} with the name of the Guest account you’ve just created.
7. To add the new account to the Guests user group, execute this command by replacing {username} with the name you’ve assigned to the account.
net localgroup guests {username} /add
After making the changes, restart your Windows 11 PC. This should add the new guest account.
These are the two working methods to add a Guest account on Windows 11 Home Edition. You can follow the same steps to add as many accounts as you want on Windows 11 Home.


