Windows has a feature called ‘Hosted Network’. This feature allows you to share an internet connection with other devices easily. This feature was introduced in Windows 7 and turns your operating system into a virtual wireless adapter.
That means setting up Hosted Network on your PC will act as a Wireless Hotspot. Anyone with your network SSID and Password can connect to your PC and use the internet connection.
Although the feature is useful, it’s a bit complicated to set up. First, you need a wireless network card with Hosted Network support.
Check if Wireless Adapter Supports Hosted Networks
Although most modern wireless adapters support hosted networks, you still need to verify whether your PC’s physical wireless adapter supports this feature. For that, you need to execute the following command –
NETSH WLAN show drivers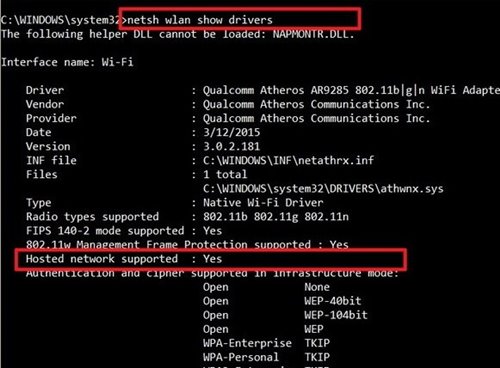
On the Command Prompt Window, you need to check the Hosted Network Supported listing.
Creating a WiFi Hotspot In Windows
NOTE: Before you begin, ensure your laptop or desktop has a wireless card.
1. Open the command prompt with administrator privileges. Press the Windows + X key on your keyboard and select Command Prompt (Admin) from the pop-up menu.
2. Now, we will create the hotspot. Enter the following command and press the Enter key:
netsh wlan set hostednetwork mode=allow ssid=techviral key=password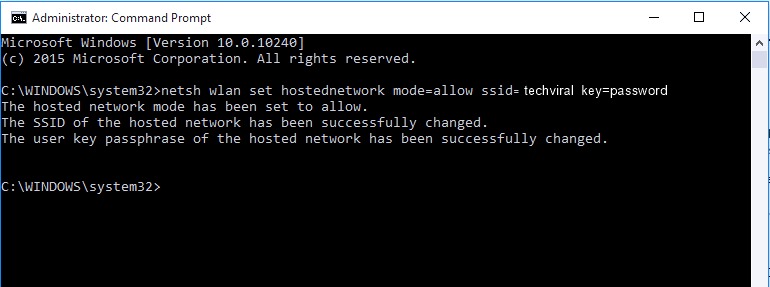
3. The SSID is the name of the WiFi connection. The KEY is the password. You need to replace the SSID and Key as you wish.
4. Next, you need to start the following command to start the WiFi hotspot:
netsh wlan start hostednetwork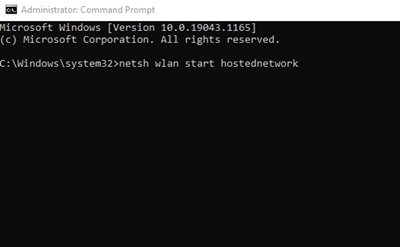
5. Your WiFi hotspot should be activated and usable. You can check its status in the network and sharing center of your control panel.
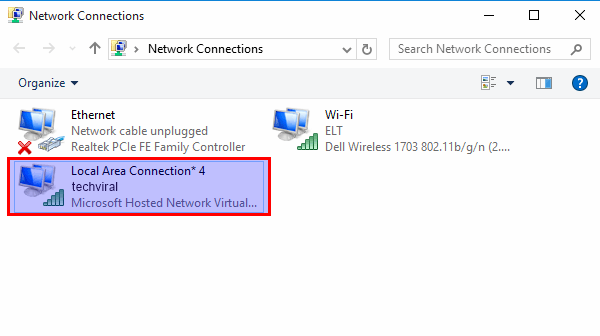
6. You can now connect your devices to the hotspot and use the same WiFi connection without third-party tools.
7. You can turn off the hotspot when not in use with the following command:
netsh wlan stop hostednetwork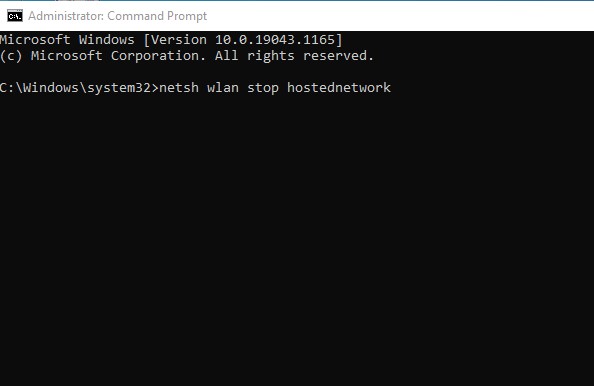
Important: Not every wireless card supports Hosted Network. Sometimes, outdated wireless cards result in errors message.
Using Third-Party Tools
Android-powered devices offer internet sharing options directly via a WiFi hotspot. However, Windows computers don’t have such options. Most people believe that only WiFi routers can create a WiFi hotspot; however, this is not true.
You can use some of the best wifi hotspot software that turns your Windows computer into a WiFi hotspot. So, let’s check out.
Connectify
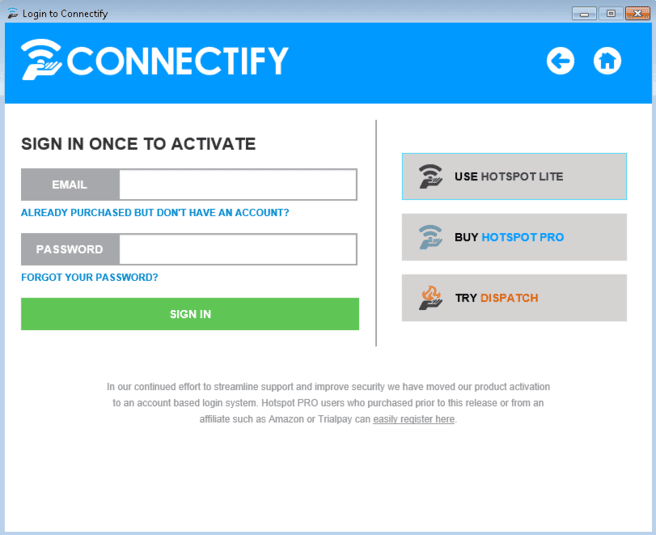
Connectify is one of the best Windows tools for turning a computer into a virtual WiFi router. However, the tool is not free, and if you choose to pay, you won’t be disappointed.
MHotSpot
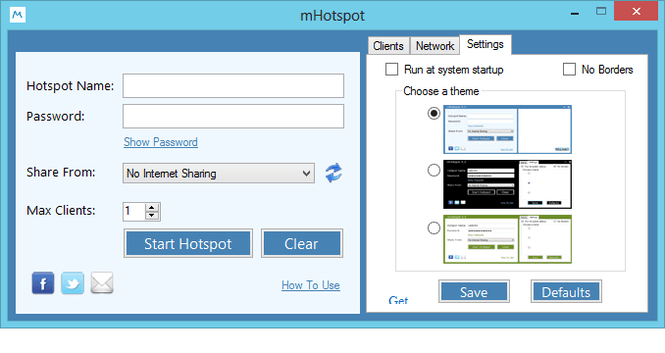
MHotSpot is another great tool that can perform many tasks and customize them according to your preferences.
You can adjust various things, such as how many clients can join the hotspot, assign a password, select the internet source, etc.
MyPublicWifi
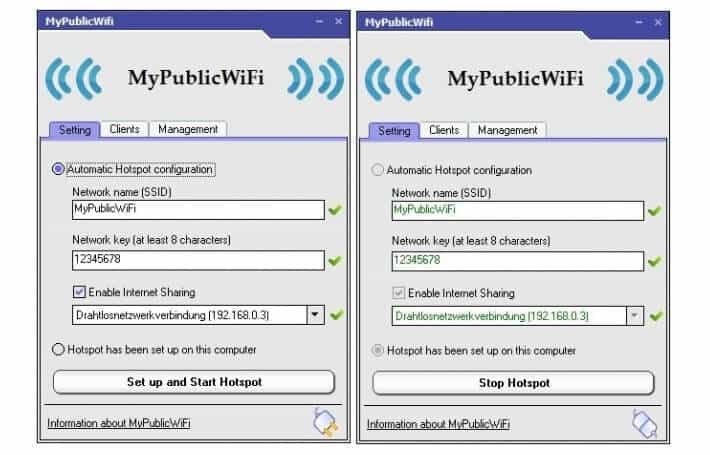
MyPublicWifi is a free tool that turns your laptop into a wireless Wi-Fi access point. It is also considered one of the best hotspot alternatives for Windows.
The great thing about MyPublicWifi is that it can perform many tasks. It also has a strong firewall that can prevent users from accessing the WiFi wireless access point.
Using these methods, you can create a Wi-Fi hotspot on Windows. If you have any doubts about this, let us know in the comment box below.


The hosted network couldn’t be started.
The group or resource is not in the correct state to perform the requested operation.
i’m getting error like this after entering this “netsh wlan start hostednetwork” command. what should i do. and third party app also not working.