We have already shared quite a few guides on BitLocker – the popular drive encryption tool for Windows. BitLocker is also available on the latest Windows 11, and it supports removal drives as well.
To password-protect your removable devices, you need to use the BitLocker to Go functionality of Windows 11. While BitLocker can prevent unauthorized access to your removal drives, what if you just want to block users from modifying the files?
Password protection is a full-proof way to secure your connected drives, but if you don’t want that level of security, you can just block the write access to removable drives. When you block write access, nobody can modify the files.
Also read: How to Format a Hard Drive or SSD in Windows 11
Allow or Deny Write Access to Removable Drives in Windows 11
When a removable drive is write protected, nobody can create or delete files/folders on that drive. Hence, denying the write access is a good idea if you don’t want password-protecting your removable drives via BitLocker. Below, we have shared some simple methods to allow or deny write access to removable drives in Windows 11. Let’s check out.
1) Allow or Deny Write Access to Removable Drives via Group Policy
This method will use the Local Group Policy Editor to allow or deny write access to removable drives. Here are some of the simple steps you need to follow.
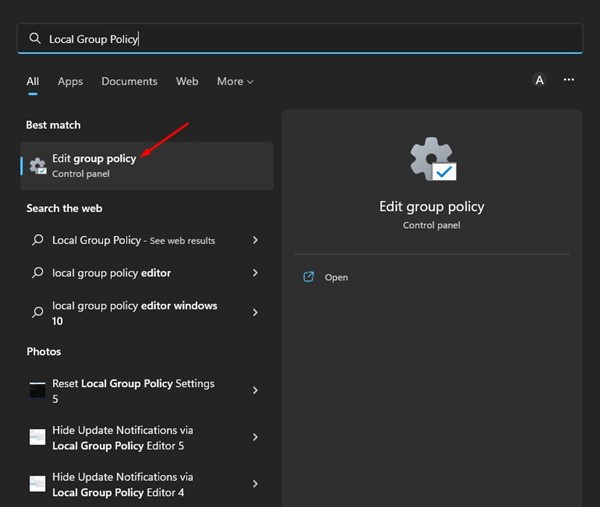
1. First, click on the Windows 11 search and type in Local Group Policy Editor. Next, open the Local Group Policy Editor from the list.
2. On the Local Group Policy Editor, navigate to the given path:
Computer Configuration > Administrative Templates > Windows Components > BitLocker Drive Encryption > Removable Data Drives

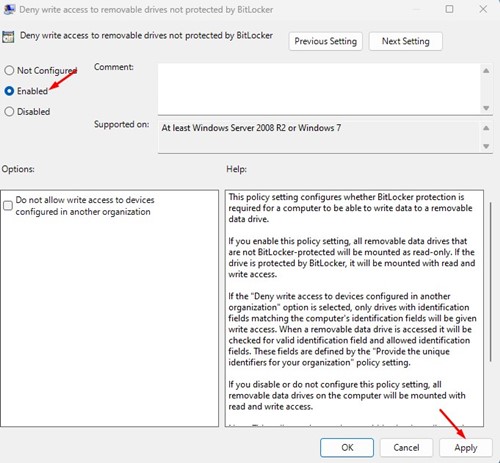
3. Now, on the right side, double click on the Deny write access to removable drives not protected by BitLocker policy.

4. On the Window that appears next, select ‘Enabled‘. This will mount all removable data drives as read-only. Once done, click on the Apply button and then on Ok.
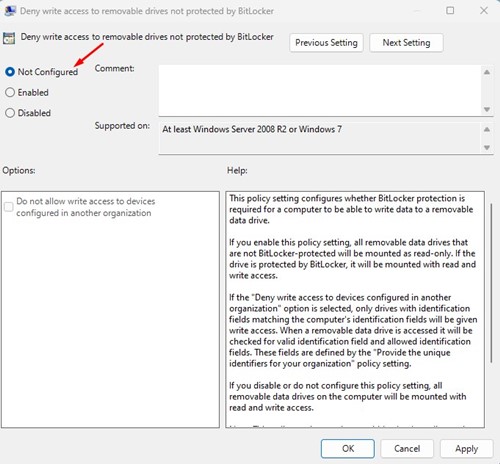
5. If you want to regain the write access, select ‘Disabled‘ or ‘Not Configured‘ and click on the Apply button.
That’s it! This is how you can allow or deny write access to removable drives in Windows 11.
2) Allow or Deny Write Access via Registry Editor
You can also use the Registry Editor of Windows 11 to allow or deny write access to removable drives. You need to follow some of the simple steps we have shared below.
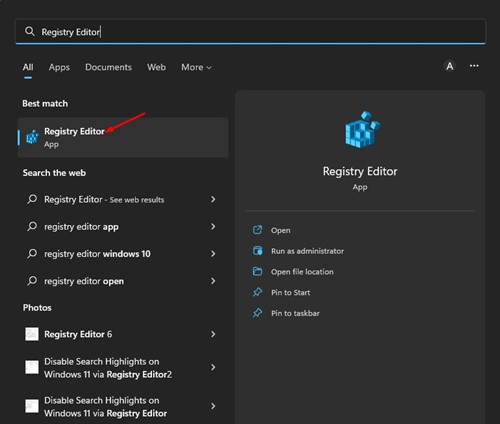
1. First, click on the Windows 11 Search and type Registry Editor.
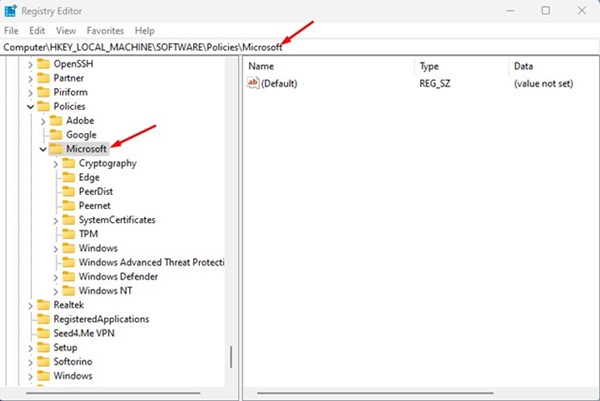
2. On the Registry Editor, navigate to the following path:
HKEY_LOCAL_MACHINE\SOFTWARE\Policies\Microsoft
3. Right-click on the Microsoft folder and select New > Key.
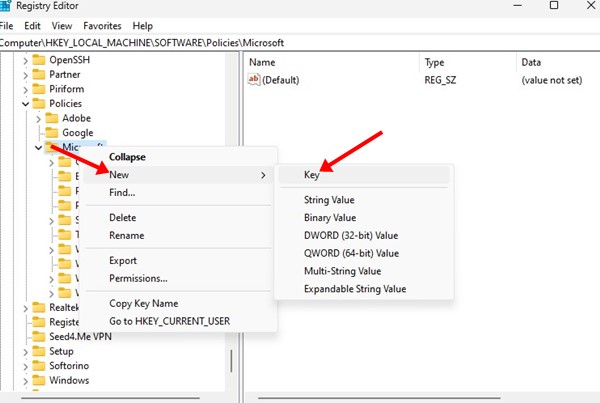
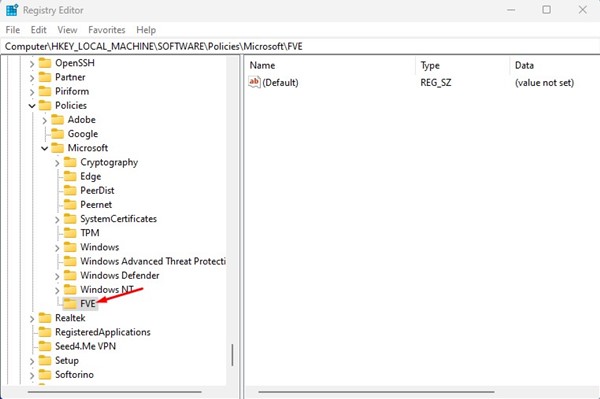
4. Next, name the newly created key as FVE.
5. Right-click on the FVE folder and select New > DWORD (32-bit) Value.
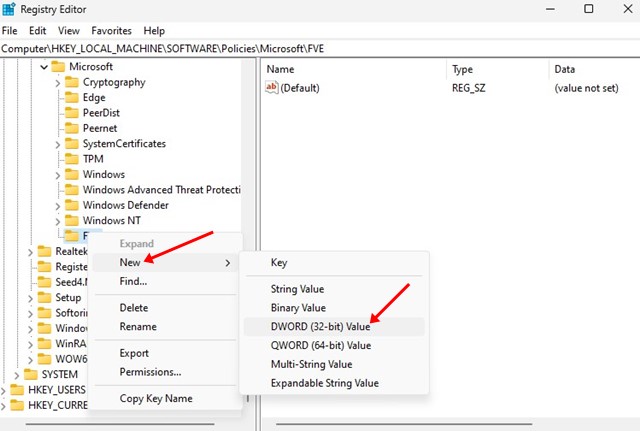
6. Name the newly created DWORD value as RDVDenyCrossOrg
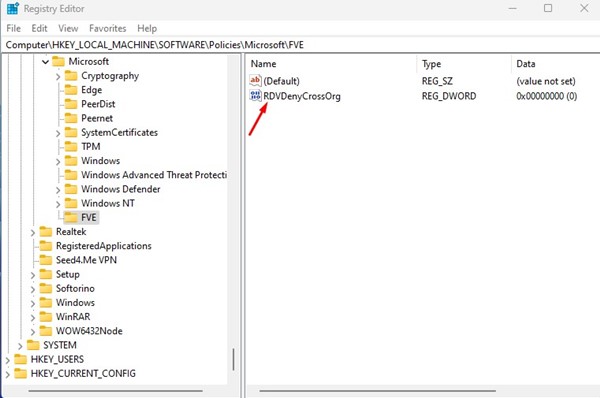
7. Now double click on the RDVDenyCrossOrg, and in the Value data field, enter the following:
- 0: To deny the write access to removable drives
- 1: To allow the write access to removable drives.
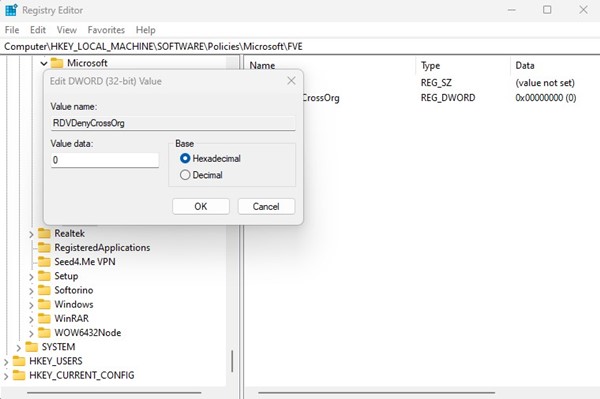
8. Once done, click the Ok button and close the Registry Editor.
That’s it! After making the changes restart your Windows 11 computer.
Also read: How to Update Drivers on Windows 11
So, these are the two best ways to allow or deny Write access to removable drives in Windows 11. If you need more help disabling write access on Windows 11, let us know in the comments.


