
If you have been using Windows 10 for a while, you might have noticed that the operating system attempts to install a driver through Windows update. Whenever you connect a new device to the internet, Windows 10 automatically looks for driver updates.
Although it’s a great feature because it eliminates manual driver installation, sometimes you may want to disable it. There may be various reasons for disabling automatic driver updates; maybe you don’t want to install a specific driver or use the stock drivers.
Windows 10 had no direct option to disable the automatic driver updates. Instead, you need to change the Local Group Policy Editor to disable driver updates in Windows 10.
Also read: How to Restore Running Apps After Restart On Windows 10/11
How to Turn Off Automatic Driver Updates On Windows 10
So, if you are interested in excluding driver updates in Windows 10, you are reading the right article. Below, we have shared a step-by-step guide to disable driver updates in Windows 10 using the Group Policy editor.
1. First of all, press the Windows Key + R button. This will open the RUN dialog box.
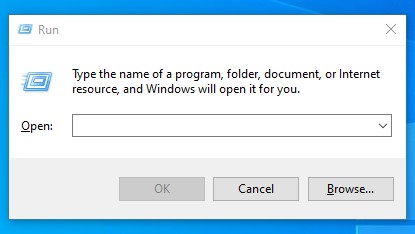
2. On the Run dialog box, enter gpedit.msc and hit the Enter button.
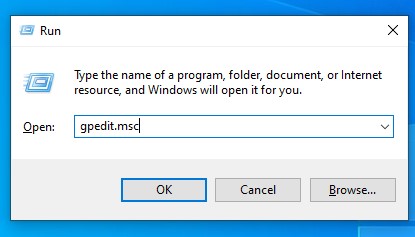
3. This will open the Local Group Policy Editor.
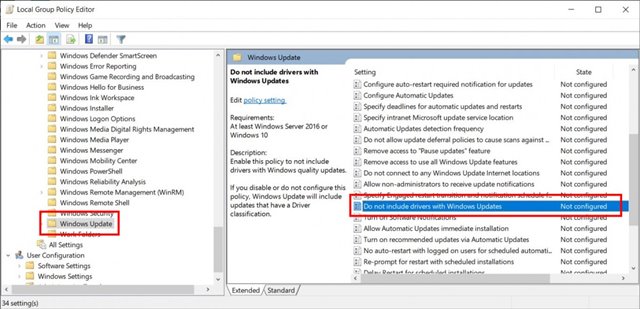
4. You need to navigate to the given path:
Computer Configuration/Administrative Templates/Windows Components/Windows Update
5. On the right pane, find and double-click on the Do not include drivers with Windows update policy.
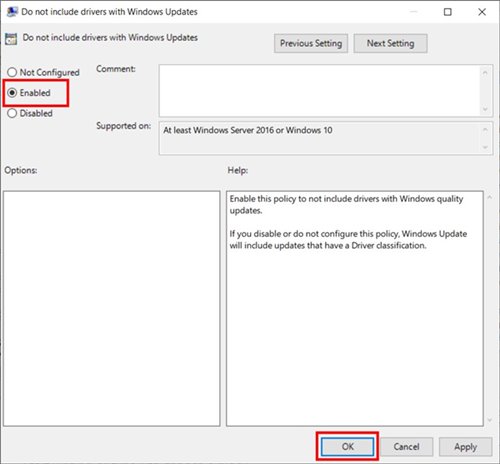
6. On the next Window, select Enabled and click the Ok button.
That’s it! You are done. This is the easiest method to disable drive updates in Windows 10 updates.
If you wish to enable the driver updates, select Not Configured in Step 6.
Disable Automatic Driver Installation from System Properties
Here’s another way to disable Automatic Driver updates in Windows 10. In this method, you must change the System Properties to prevent device driver installation. Here’s what you need to do.
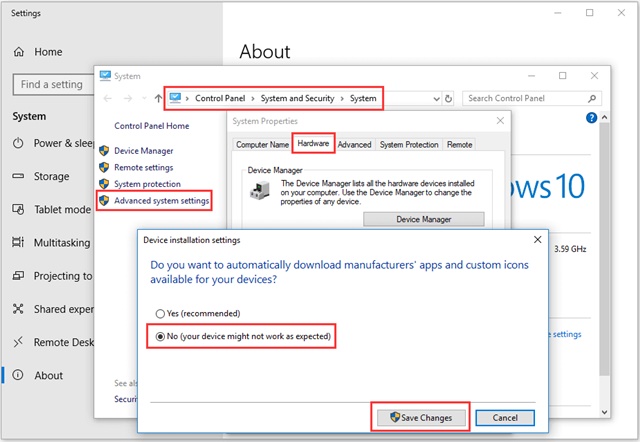
- Press the Windows + X key and select System. On the right side, click on the Advanced System Settings.
- On the System Properties, switch to the Hardware tab.
- Then click on Device Installation Settings.
- On the Pop-up, select No (your device might not work as expected) and click on Save Changes.
That’s it! This is how you can make changes to the Windows 10 System Properties to turn off Automatic Driver Updates.
Disable Automatic Driver Updates using Registry Editor
We will change the Windows Registry Editor to disable the automatic driver updates in this method. Here’s what you need to do.
- Type Registry on Windows Search and open the Registry Editor app.
- Now navigate to this path:
HKEY_LOCAL_MACHINE > SOFTWARE > Policies > Microsoft > Windows > DriverSearching
- Find & double-click on the DriverUpdateWizardWuSearchEnabled and set its value data as 0.
- Once done, click on the OK button.
That’s it! If you ever want to enable the automatic driver updates, set 1 on the Value data field for DriverUpdateWizardWuSearchEnabled.
So, this article is about disabling driver updates in Windows 10. I hope this article helped you! Please share it with your friends also. If you have any doubts, let us know in the comment box below.

")