The copy/paste is the most used function on every PC/Laptop. While working on our computers, we often have to copy and paste many things like images, texts, and other content types.
If you are using Windows operating system, you might know that the operating system already includes a clipboard manager. However, the default clipboard in Windows 10/11 stores only one thing at a time; the next thing you copy always replaces the previously copied content.
The default clipboard manager is helpful, but it doesn’t provide complete control. For example, you can’t copy and save multiple items; you can’t access the list of things you have copied before and more.
Microsoft knows this and has developed a new Clipboard manager for Windows 10. The same clipboard manager is also available for Windows 11, but it’s hidden under the settings. Users need to manually enable the Clipboard history feature to save multiple items.
Also Read: How to View WiFi Password in Windows 11
Steps to Enable & Use Clipboard History on Windows 11
The new clipboard manager of Windows 11 takes the copy and paste function to a new level. It not only remembers multiple items you have copied but also remembers pictures, texts, scripts, links, documents, and videos under 4MB in size.
So, if you are interested in turning on and using Clipboard History on Windows 11, you are reading the right guide. In this article, we will share a step-by-step guide on enabling and using Clipboard history on Windows 11. Let’s check out.
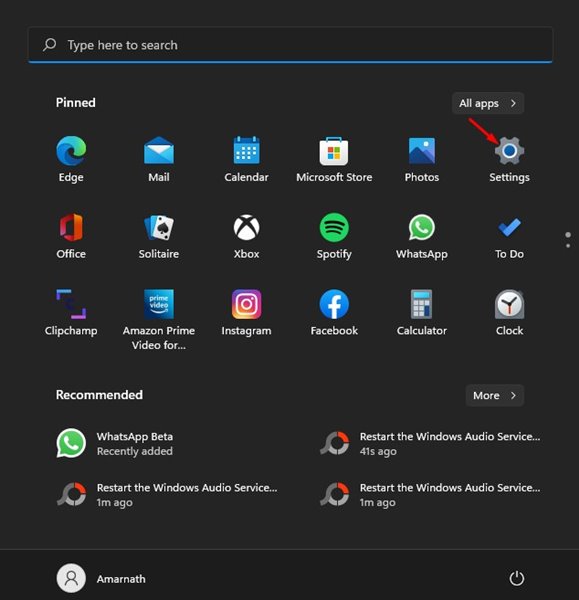
1. First of all, click on the Windows 11 Start menu and select Settings.
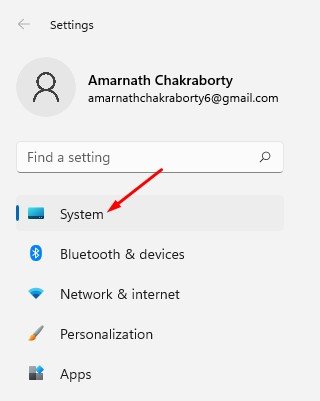
2. On the Settings app, click on the System tab on the left pane.
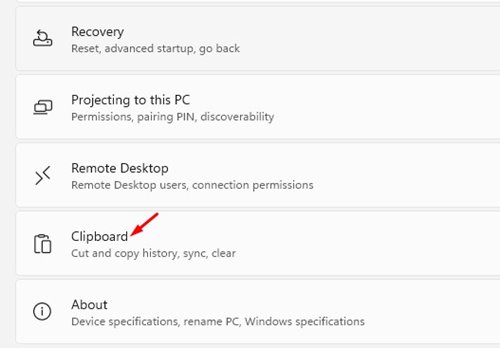
3. On the right pane, scroll down and click on the Clipboard option.
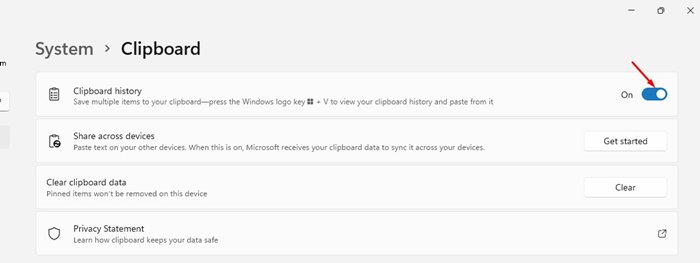
4. Under the Clipboard, enable the Clipboard history option.
That’s it! You are done. This will enable the Clipboard history on Windows 11.
How to View Clipboard History on Windows 11?
When the Clipboard history is enabled, the operating system stores multiple items you have copied before. It can store a maximum of 25 entries, with the oldest items disappearing as the new ones appear.
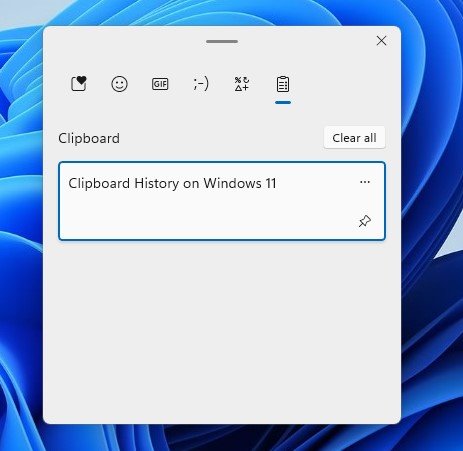
To view the clipboard history on Windows 11, you need to press the Windows Key + V button. This will open a small pop-up listing the clipboard items.
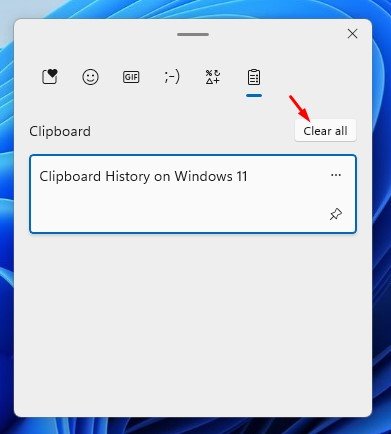
To clear the clipboard items, you need to click on the Clear all button, as shown in the screenshot below.
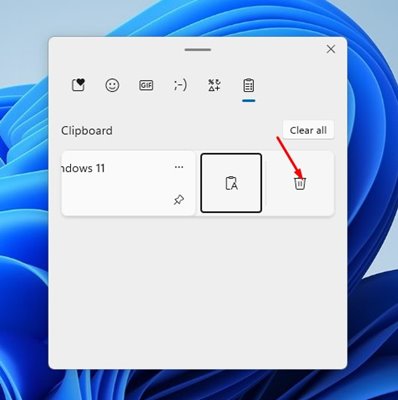
If you want to remove selected entries from the clipboard, click on the three dots beside the entry and click on the Delete icon.
Enabling clipboard history is pretty easy on Windows 11. With Clipboard History, you can keep track of the past 25 items you have copied. I hope this article helped you! Please share it with your friends also. If you have any doubts related to this, let us know in the comment box below.


