It’s no doubt that Microsoft’s Windows is right now the most popular desktop operating system. Compared to every other desktop operating system, Windows provides users more features and options.
If you have been using Windows for a while, you might be well aware of the Command Prompt.
Command Prompt is a command-line interpreter in Windows that lets you execute commands to perform certain actions for those who don’t know.
In this article, we will share the best method to remove Windows features via Command Prompt on Windows 10 pc.
As we all know, Microsoft’s Windows operating system consists of hundreds of features that were available to use.
Some of the Windows features were already enabled, whereas some need to be switched on manually.
Steps to Enable/Disable Windows Features via Command Prompt
Most of the services that were enabled by default were of no use to ordinary users. These features run in the background and consume your system resources. So, disabling those features via Command Prompt does make sense.
To remove Windows features via Command prompt, you need to follow some of the simple steps below. So, let’s check out how to add or remove Windows features via Command prompt.
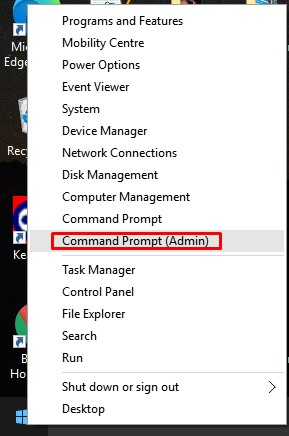
Step 1. First of all, right-click on the Start button and select ‘Command Prompt (Admin).’
Step 2. On the command prompt window, you need to type in the following code –
DISM /online /get-features /format:table | more
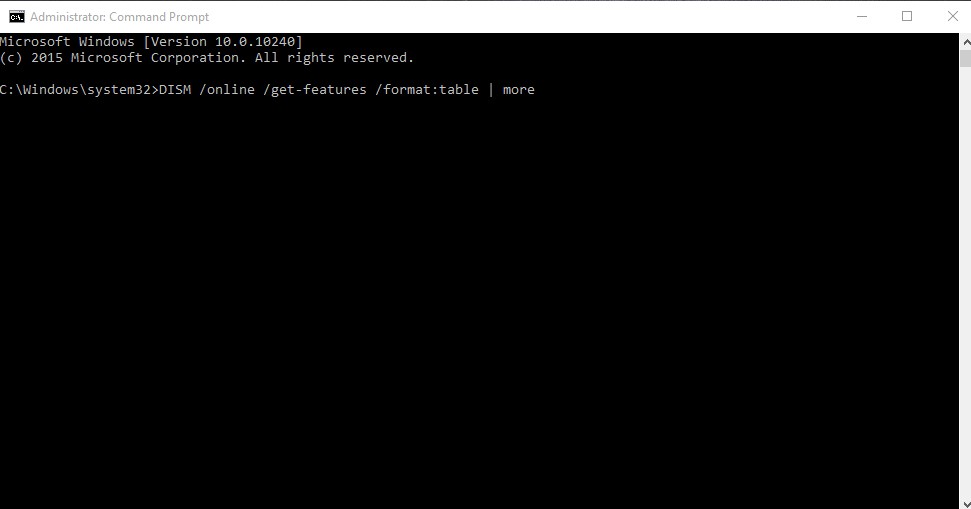
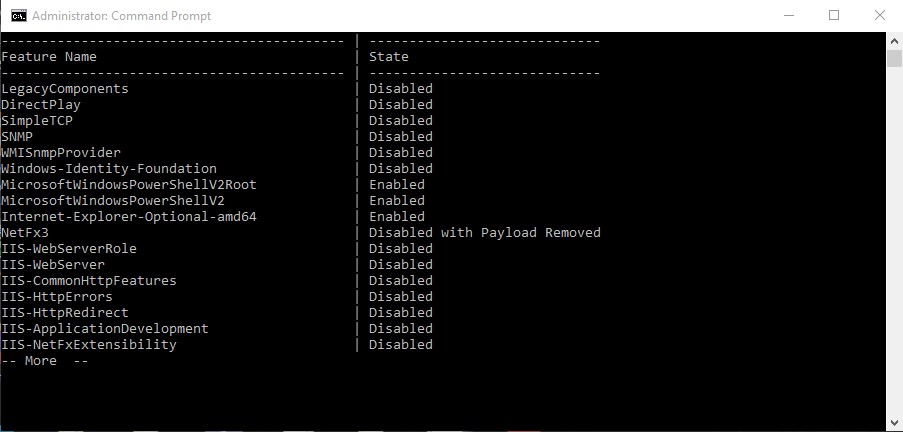
Step 3. The above command would list all available Windows features.
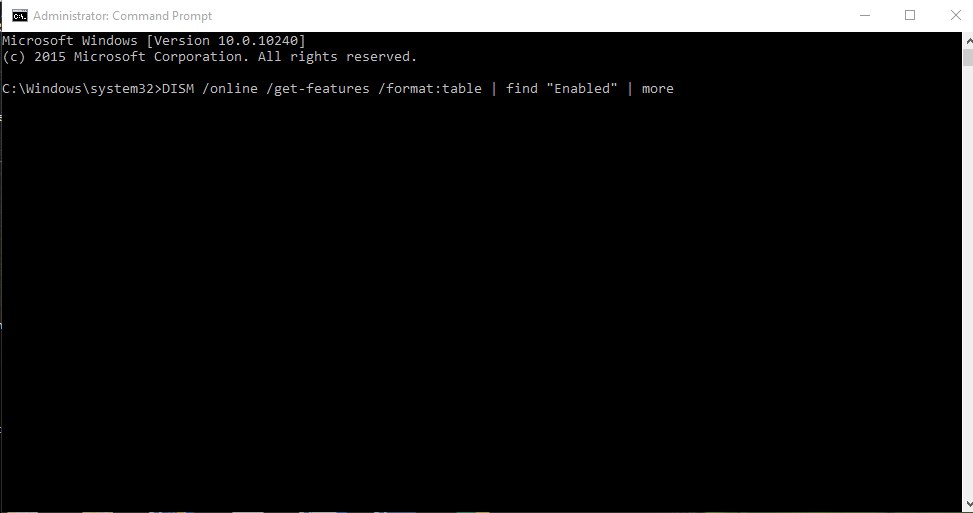
Step 4. If you want to sort the list to show just enabled or disabled features, you can use these two commands –
To show the enabled features – DISM /online /get-features /format:table | find “Enabled” | more

To show the disabled features – DISM /online /get-features /format:table | find “Disabled” | more
Step 5. To find out more details about a selected feature, enter the command –
DISM /online /get-featureinfo /featurename:[feature name]
Step 6. To enable or disable a feature, enter the following command –
DISM /online /disable-feature /featurename:[feature name]
DISM /online /enable-feature /featurename:[feature name]
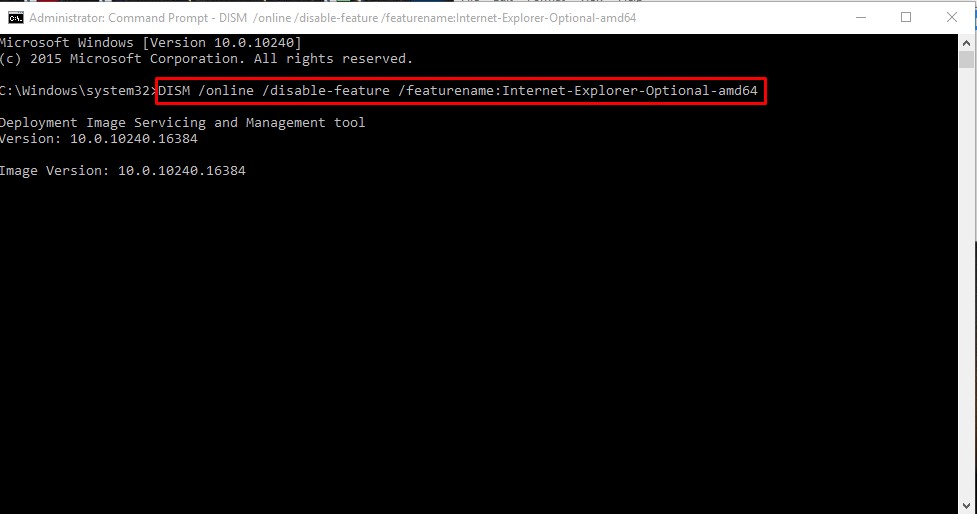
Note: The feature’s name is case sensitive, and you have to type in the name exactly as listed in the table.
That’s it! You are done. This is how you can enable or disable Windows 10 features via command prompt.
So, this article is all about how to disable or enable Windows 10 features via command prompt. I hope this article helped you! Please share it with your friends also.


