As of now, there are hundreds of remote desktop connection apps available for the Windows operating system. However, out of all those, only a few stand out. Windows has a built-in remote desktop feature known as RDP.
You can easily access your files and apps remotely stored on another computer with the remote desktop feature. Apart from that, the Remote Desktop Protocol can also offer assistance to someone or control a PC remotely.
Enabling Remote Desktop used to be easy on Windows 10. However, Windows 11 hides the RDP option deep under the Settings. So, if you want to use the Remote desktop feature on Windows 11, you first need to enable it.
Also read: How to Install Windows 11 From USB
Steps to Enable Remote Desktop in Windows 11
In this article, we will share the few best methods to enable Remote desktop in Windows 11. However, please note that the Remote desktop feature is only available on Windows 11 Pro and Enterprise.
If you are not using Windows 11 Pro or Enterprise, you need to consider third-party remote desktop programs. So, let’s check out.
1. Enable Remote Desktop via Settings
In this method, we will utilize Windows 11’s settings app to enable the remote desktop. Here’s what you need to do.
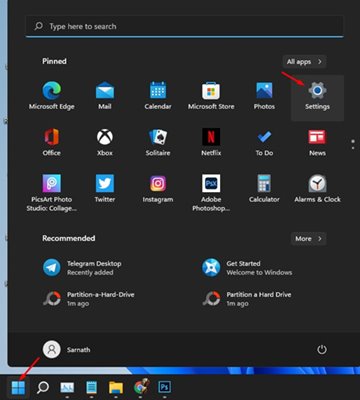
Step 1. First of all, click on the Start button and select ‘Settings.’
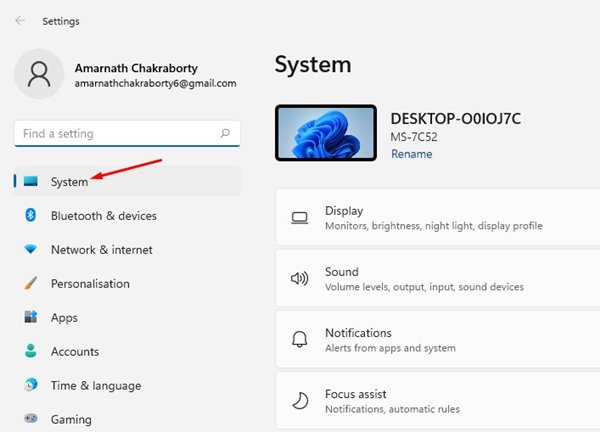
Step 2. On the Settings page, click on the ‘System‘ option.
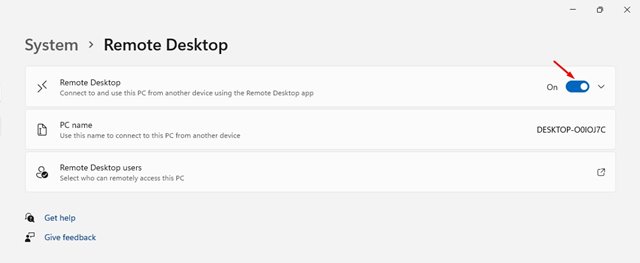
Step 3. On the right pane, click on the ‘Remote Desktop’ option.

Step 4. Turn on the ‘Remote Desktop’ toggle on the next page and click ‘Confirm‘ to save the changes.
That’s it! You are done. This is how you can enable RDP via the Settings app on Windows 11.
2. Enable Remote Desktop via Control Panel
In this method, we will use the Control Panel to enable the Remote Desktop in Windows 11. Just follow some of the simple steps given below.
Step 1. First of all, open Windows search and type in ‘Control Panel’. Now open Control Panel from the list.

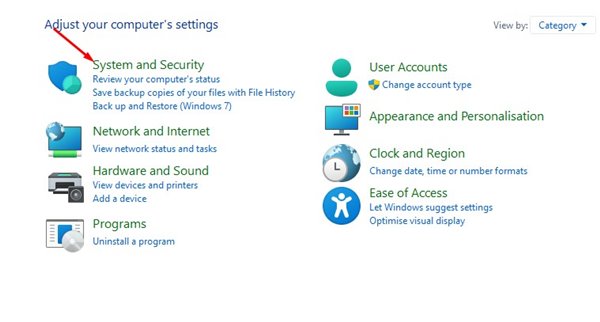
Step 2. On the Control Panel, click on the ‘System and Security’ option.
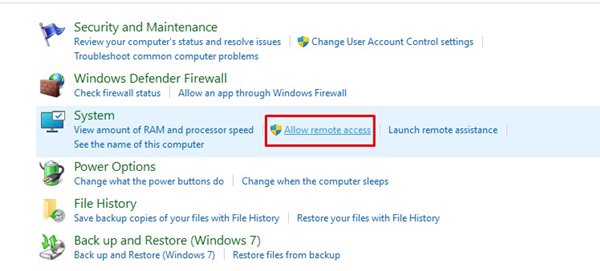
Step 3. On the next window, click on the ‘Allow remote access’ option as shown in the screenshot.
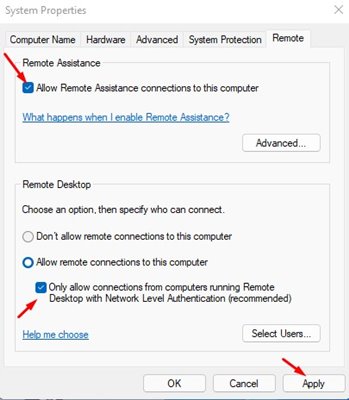
Step 4. On the System Properties pop-up Window, select the ‘Remote‘ tab.
Step 5. Now enable the ‘Allow remote connections to this computer’ option. Also, enable the ‘Only allow connections from computers running Remote Desktop with Network Level Authentication.’ Once done, click on the ‘Ok‘ button.
That’s it! You are done. This is how you can enable Remote Desktop on Windows 11 via Control Panel.
3. Enable Remote Desktop via CMD
In this method, we are going to use Windows 11 Command Prompt to enable the remote desktop connection. Just follow some of the simple steps given below.
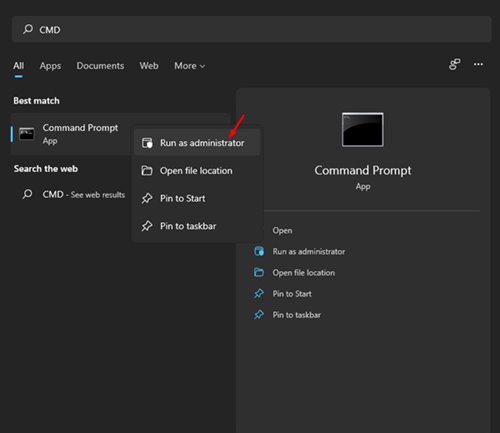
Step 1. First of all, open Windows search and type in ‘CMD.’ Right-click on the CMD and select ‘Run as administrator.’
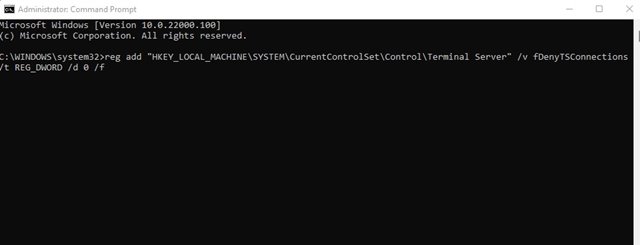
Step 2. On the Command Prompt, enter the following command and hit the Enter button.
reg add "HKEY_LOCAL_MACHINE\SYSTEM\CurrentControlSet\Control\Terminal Server" /v fDenyTSConnections /t REG_DWORD /d 0 /f
That’s it! You are done. This will enable the Remote Desktop on Windows 11.
So, this guide is all about how to enable Remote Desktop on Windows 11 computers. I hope this article helped you! Please share it with your friends also. If you have any doubts related to this, let us know in the comment box below.
")

