If you have used Windows 10, you may know about the Windows Narrator. Windows Narrator is an accessibility feature introduced in Windows 10, and it’s now available even on the new Windows 11 operating system.
Microsoft has introduced many new changes to its latest Windows 11 operating system. You get a fresh start menu, new File Explorer icons, new Settings app, and more. Also, the Narrator app on Windows 11 has received a significant upgrade.
The new Narrator app on Windows 11 provides you with more voices and the ability to add custom voices. This article will discuss Windows 11’s Narrator app, which converts written text into spoken text.
Also read: How to Update Drivers on Windows 11
Windows Narrator is a free utility designed to read the texts on your computer screen aloud. This is an accessibility feature meant to help the visually impaired. Below, we have shared a step-by-step guide on how to use Narrator on Windows 11 computer. Let’s get started.
1) How to Enable Narrator on Windows 11
To use Narrator, you first need to enable it from the Accessibility Settings. Here’s how you can enable Narrator on Windows 11.
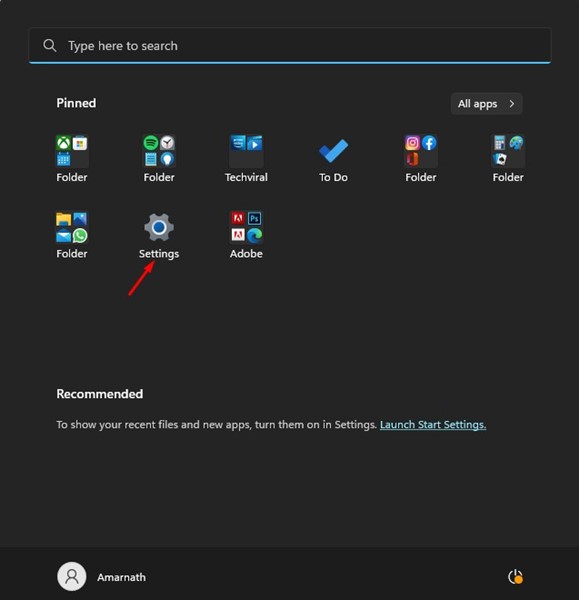
1. First, click on the Windows 11 Start menu and select Settings.
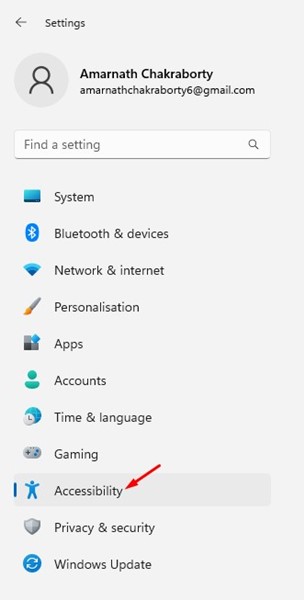
2. On the Settings app, click on the Accessibility option in the left pane.
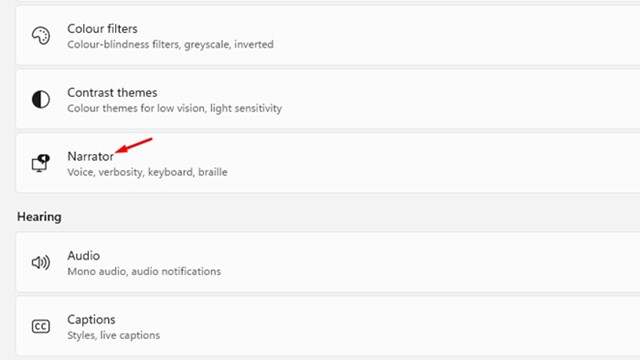
3. On the right pane, scroll down and click on the Narrator.
4. Next, turn on the Narrator and Keyboard shortcut for the Narrator option in the Use Narrator section.

5. Once done, you need to press the Windows Key + CTRL + Enter to turn on the Narrator.
That’s it! This is how you can enable Narrator on Windows 11 computer.
2) How to Change Narrator’s Voice
As mentioned above, Windows 11 introduced many new changes to the Narrators. One crucial change for the Narrator is the ability to change the voice. Here’s how you can change Narrator’s Voice in easy steps.
1. First, click on the Windows 11 Start button and select Settings.
2. On the Settings app, click on the Accessibility tab, as shown in the screenshot below.
3. On the right, select Narrator.
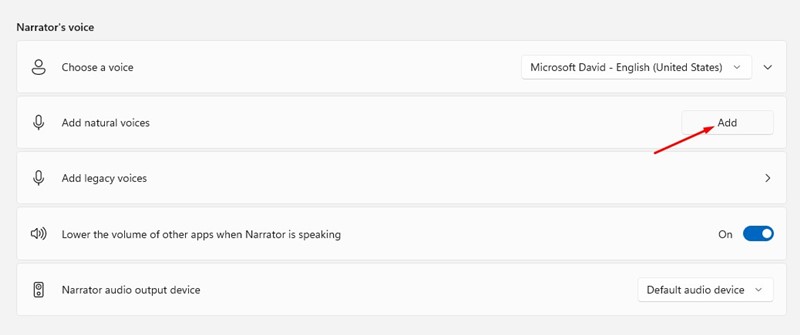
4. Now scroll down to the Narrator’s voice section and click on the drop-down beside Choose a voice. Now select the Narrator voice that you want to set.
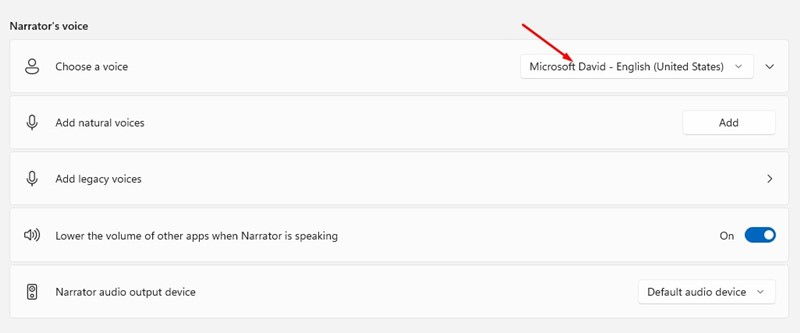
5. If you want to add natural voices, click on the Add button and add the voice pack.
3) How to Change Narrator Verbosity Level
You can even change the verbosity level and have the Narrator announce when you type. For that, follow some of the simple steps we have shared below.
1. First, click on the Windows 11 Start button and select Settings.
2. On the Settings app, click on the Accessibility tab, as shown in the screenshot below.
3. On the right, select Narrator.
4. Now scroll down to the Verbosity section. Next, click on the drop-down menu beside Verbosity level and select the level.
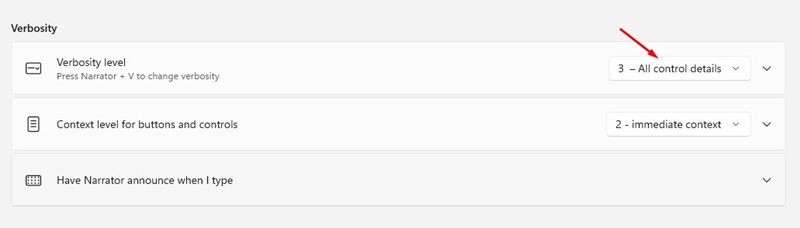
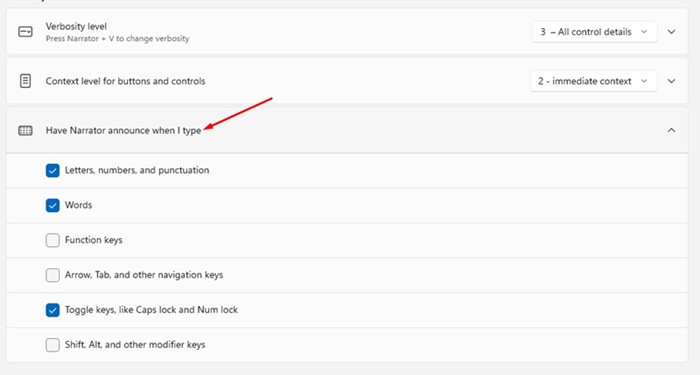
5. Next, expand the ‘Have Narrator announce when i type‘ section and enable the options you need.
That’s it! This is how you can customize Narrator’s Verbosity level.
Also Read: How to Install and Use BlueStacks 5 on Windows 11
Narrator is indeed a great accessibility feature Microsoft introduced for Windows users. It would help people dealing with eye problems. So, this is how you can quickly enable and configure Narrator in Windows 11. If you have any doubts about Windows 11 Narrator, let us know in the comments below.