Windows users have always wished to run Android apps and games on their PC. This is the only reason more Android emulators have been made for Windows operating system.
Even though Windows 11 natively supports Android apps & games, users prefer to use Android emulators because they provide a better gaming experience & features. As of now, there are hundreds of Android emulators available for Windows 11, but out of all, it was the BlueStack that was the best and recommended.
Also Read: Make and Receive Android Phone Calls from Windows 11
Install BlueStacks 5 on Windows 11
We are talking about BlueStacks for Windows 11 because we recently received many messages from our readers asking about BlueStacks compatibility with Windows 11 and how to install it on the new operating system.
If you are reading this article, you’re probably searching for the same. Hence, below, we have shared a step-by-step guide on installing and using BlueStacks on Windows 11. Let’s get started.
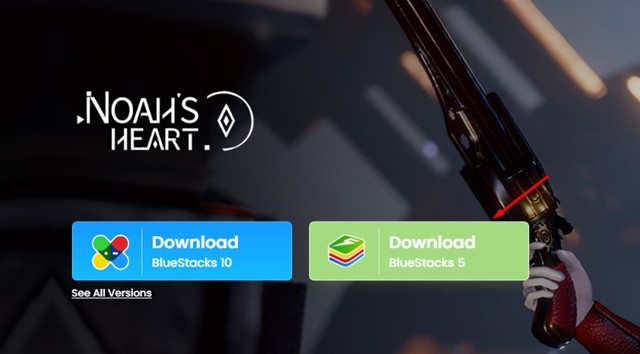
1. Open your favorite web browser and visit the official BlueStacks website. On the official website, click on the Download BlueStacks 5 button.
If you want offline installation files, check our guide Download BlueStacks For Windows 11
2. This will download the BlueStacks Installer on your device. Open the downloads folder and double-click on the BlueStacksinstaller.exe file.

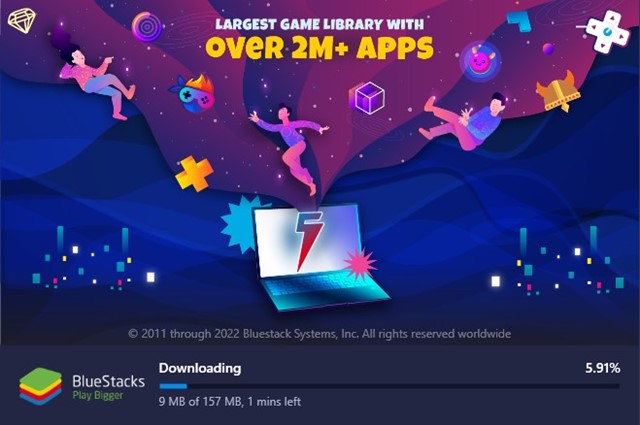
3. On the Installation screen, click on the Install now button.

4. Now, wait until the BlueStacks emulator downloads & installs on your Windows 11 device.
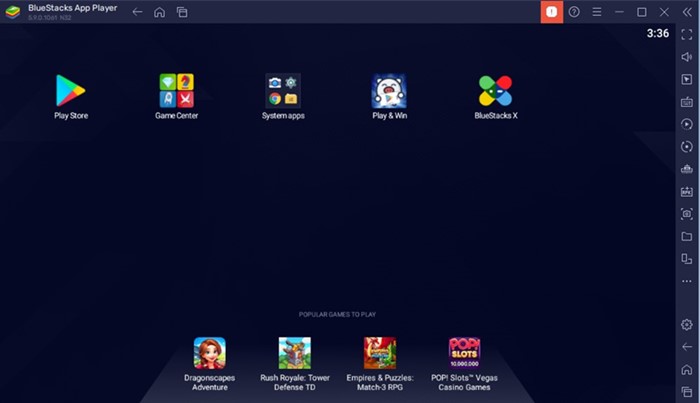
5. Once installed, the BlueStacks app player will launch automatically, and you will see a screen like the one below.
How to Use BlueStacks on Windows 11?
After installing BlueStacks on Windows 11, you can run it easily. To start using BlueStacks, click on the Play Store icon.
Now on the Google Play Sign-in screen, click the Sign in button and enter your Google Account details. You can explore the BlueStacks settings to optimize the performance of the Android emulator on Windows 11.
How to Install Apps & Games on BlueStacks 5
Well, installing apps & games on the BlueStacks emulator is relatively easy. For that, follow some of the simple steps we have shared below.
1. First, launch BlueStacks on your Windows 11 computer that you have just installed.
2. Once done, you will see the main interface of BlueStacks. Here you need to click on the Play Store icon.
3. Now login to the Play Store with your Google Account.

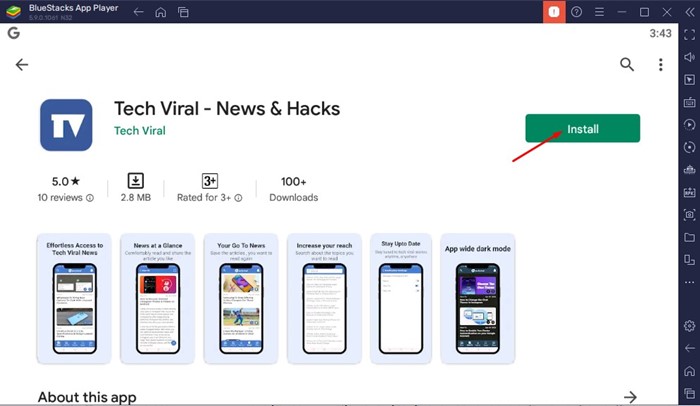
4. Now, you can access the Google Play Store. Utilize the search bar to search for the app or game you want to install, and then select the app/game from the results.
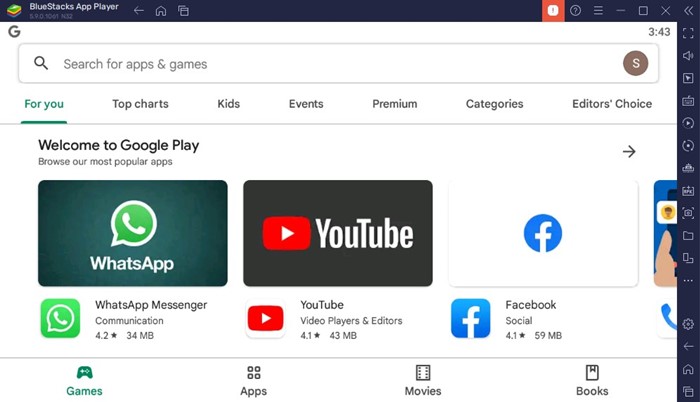
5. On the App/Game landing page, click on the Install button. This will install the game on your BlueStacks App Player.
That’s it! This is how you can install apps and games on the BlueStacks app player on your Windows 11 computer.
Also read: How to Cast Android Screen to Windows 11 PC
So, this guide is about installing and using BlueStacks on Windows 11 computers. It’s a great Android emulator for PC, and you would love it. If you need more help installing BlueStacks for PC, let us know in the comments below.


