The serial number is on the warranty card or on the back of the laptop. You can access the machine’s BIOS to get the serial number, but that’s a lengthy process. Here’s an easy way to find a PC’s serial number.
Find PC’s Serial Number via CMD
If you’re comfortable handling CMD, you can easily find your PC’s serial number with it. Here’s what you need to do.
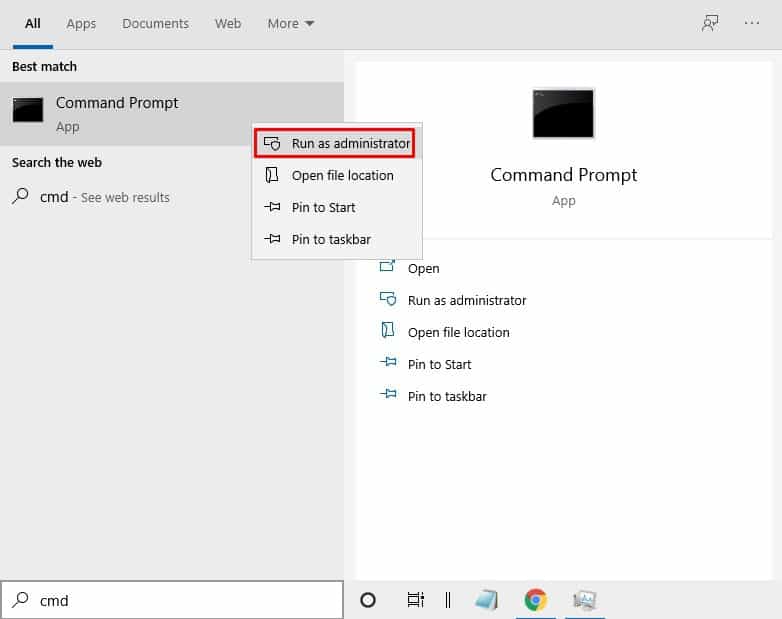
- Type CMD on Windows Search. Right-click on the Command Prompt and select Run as administrator.
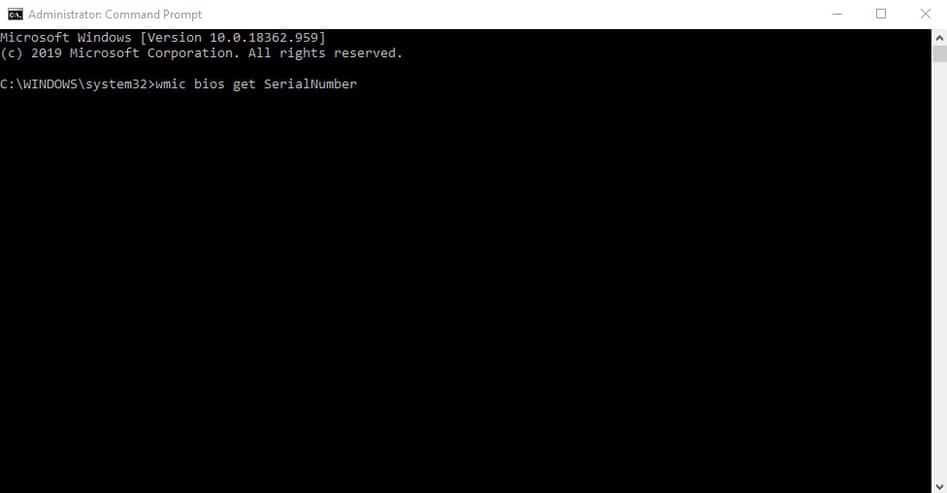
2. Paste the given command and press Enter.
wmic bios get SerialNumber
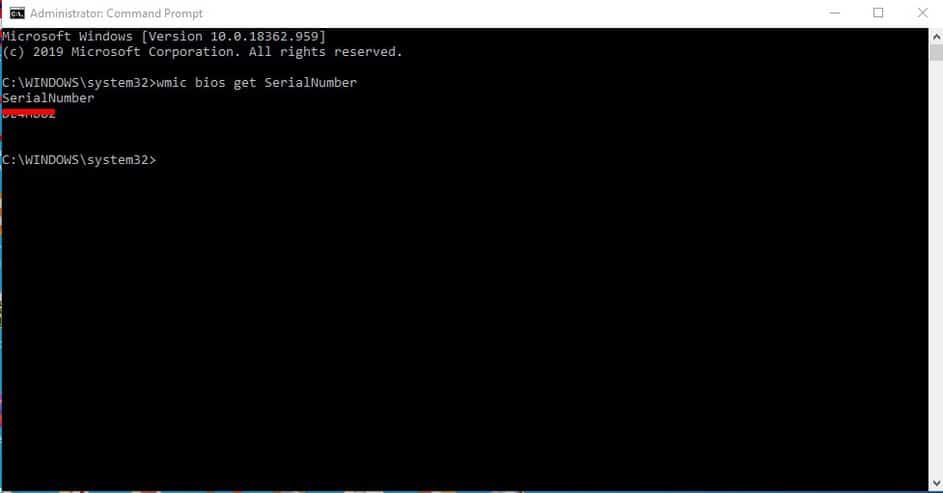
3. The command line will return with the serial number.
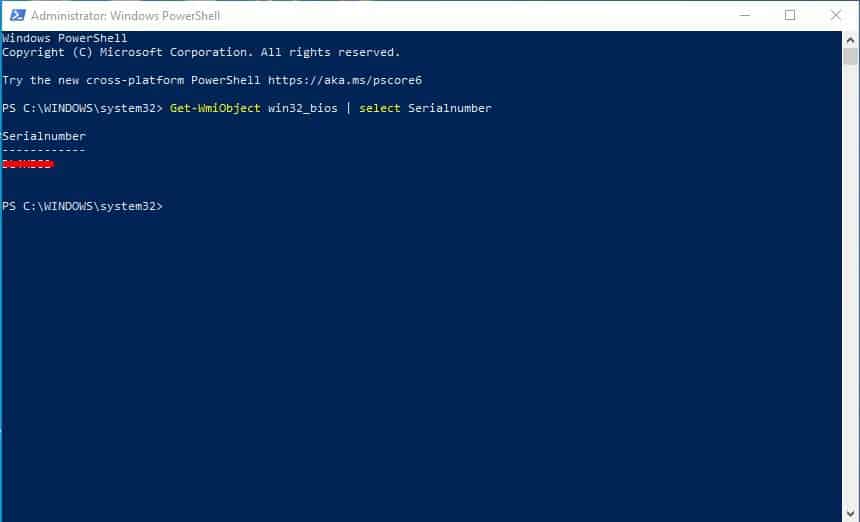
4. To find the PC’s serial number via PowerShell, run it as an administrator and enter the command –
Get-WmiObject win32_bios | select Serialnumber
This article explains how to find a PC’s serial number via Command Prompt. Whenever you want to know the serial number of your PC, you can follow these simple steps.

