No WiFi network found on Windows 11 results from a bug in the Network adapters. It can also be a faulty WiFi card, corrupted system files, etc.
Since the actual reason behind the no wifi network found issue on Windows 11 is unknown, we need to rely on general methods to fix it.
1. Make Sure the Airplane Mode is Turned Off
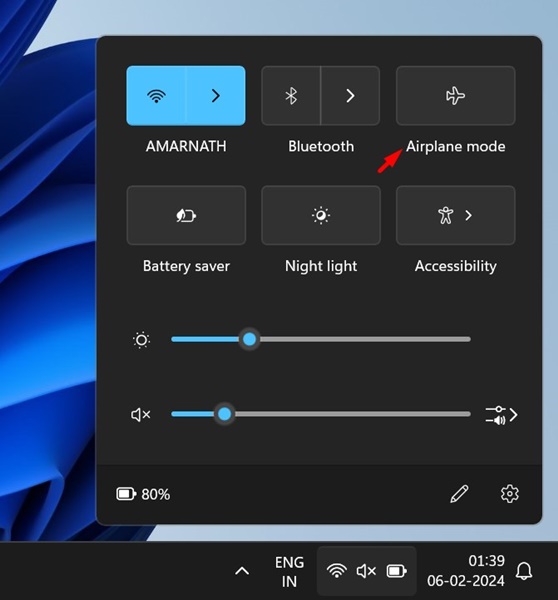
Windows 11 has an Airplane mode that turns off all wireless connectivity on your PC. So, if you can’t see any WiFi networks, ensure the Airplane mode is disabled.
If the Airplane mode is on, turning it off will solve your problem. Once turned off, search for the available Wi-Fi network; you can see all available Wi-Fi networks and connect to them.
2. Install the Windows Update
Windows updates often fix bugs and install security patches. So, if a WiFi network not found error appears due to a bug, it will be fixed instantly. Here’s how you can update Windows 11.

- First, click on the Windows 11 Start button and select Settings.
- Click on Windows Update on the left.
- Click on the Check for Update button.
Windows 11 will check for available updates. If an update is pending, you will have the option to install it.
3. Re-Enable the WiFi
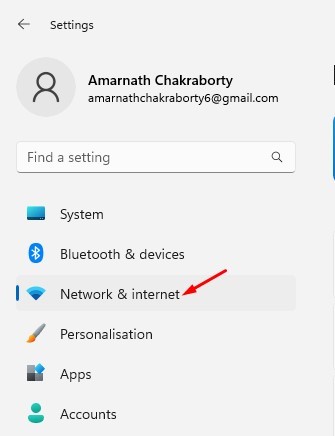
You must click on the WiFi or Network icon in the Taskbar to confirm if the WiFi is turned on. If the icon is missing, open Settings and select Network & Internet.
On the right side, you need to switch the toggle beside WiFi to disable and enable it again. The WiFi page will then show you all available networks and allow you to connect to them.
4. Enable the WiFi Network Adapter
You can check which network adapters are enabled from the Network and Internet Settings. If the WiFi network adapter is disabled, you won’t be able to turn on or search for nearby WiFi. Here’s what you need to do.
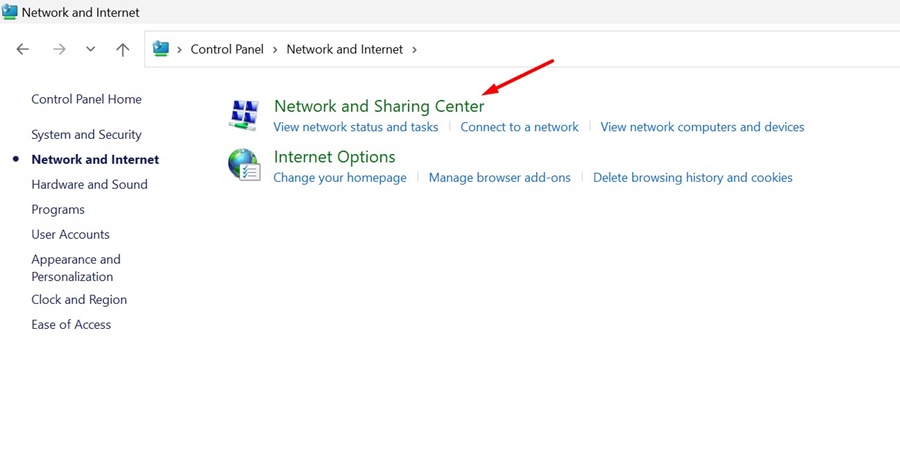
1. Open the Control Panel on your Windows 11. Next, select Network and Internet.

2. Select Network and Sharing Center.
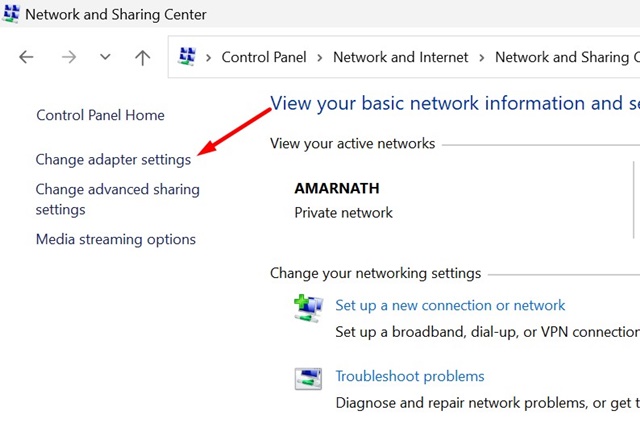
3. Select Change adapter settings.
4. Right-click on the WiFi network adapter and select Enable.
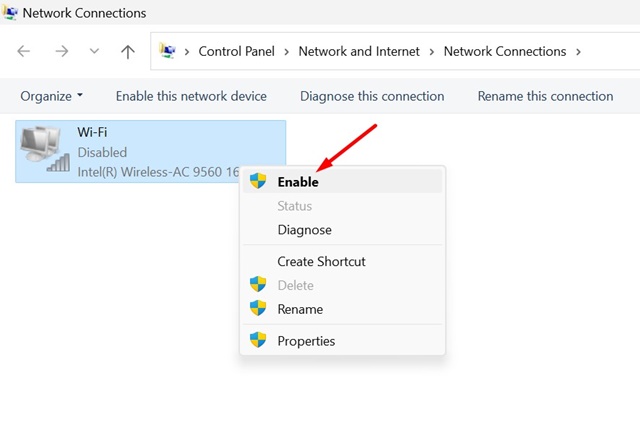
Make sure to restart your Windows 11 PC after making the changes.
5. Update Your WiFi Adapter
If WiFi is not showing or is disabled on your Windows 11 computer, open the Device Manager and update your WiFi adapter driver.
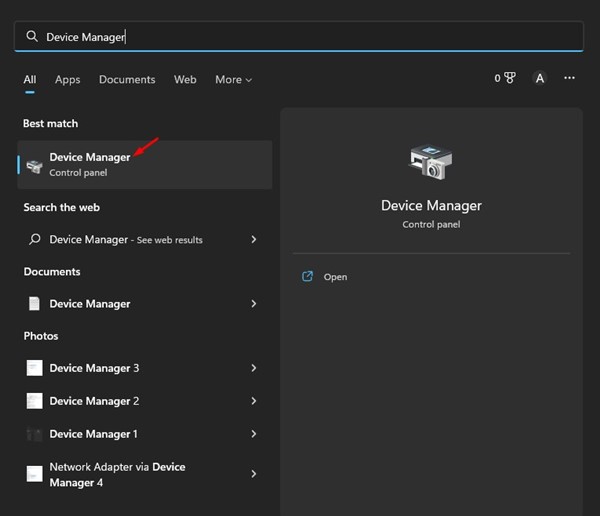
1. Click the Windows 11 search and type Device Manager. Next, open the Device Manager app from the list of matching results.
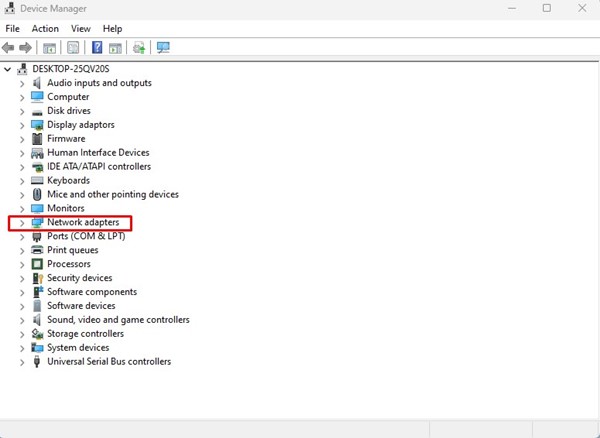
2. Scroll down and expand the Network Adapters.
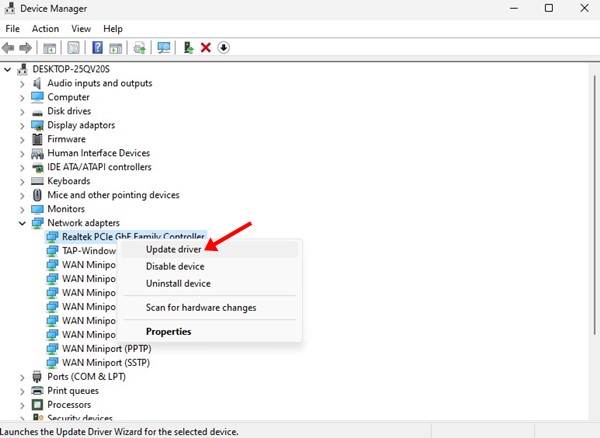
3. Right-click on the WiFi network adapter and select Update driver.
4. Select Automatically search for updated driver.
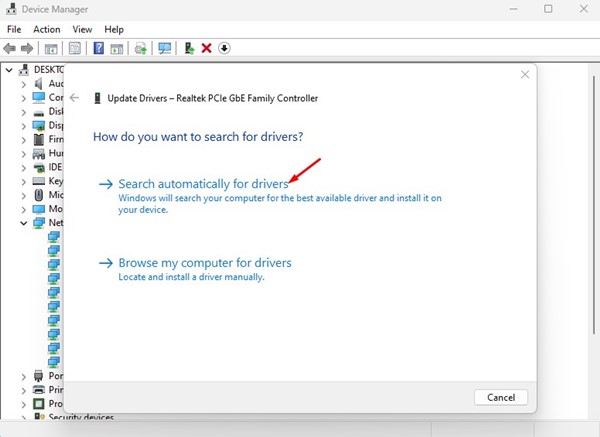
5. Follow the on-screen instructions to complete the WiFi driver update process.
6. Rollback WiFi Adapter Driver to the Previous Version
If you are getting the No WiFi Networks found error on Windows 11 after installing a new update, then you need to follow these methods to get it fixed.
1. Click the Windows 11 search and type Device Manager. Next, open the Device Manager app from the list of matching results.
2. Scroll down and expand the Network Adapters.
3. Right-click on the WiFi network adapter and select Properties.
4. Select Roll back driver (If available).
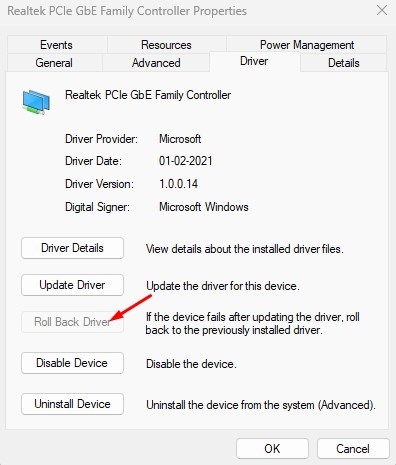
This will roll back your Wifi adapter drivers to their previous version.
7. Change the WiFi Channel Value
We will change the 802.11 channel value to Auto. Many users have claimed to fix the No WiFi Networks found a problem on Windows 11. Here’s what you need to do.
1. Open Settings and switch to the Network & Internet tab.
2. Click Advanced Network Settings > More Network Adapter Options on the right side.

3. Right-click on the WiFi adapter and select Properties. On the Properties, scroll down, click ‘Internet Protocol Version 4’ and choose Configure.
4. Switch to the Advanced tab. Select the 802.11 value on the left. Click on the value drop-down and select Auto.
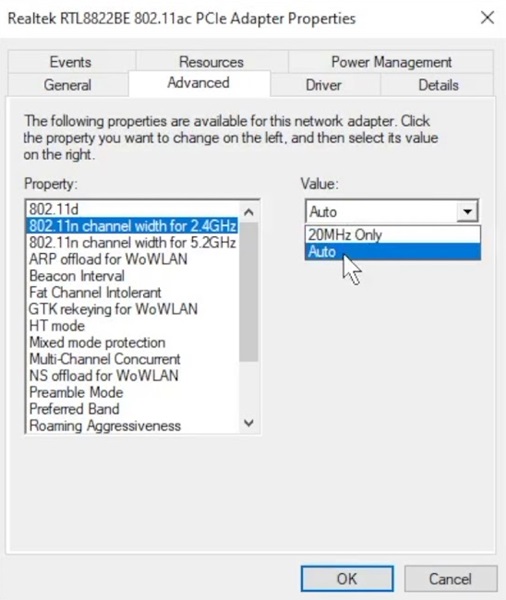
After making the changes, click on the OK button.
8. Run the Network Troubleshooter
Windows 11 provides a troubleshooter for fixing internet connectivity problems. You need to run the Network Troubleshooter to fix the “No WiFi Networks Found” error.
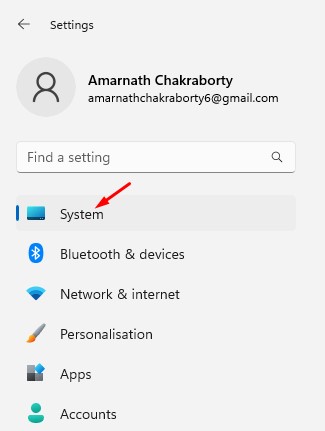
1. Click the Windows 11 Start button and select Settings.

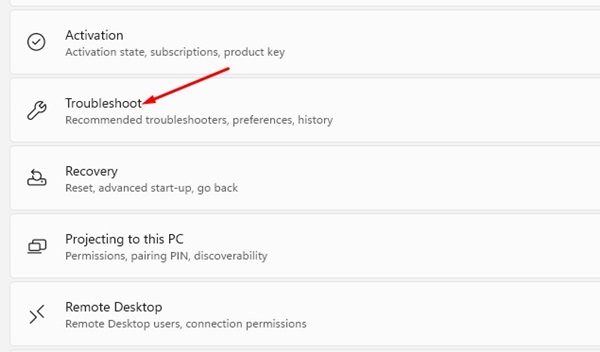
2. Click on System on the left side.
3. Scroll down and click on Troubleshoot.
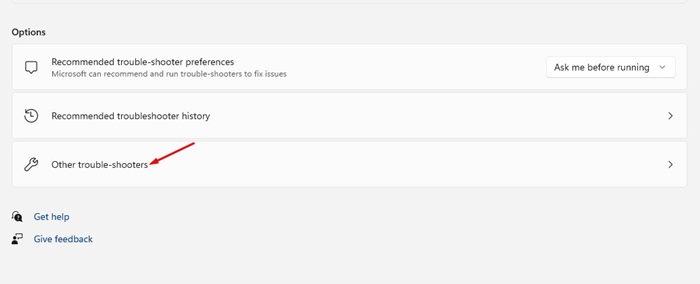
4. Click on the Other troubleshooters.
5. Under the Most Frequent section, click the Run button beside Internet Connection.
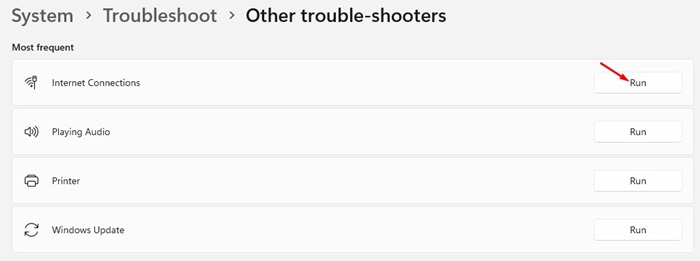
This will run the Network troubleshooter on your Windows 11 computer. You need to follow the on-screen instructions to complete the process.
9. Reset Network Settings
If the problem persists, you need to fully reset the network settings. Resetting the network will remove all user-made settings and use the default settings.
Back up your Network data, like proxies, custom DNS, etc., before you reset your Network Settings.
Once you’ve done this, follow this guide to reset Network Settings in Windows 11.
10. Connect to the Internet via Ethernet Cable
If Windows 11 still shows No WiFi Networks Found, you may have a faulty WiFi network card.
You can try connecting a portable Wi-Fi adapter to your PC and connecting to a Wi-Fi network. If the connection goes well, you must check your Wi-Fi card.
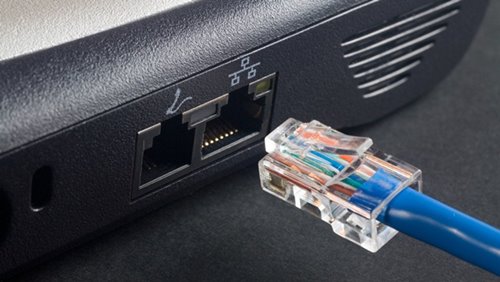
Alternatively, if you need to access the Internet urgently, you can use an Ethernet Cable. Plug the cable into your PC or laptop and connect to the Internet.
11. Use a different USB WiFi Adapter
The WiFi card or adapter installed on your Windows 11 PC may be faulty. This could be the sole reason why nearby WiFi networks are not showing up.
USB WiFi adapters are prone to damage, so it’s essential to check whether they’re functioning.
If you have a WiFi adapter as a replacement, you can try connecting it to your PC. Or else, you can connect your existing WiFi card to any other device and see if it’s working.
Also read: How to View WiFi Password in Windows 11
These are the best methods to fix the No WiFi Networks Found error on Windows 11. Let us know in the comments below if you want to suggest any other way to fix the problem.


