Since Windows 11 is not free of bugs, several users have reported problems with the Search bar. A few users have reported that they cannot type anything in the search bar. If you are experiencing this issue, here’s how to fix it.
1. Restart the Windows Explorer
Windows Explorer is an important process in Windows 11 that handles the graphical user interface of several tools and utilities. If this process is not responding, you may experience problems such as being unable to type in the Windows 11 search.
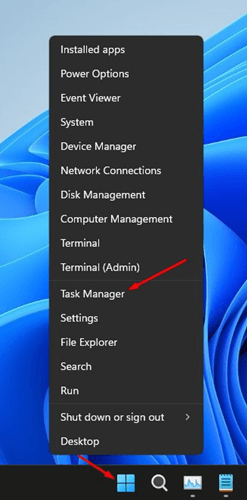
1. Right-click on the Start button and select Task Manager.
2. Switch to the Processes tab.
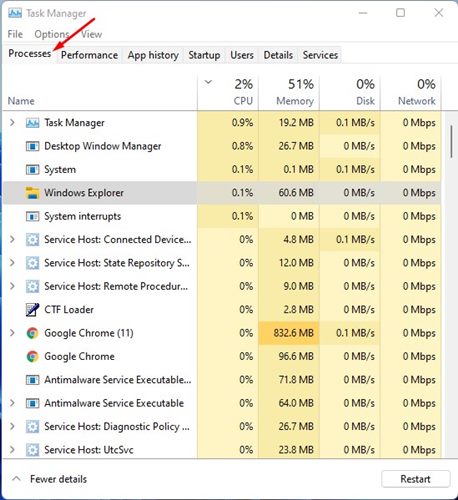
3. Find the Windows Explorer process.
4. Right-click on the Windows Explorer and select Restart.
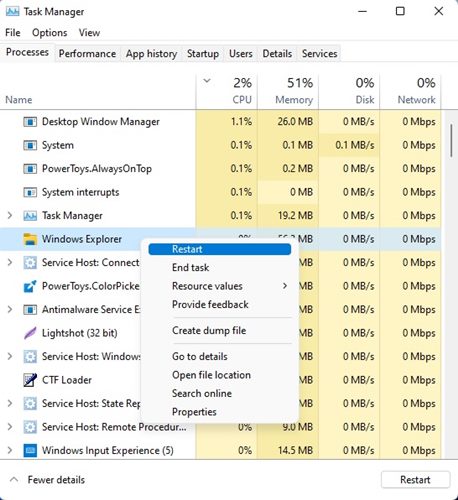
This will restart the Windows Explorer process. Now open Windows search and type anything. You will be able to type in Windows 11 search.
2. Run Search and Indexing Troubleshooter
We will use the Search and Indexing troubleshooter to fix the search bar problem in this method. Here are some of the simple steps you need to follow.
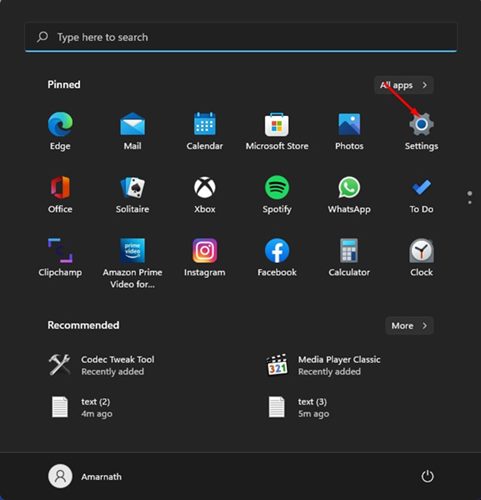
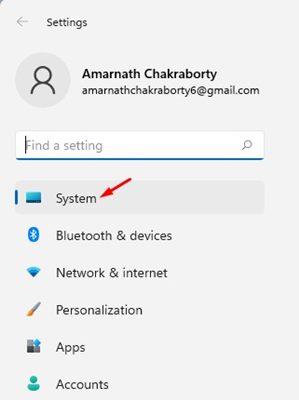
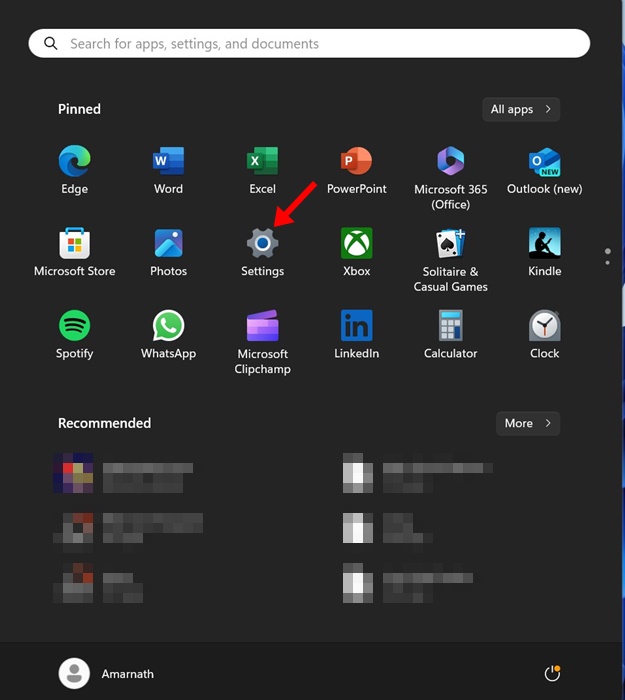
1. Click the Windows 11 start button and select Settings.
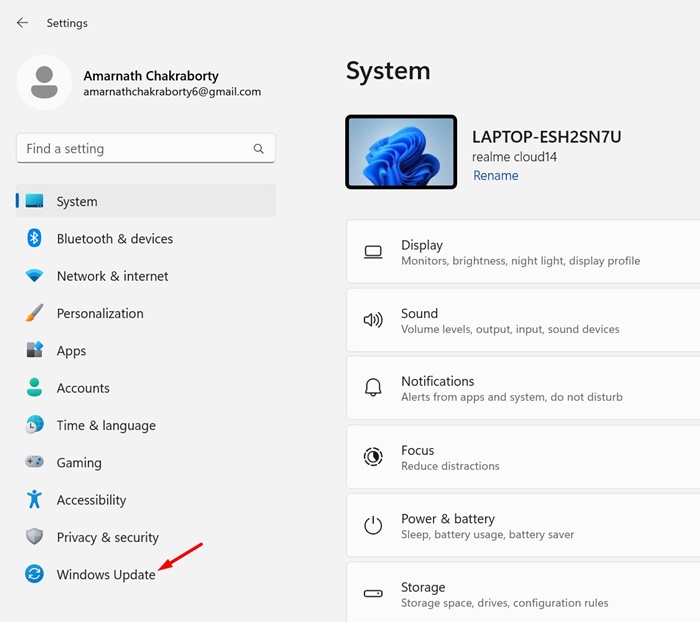
2. Click on the System tab.
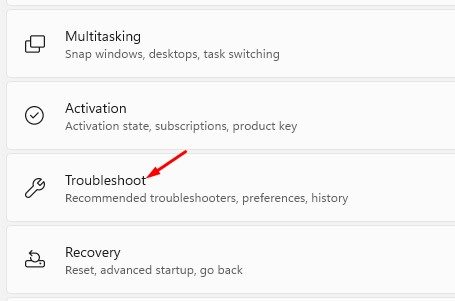
3. Click on the Troubleshoot option as shown below.
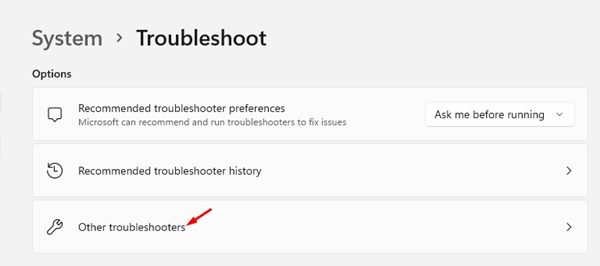
4. On the Troubleshoot page, click other troubleshooters option.
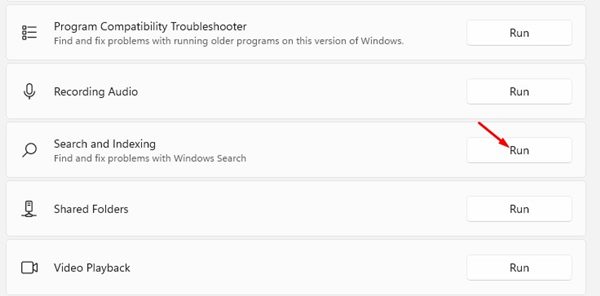
5. Click the Run button behind the Search and Indexing troubleshooter to fix the Search bar problem.
3. Restart the Windows Search Service
Windows 11 runs a background service called ‘Windows Search’. It constantly runs in the background, providing property caching, content indexing, and file search results.
Sometimes, the service fails to run correctly on a system, leading to a search bar not working issue on Windows 11. Hence, restarting the Windows Search Service to resolve the issue is necessary.
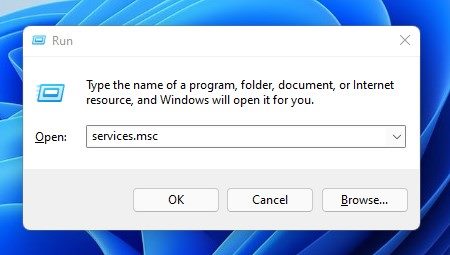
1. Press the Windows Key + R on your keyboard. This will open the Run Dialog box. Type services.msc, and hit Enter.
2. Find the Windows Search option.
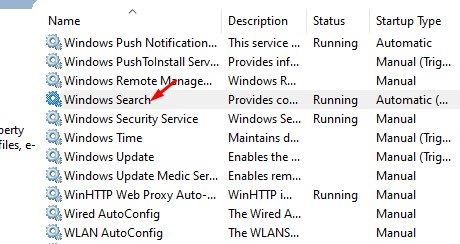
3. Right-click on the Windows Search service and select Restart.
This is how you can restart the Windows Search service in Windows 11.
4. Run CTF Loader
CTF loader is a process that’s required for text support. You can’t type anything in the Windows Search box if this process is not running. So, in this method, we need to manually run the CTF loader to fix the inability to type in the search bar on Windows 11.
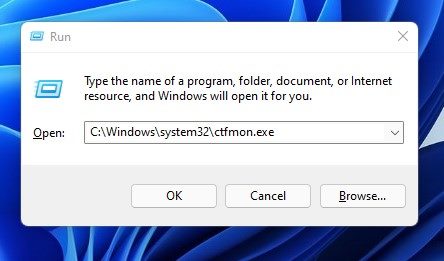
To run the CTF loader, press the Windows Key + R button. This will open the RUN dialog box; type in ‘C:\Windows\system32\ctfmon.exe’ and hit the Enter button.
This will run the CTF loader on Windows 11. You must run this RUN command every time you restart your computer.
5. Rebuild the Search Index
While rebuilding the search index isn’t a sure-shot fix to the problem, doing so will benefit you in multiple ways. You can try rebuilding the search index of Windows 11 to fix the problem.
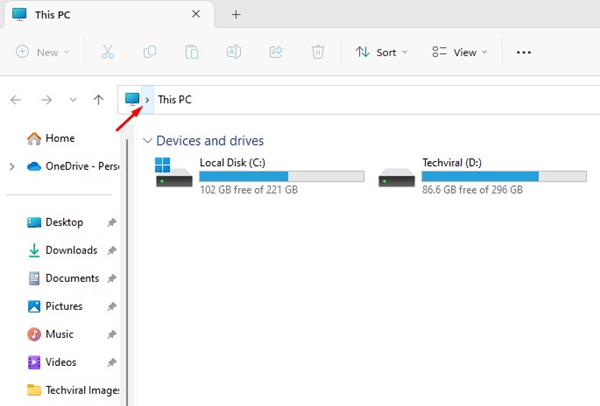
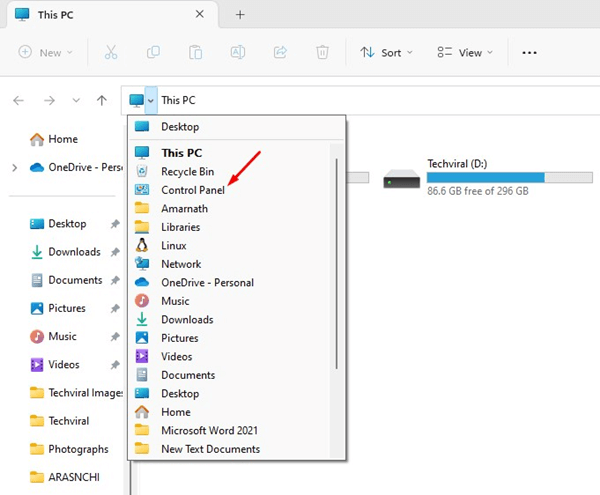
1. Open the File Explorer (This PC) and click on the drop-down icon on the address bar.
2. Select Control Panel.
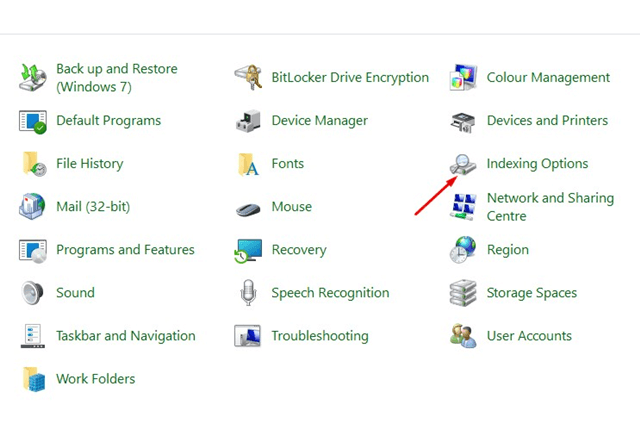
3. Select Indexing Options.
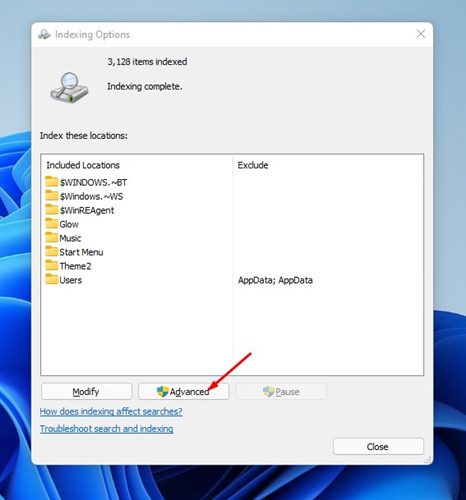
4. Click on Advanced.
5. Click the Rebuild button beside Delete and rebuild index.
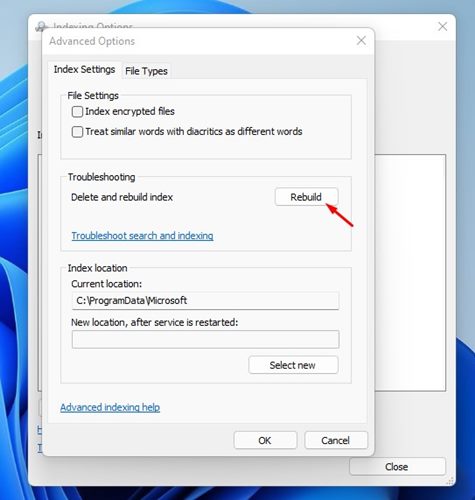
The process may take a while to complete. Once completed, restart your computer and start using the Windows 11 Search.
6. Run SFC & DISM Command
If the Windows 11 system files are corrupted, you might face many issues, including search bar problems. To fix corrupted system files, you need to run an SFC scan to restore missing or corrupted files.
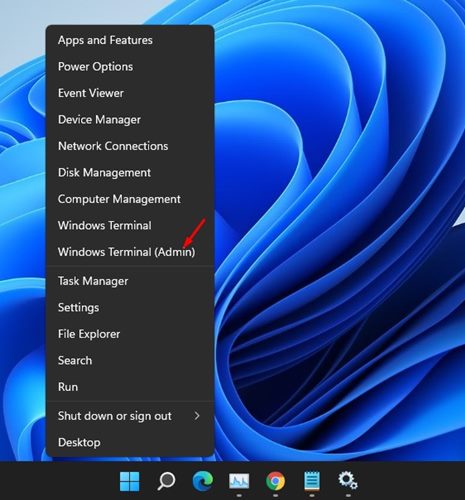
1. Press the Windows Key + X button to open the secondary start menu. Then, select the Windows Terminal (Admin) from the options.
2. Type in sfc /scannow and hit the Enter button.
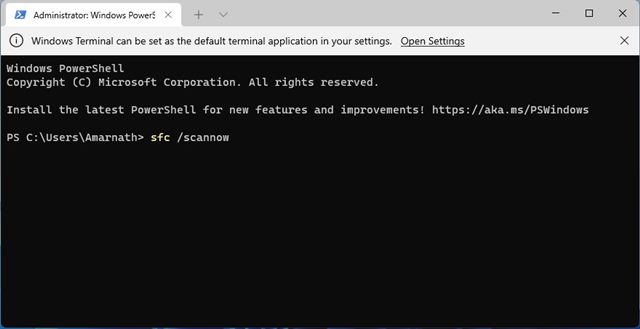
3. The SFC command will run and try to fix the problems. If it finds any problem, you need to run the DISM scan.
4. To run the DISM scan, press Windows Key + X and select Windows Terminal (Admin).
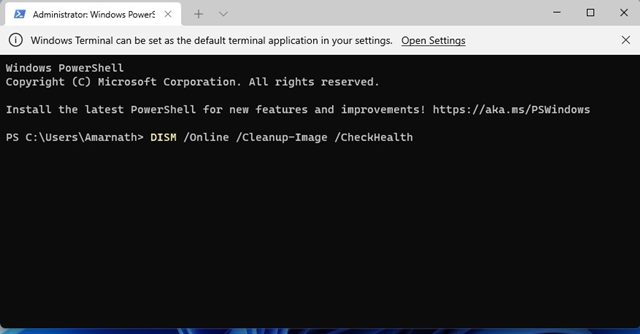
5. Enter the following commands on the Windows terminal.
- DISM /Online /Cleanup-Image /CheckHealth
- DISM /Online /Cleanup-Image /ScanHealth
- DISM /Online /Cleanup-Image /RestoreHealth
7. Re-Register the Default Apps
If you cannot type in the Windows 11 search bar, you must re-register the default apps on Windows 11. Here’s what you need to do.
1. Press the Windows Key + X button and select Windows Terminal (Admin)
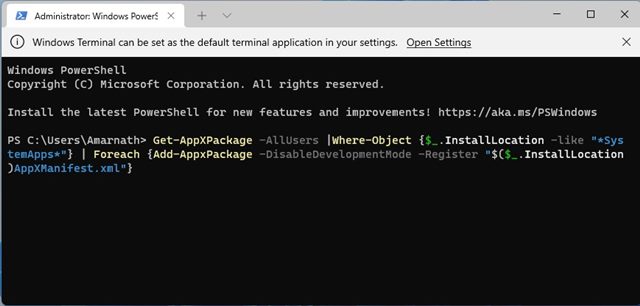
2. Type in the given command and press Enter.
Get-AppXPackage -AllUsers |Where-Object {$_.InstallLocation -like "*SystemApps*"} | Foreach {Add-AppxPackage -DisableDevelopmentMode -Register "$($_.InstallLocation)AppXManifest.xml"}
After running the command, restart your PC. If you cannot type after the restart, follow the steps below.
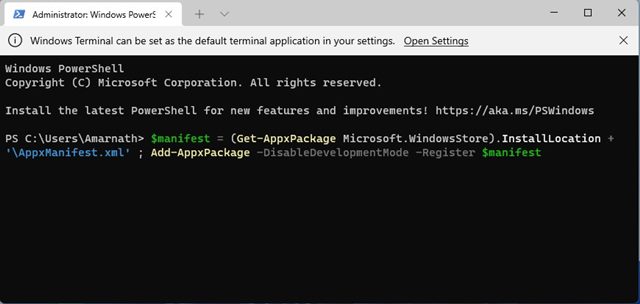
1. Press the Windows Key + X button and select Windows Terminal (Admin)
2. Type in the given command and press Enter.
$manifest = (Get-AppxPackage Microsoft.WindowsStore).InstallLocation + '\AppxManifest.xml' ; Add-AppxPackage -DisableDevelopmentMode -Register $manifest
After executing the command, restart your PC, and the problem will be fixed.
8. Install Pending Windows Updates
Windows updates are very crucial for better stability & security of a device. There is a chance that the version of Windows you’re using has a bug preventing you from typing anything in the search.
The best way to eliminate such bugs is to update Windows 11 to the latest version. Follow the steps below to download and install pending Windows updates.
1. Click on the Windows 11 Start button and select Settings.
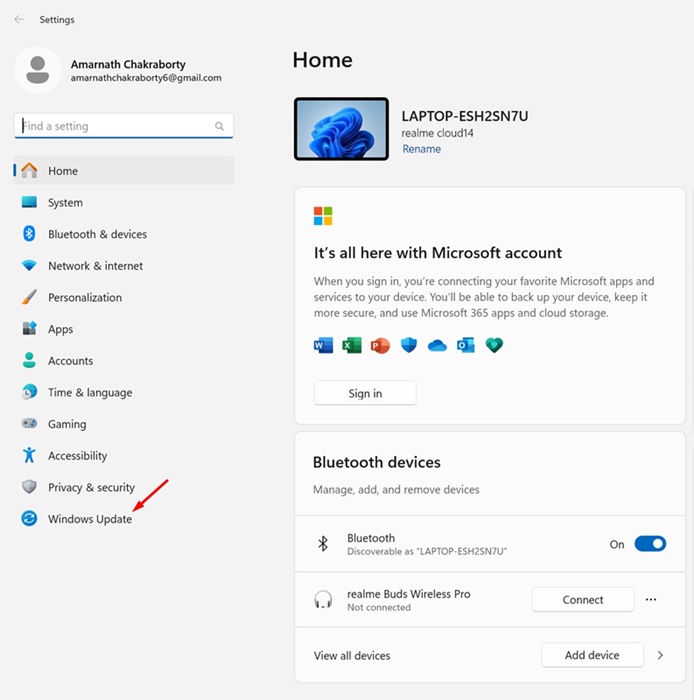
2. Switch to the Windows Update tab.
3. Click on the check for updates.

Windows 11 will automatically check for available updates. If any update is available, download & install it to fix the issue.
9. Reset Windows 11
If nothing works to fix can’t type in the Windows Search bar problem, the last thing you can try is resetting your PC. You can reset your Windows 11 to the default factory state to fix all problems. However, resetting will erase all Settings saved on the device.
1. Click on the Windows 11 Start button and select Settings.
2. Switch to the Windows Update tab on the left.
3. Click on Advanced Option.
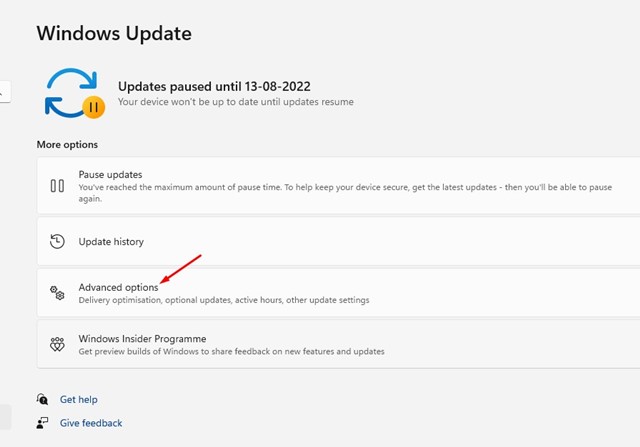
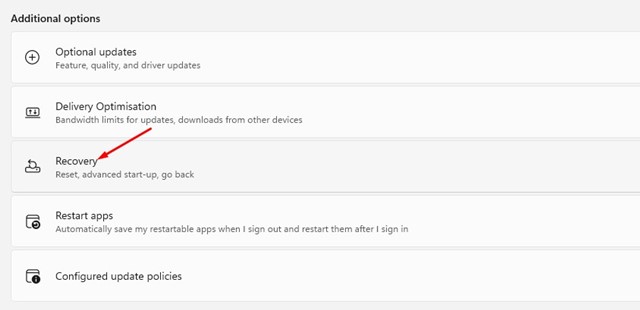
4. Click on Recovery.
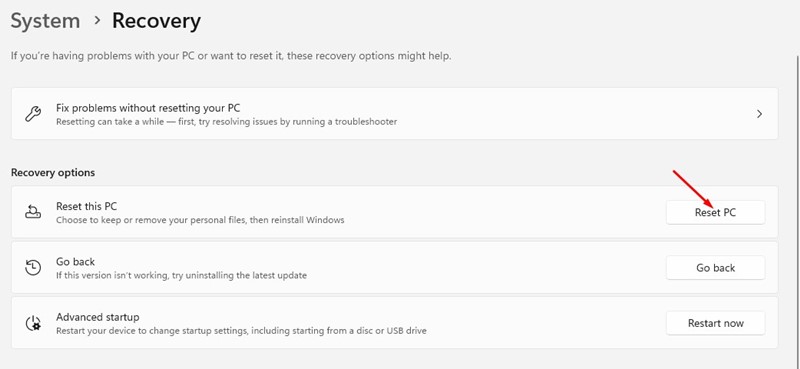
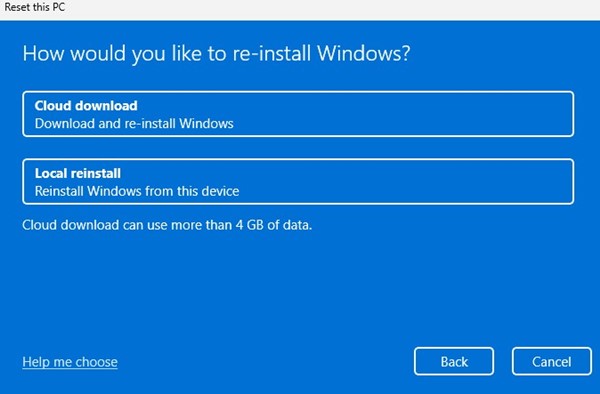
5. Scroll down to the Reset this PC section and click the Reset PC button.
6. Select Keep my files.
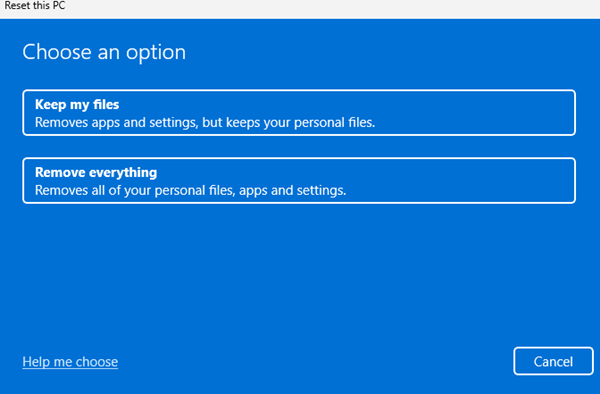
7. Select Cloud download.
These are the best possible ways to fix unable to type in the search bar on Windows 11. If you have any doubts, let us know in the comment box below.


