When the black screen occurs, the device may still be on and functioning, the lights may blink, and the processor and GPU fans may spin, but the screen will turn black.
The black screen shows no error code or message determining the cause. So, if you recently installed Windows 11 and are facing a black screen issue, here’s what you need to do.
1. Check for Loose Connections
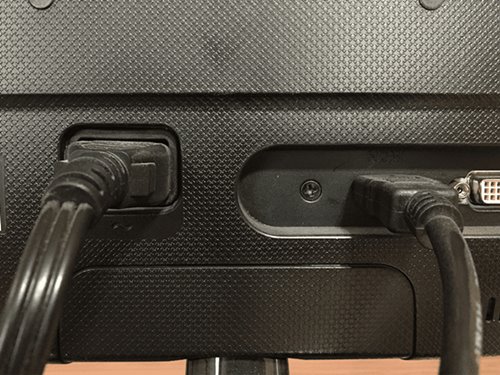
Before following the next methods, check for loose connections with the monitor. To verify, ensure your monitor is turned on and properly connected to the power socket.
Next, turn off your PC and unplug the connections to the monitor. Once done, you must firmly replug the connections to fix the problem.
If the connection is correct and the black screen still occurs, you must try connecting any other monitor to your PC to see if it is related to the monitor itself.
2. Restart Your Computer

If your PC shows a black screen, this is one simple step: restart it. Before trying the next methods, make sure to restart your PC.
To restart your PC, press and hold the power button until the computer is turned off.
Once turned off, you need to wait for some time and power on the PC again. Once done, check if the black screen issue is fixed.
3. Check the Projection Settings
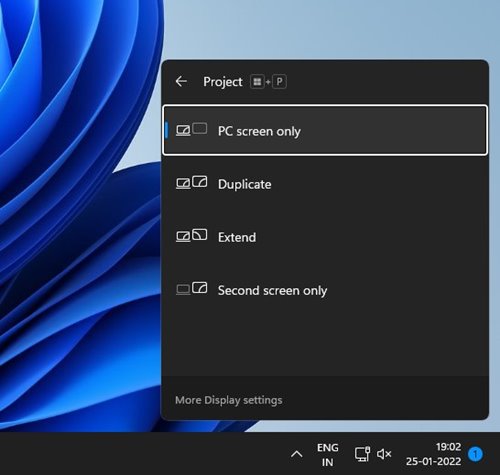
A black screen appears on Windows 11 when a user selects the wrong projection settings. In this method, we will check the projection settings to fix the black screen issue.
Since you can’t see anything on the screen, you must make multiple attempts to correct the Projection settings. To do so, press the Windows Key + P button on your keyboard and use the arrow keys to scroll through the list.
Once the screen appears, press Enter to select PC screen only.
4. Reset the Graphics Adapter
If the above method fails to fix the black screen issue, reset the graphics adapter. Since you can’t see anything on the screen, you must use a Keyboard shortcut to reset the graphic adapter.
Press the Windows Key + CTRL + SHIFT + B button to reset the graphics adapter. You will now hear a beep followed by a flash on the screen. The flash on the screen means the Graphics adapter has been reset. Once this has been done, the screen should appear again.
5. Update the Graphics Card
If the above method doesn’t work, you must update your PC’s graphics driver. An outdated graphic card driver is another reason behind the black screen problem. If you can see the display, implement the steps below.
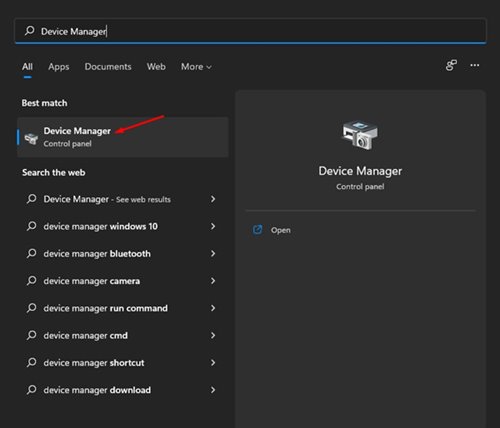
1. Open the Windows 11 search and type in Device Manager.
2. On the Device Manager, expand the Display Adapters.
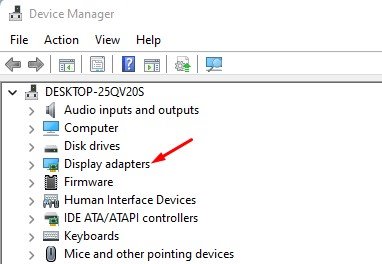
3. Right-click on your graphic card and select the Update driver option.
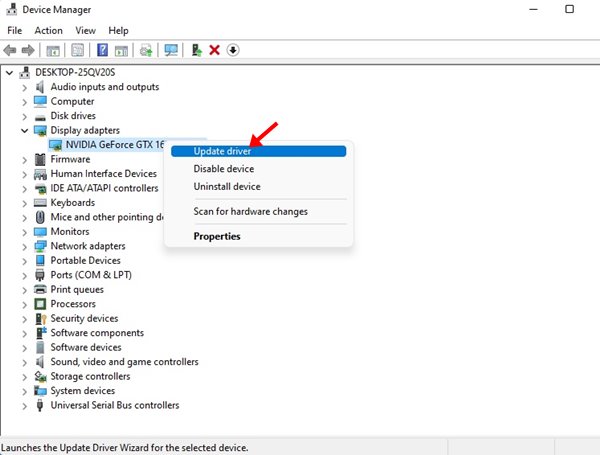
4. Now, Windows 11 will search and install the latest version of the Graphics driver.
6. Run the Startup Repair
If the black screen on Windows 11 appears before the login screen, you need to run the Startup Repair. The black screen before the login screen indicates startup problems. Here’s how to run the Startup Repair on Windows 11 computer.
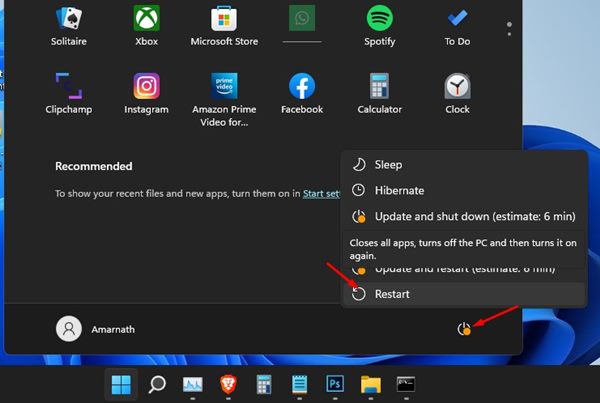
1. Click on the Windows 11 power button. Now, hold down the Shift key and select Restart.
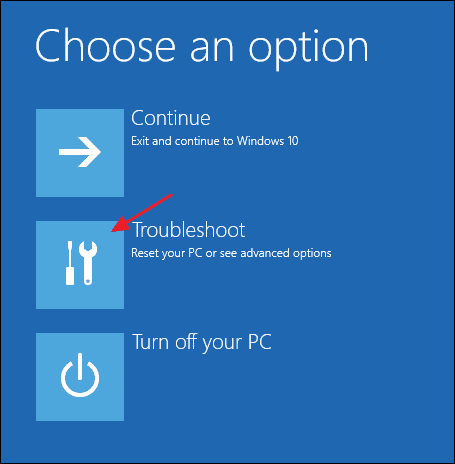
2. This will open the Advanced Boot options. On the boot screen, select Troubleshoot > Advanced Options.
3. In Advanced Options, click on Startup Repair.
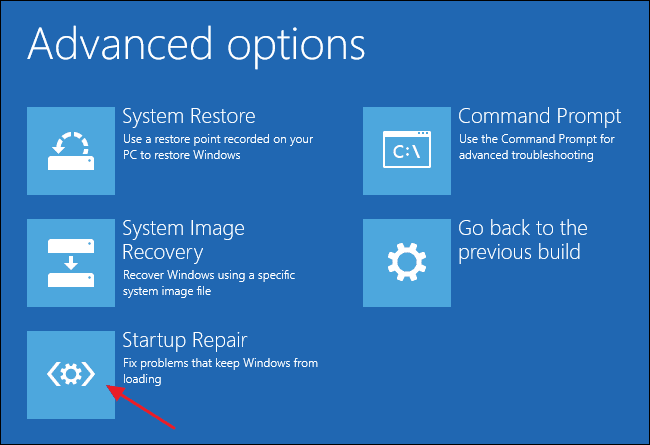
Windows 11 will attempt to repair the startup problems. Your computer may restart several times. But after the restart, you can get past the black screen.
7. Uninstall the Recent Updates
Windows 11 Black screen issue usually appears after installing the latest updates. So, it’s wise to uninstall the last update to resolve the issue. Here’s what you need to do.
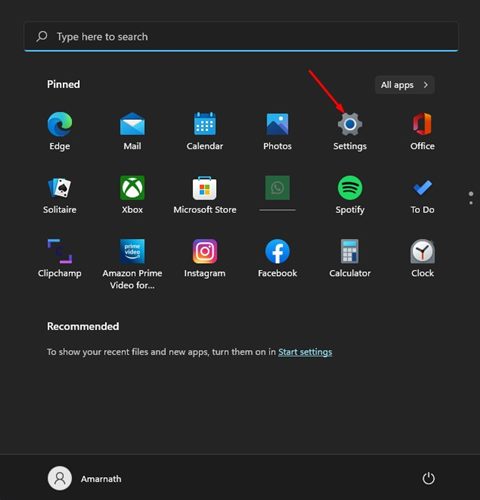
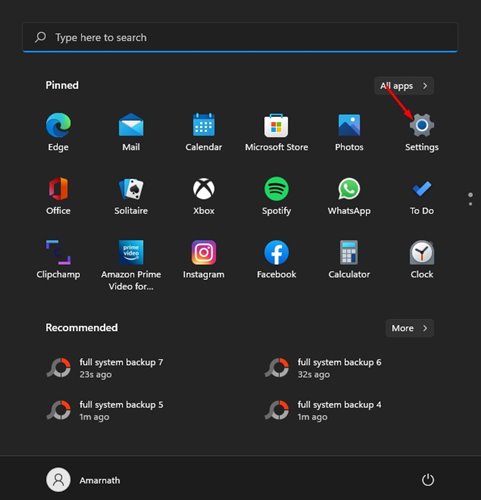
1. Click on the Windows 11 Start button and select Settings.
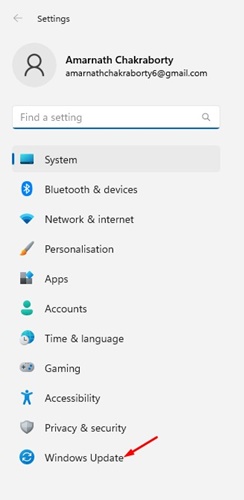
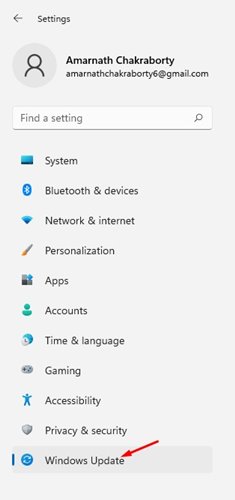
2. On Settings, switch to the Windows Update tab.
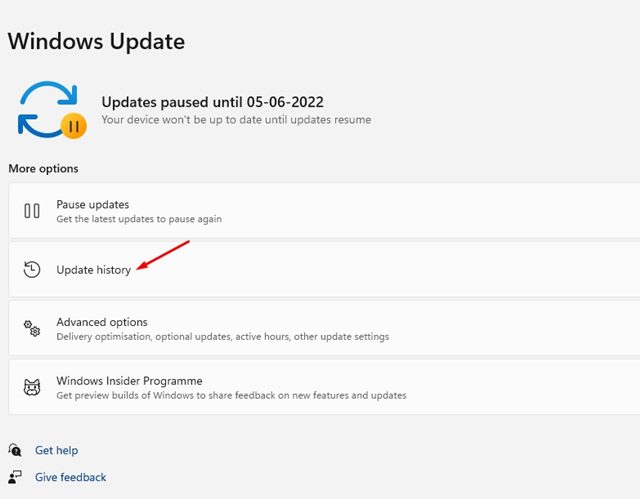
3. On the right pane, click on the Update History.
4. Now scroll down to the Related Settings section and click Uninstall Updates.
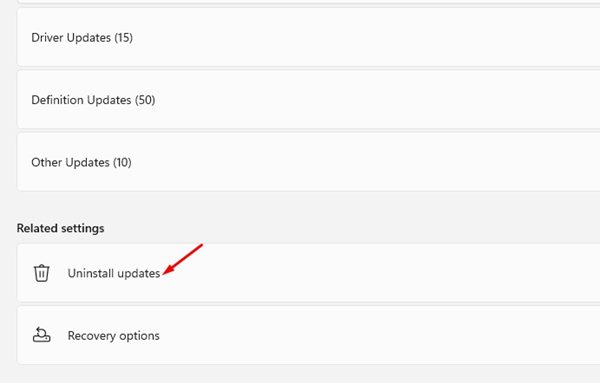
5. Right-click on the update that had been recently installed and select Uninstall.

8. Update Windows 11
As mentioned above, the same black screen problem has already been seen on Windows 10. Microsoft fixed the problem with a simple update.
The appearance of a black screen on Windows 11 is likely due to a bug in the software. Therefore, it’s always best to update the Windows 11 operating system.
To update the Windows 11 operating system, you need to follow some simple steps shared below.
1. Click on the Windows 11 start button and select Settings.
2. On the Settings page, click on the Windows Update option.
3. On the right pane, click on Check for updates.

9. Running an Antivirus Scan
Running a full scan with the Windows Security app can also help. Here’s how you can run a full antivirus scan with the Windows Security app. Here’s what you need to do.
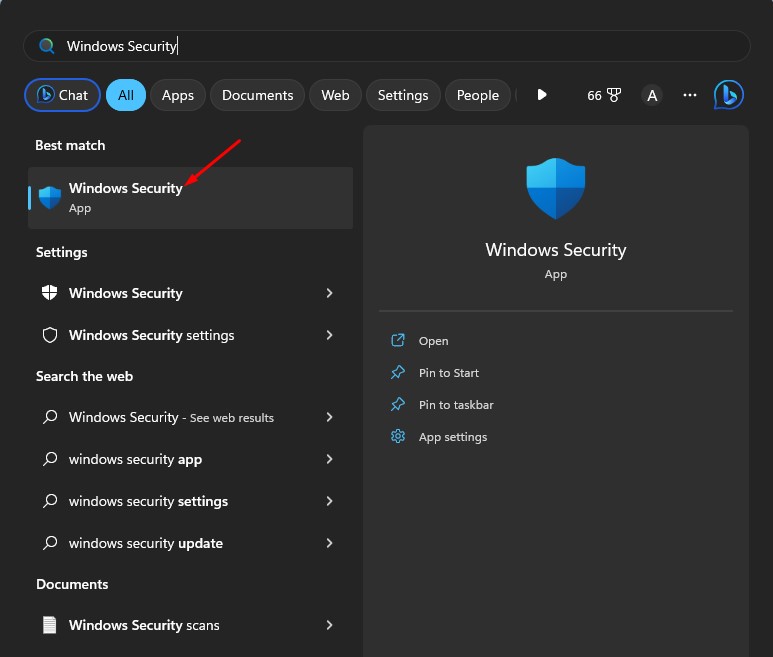
1. Type in Windows Security on Windows Search. Next, open the Windows Security app from the list.
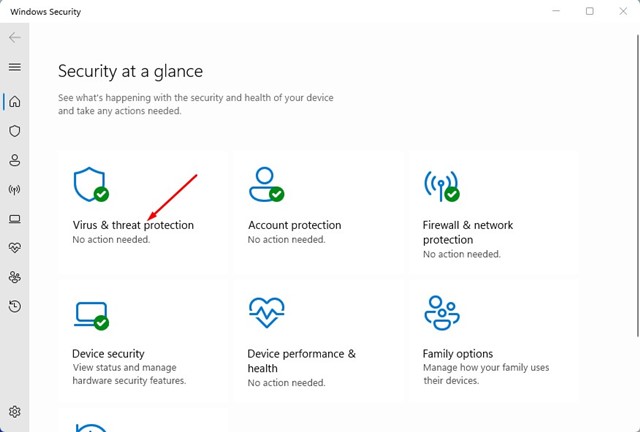
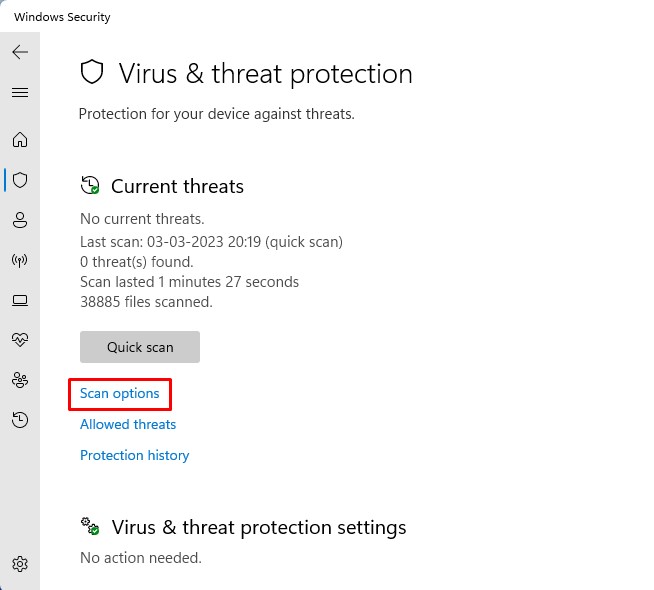
2. When the Windows Security app opens, click on Virus & Threat Protection.
3. Click the Scan Options button in the Current Threats section.
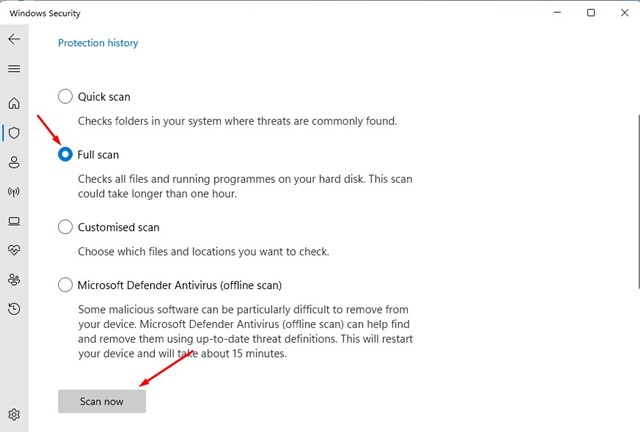
4. On the Scan Options, select Full Scan and click Scan Now.
You need to wait until the scan is completed. Once it is, restart your computer and check whether the black screen issue is solved.
10. Perform a System Restore
If nothing has worked in your favor until now, it’s high time to perform a system restore. However, to perform a system restore, you first need to ensure whether any existing restore points are available.
If a restore point is available, you can use it to roll back system changes made after the restore point is created. Here’s how to perform a system restore.
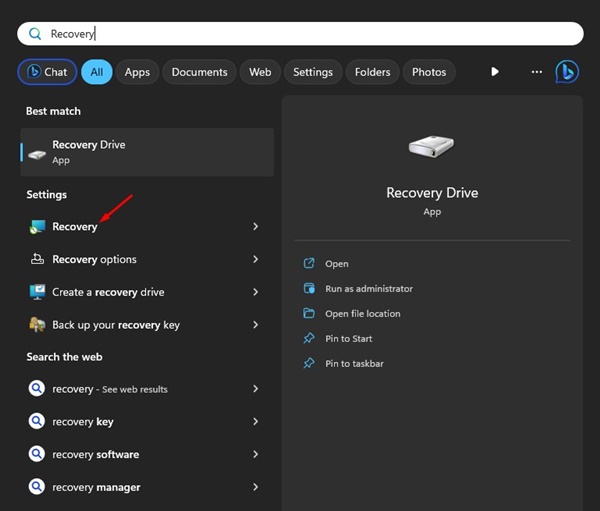
1. Type in Recovery on Windows search. Next, open the Recovery app from the list of search results.
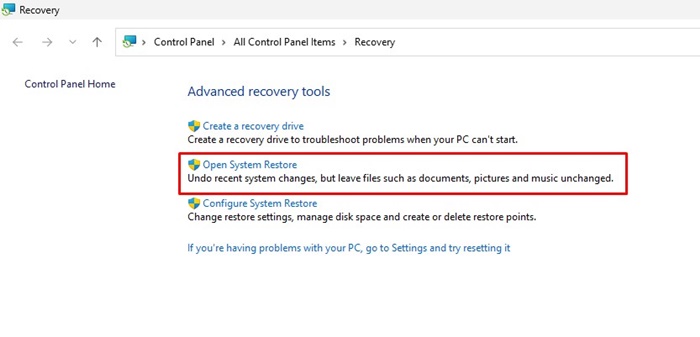
2. On the Advanced Recovery Tools screen, select Open System Restore.
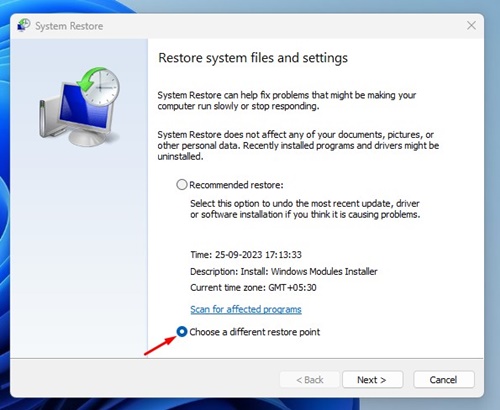
3. On the Restore system files and settings, select Choose a different restore point.
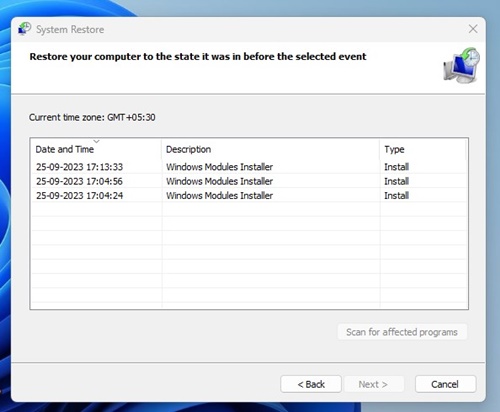
4. Now select the Restore point and click Next.
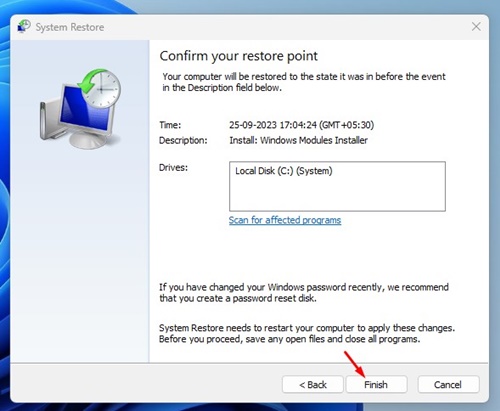
5. On the confirmation dialog, click on Finish.
Windows 11 is prone to errors, and the Black screen is a common issue. If the monitor works and the above method fails to fix the problem, you might need to reinstall the Windows operating system. I hope this article helped you! Please share it with your friends also.


