We will share an interesting trick that will help you increase RAM on your Android Device. Yes, it is possible to do this by following the simple method below. Below we have shared the 4 best methods that can help you increase RAM on any Android smartphone.
Are you facing freezing problems on your Android device due to extremely low RAM and unable to run heavy games, applications and even perform multitasking efficiently? Then this article is just for you. We know everyone can’t afford or buy high range phones and facing this problem due to the RAM size and processor.
So we are back with an interesting trick that will help you increase RAM on your Android Device. So follow the below steps to know about it.
Also Read: 10 Best Way To Free Up Your Internal Storage In Android
Steps To Increase Ram On Android Device
Requirements:
- SD card (4 or higher SD Card)
- Rooted smartphone Or Rooted Tablet (how to root android)
- SD card reader
- Windows PC
Partition Your SD Card for Increase Ram On Android:
First of all, you need to partition your SD Card, Download Mini tool Partition from Here. Install the application on your PC and connect your SD card to your PC with Card Reader.
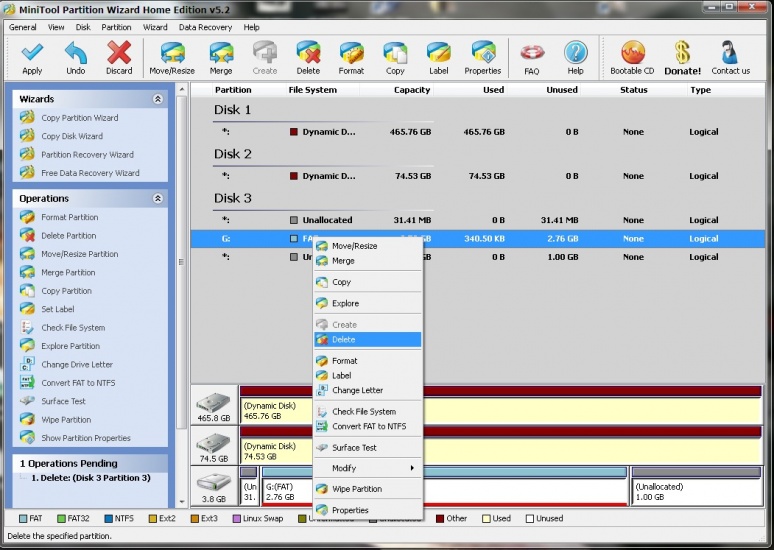
Step 1. Open Mini Tool Partition on your PC and when the wizards open, click on your SD Card and select the Delete option.
Note: This will format your SD Card completely. So, make sure to perform a complete backup of your SD card before you proceed with the next steps.
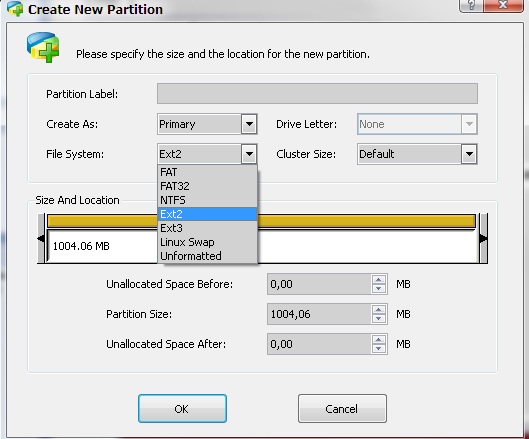
Step 2. Once the formatting is done successfully, you will have enough space on your SD Card as unallocated, then Right-click on SD Card and select the “make” option. A popup box will open, giving you options for making a partition; select the partition as primary and file system as FAT if SD Card is less than 4GB or FAT32 if your SD Card is more than 4GB.
Step 3. Leave about 512 MB or more space (your choice) for making the next partition. Then select done and do right click on your SD Card’s unallocated space and again click the “make” option. Select Primary partition but change the file system to Ext2, Ext3, or Ext4.
Note: (Ext2 is not compulsory as most ROMs work fine with it).
How To Make Ram Of SD Card Android
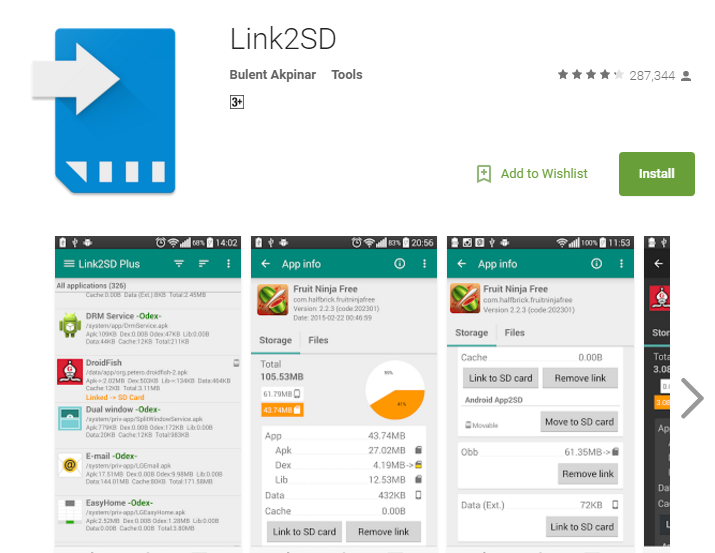
Step 1. Click Apply Changes, and then the process goes on for a few minutes, and then the partition is completed. Install Link2sd from Google Play Store.
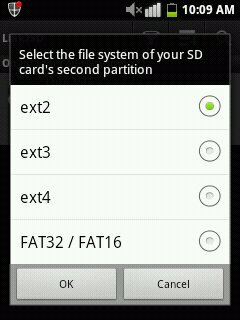
Step 2. On the first launch of the app, it will require the root permissions, and then it will then ask you for the file system of the .ext partition that you had made before and choose the option you had chosen during partition.
Step 3. Sort the apps according to size and start linking them. If you face any problems, please discuss them in the comments, and don’t forget to share!
Increasing RAM does not indicate that you are adding some hardware to your Android smartphone. An Android user can’t add some hardware to an Android phone. And the methods stated here are so manageable and easy that everyone can execute to increase their smartphone’s ram; you need to follow the above instructions.
Using Roehsoft RAM Expander(Swap)
You can use your SD card as a working memory expansion with Roehsoft RAM expander’s help. That means the more space on your SD card so vast would be your RAM space. Let’s know how to use it.
Step 1. First of all, download and install Roehsoft Ram Expander(Swap) on your rooted Android device.
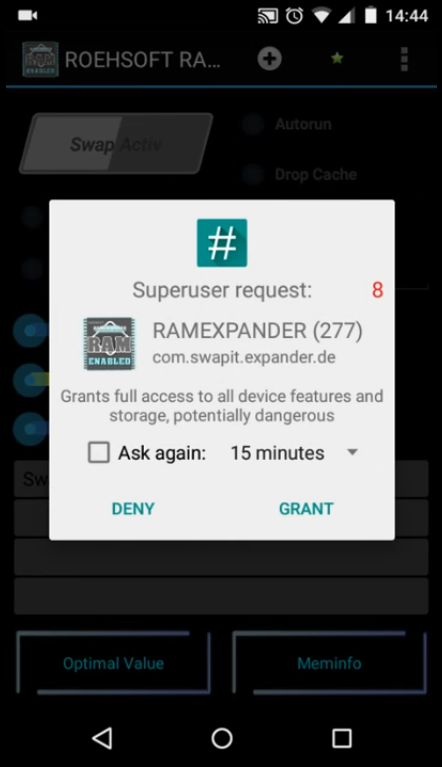
Step 2. Now after installing, open the app and grant it a superuser request.
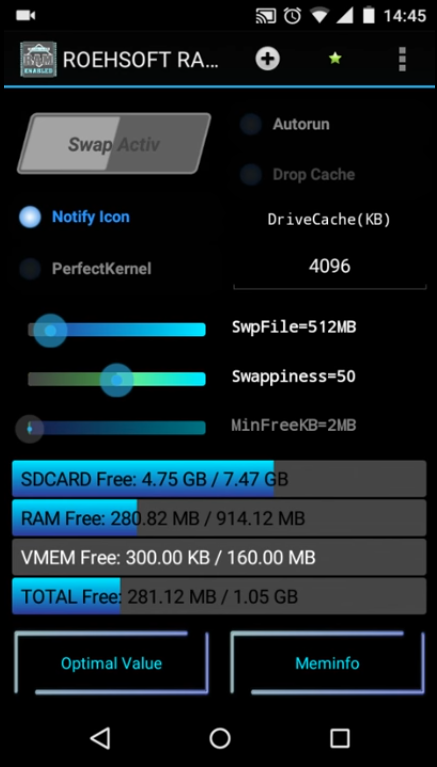
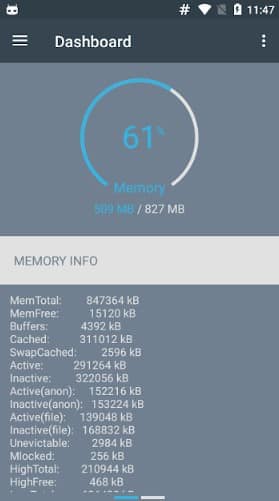
Step 3. You will get to see SDcard memory, Free Ram, Total Free RAM.
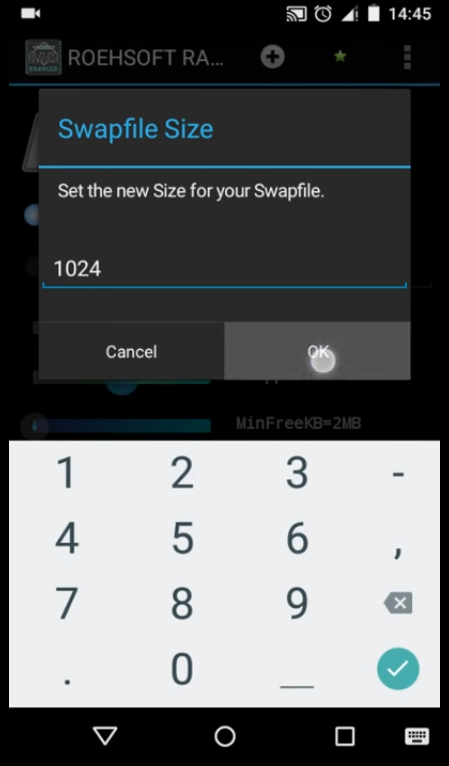
Step 4. You need to set the new size for your Swapfile.
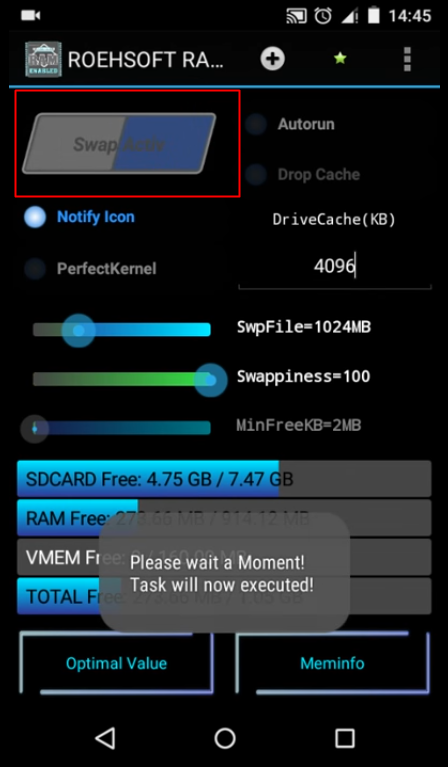
Step 5. Now swipe over “Swap/active” and wait for a moment until the swap is executed.
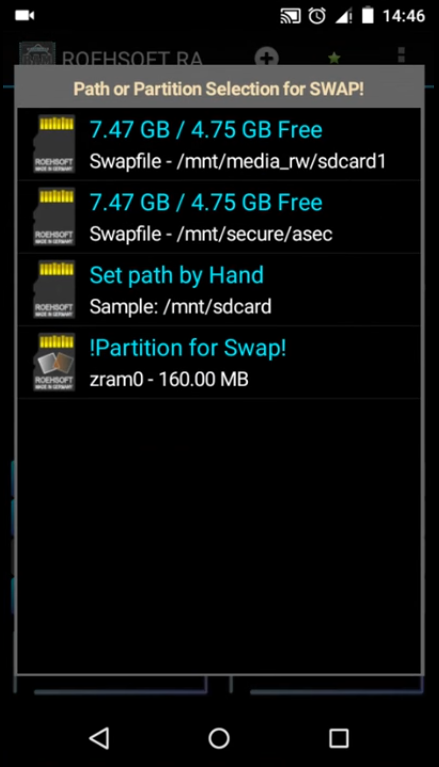
Step 6. Now you have to select the path or partition selection for the swap. Select your SD card here.
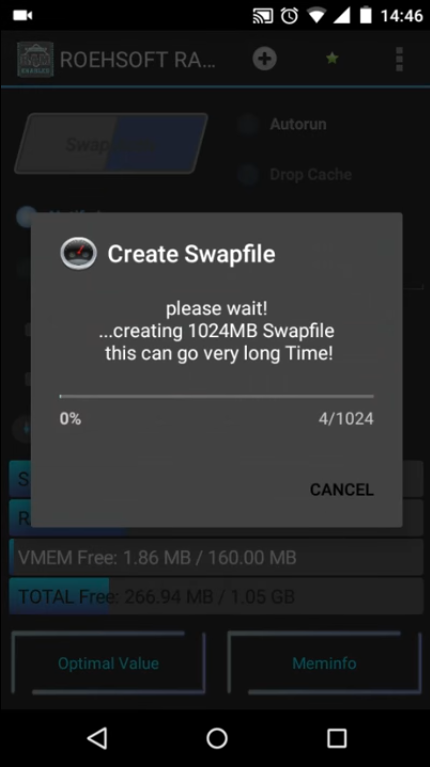
Step 7. Now go back to the main page and swipe over “Swap/active,” and wait until the app finishes creating the swap file.
That’s it! Now you will see your Total free RAM will increase. This is the easiest way to expand RAM using the SD card.
Using RAM Manager Pro
RAM Manager Pro is another advanced Android app on the list which works on both rooted and non-rooted Android smartphone. The best thing about RAM Manager Pro is that it optimizes and boosts your device’s memory to a significant level. If you have a rooted Android smartphone, you can swap SD card memory to use it as RAM, much like Roehsoft. So, here’s how you can use RAM Manager Pro on your Android smartphone.
Step 1. First of all, download & install RAM Manager Pro on your Android smartphone. Grant all the permissions and if you have a rooted device, then grant the superuser permissions.
Step 2. Now you will see the main interface of the app.
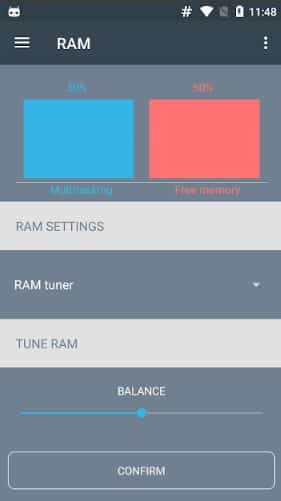
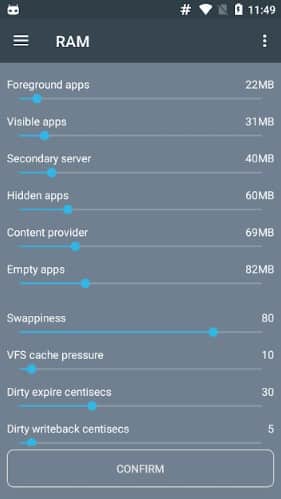
Step 3. Head to the RAM settings and tap on ‘Tune RAM’ and balance it as per your wish.
Step 4. You can set RAM usage priority for foreground apps, visible apps, secondary servers, hidden apps, etc.
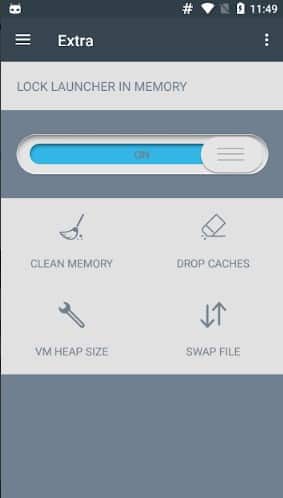
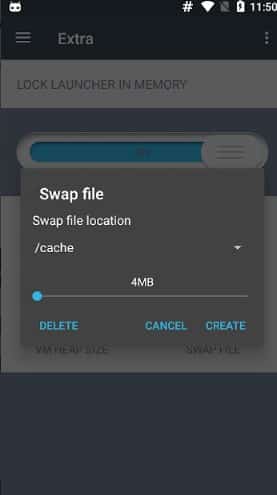
Step 5. If you want to Swap the SD card memory (Rooted device only), then tap on ‘Swap files’
Step 6. Now you need to set the new SD card and RAM limit.
That’s it; you are done! This is how you can use RAM Manager Pro to increase RAM on Android. Please note that it’s an advanced app, and playing with the settings might brick your Android device. We prefer you to implement this method under an expert’s advice. We won’t be liable for any damage if it happens.
It’s a simple method to increase ram on Android, which will take a maximum of 10-15 minutes to perform. Using this trick or method, you can increase your ram on android. So if you liked our work, then share it with your friends.





How To Increase Ram On Android using internal memory.