Many users have recently reported that Windows 11 won’t let them install optional features. Users also said that Windows 11 returns an error while adding optional features. Even when errors don’t appear, Windows 11 takes forever to add an optional feature. If you are dealing with the same problem, here’s what you should do.
1. Restart your computer

Maybe a glitch is preventing Windows 11 from installing the optional features. Also, apps and processes running in the background could conflict with the installation process of the Optional feature.
So, before trying the next methods, restart your computer. After the restart, try adding the optional feature again.
2. Check if your internet is working

It’s essential to have an active and stable internet connection during installation. You can check the Network tab on the Task Manager to confirm whether the internet is working.
Alternatively, you can open your web browser and visit fast.com. The site will show you the current internet speed along with the Ping.
3. Disable the Metered Connection
A metered connection is a feature that is supposed to avoid extra internet bills for more data consumption than the allowed limits. The Metered connection may be enabled on your device; hence, the optional features are not downloading & installing. So, ensure that the metered connection is disabled on your Windows 11.
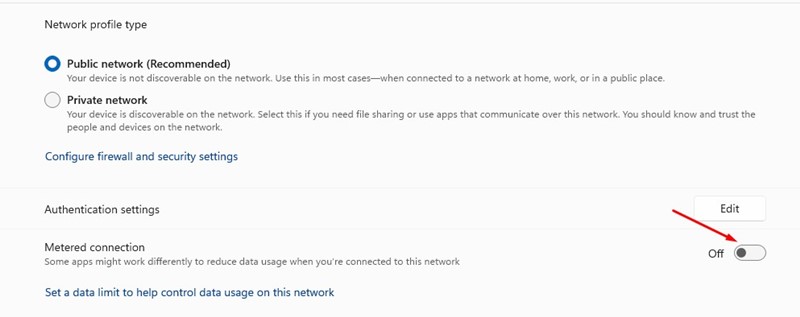
- Click on the Windows 11 Start button and select Settings.
- Switch to the Network & Internet.
- Click on your connected WiFi.
- Scroll down to the Metered Connection section and turn off the toggle next to it.
This will turn off the Metered connection on Windows 11.
4. Run the Windows Update Troubleshooter
Running the Windows Update Troubleshooter will fix the problem of Optional Features not downloading or installing.
1. Open the Windows Settings and switch to the System.
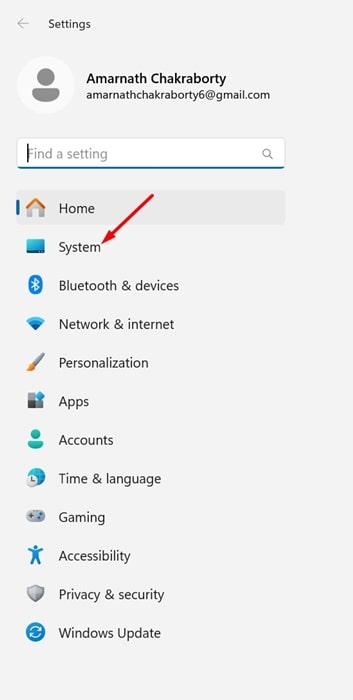
2. Click Troubleshoot.
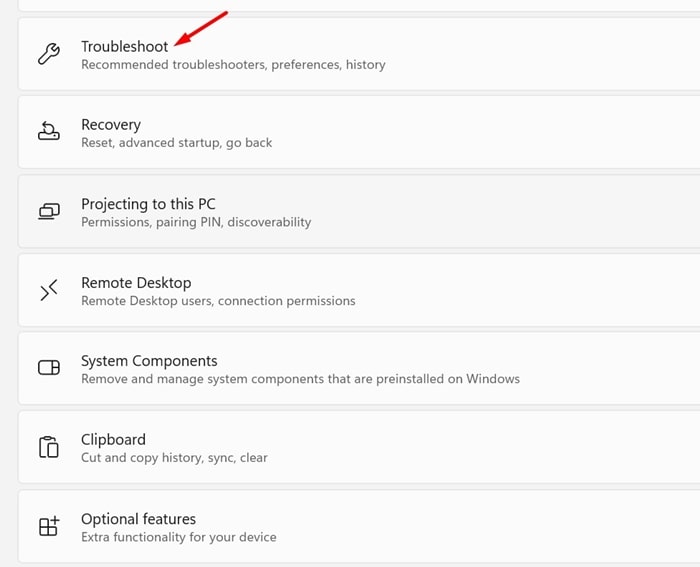
3. Click Other Troubleshooters.
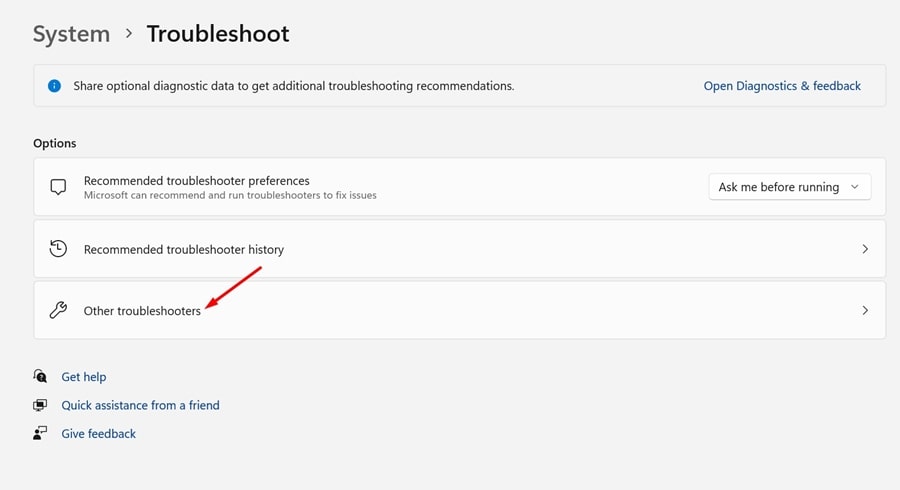
4. Find Windows Update and click the Run button beside it.

5. Reset the Windows Update Components
Resetting the Windows Update Components will delete all contents stored in the SoftwareDistribution and catroot2 folders. This is where the downloaded updates are being kept before the installation. If you’re still unable to download or install the Optional Features on Windows, you can try resetting the Windows Update components.
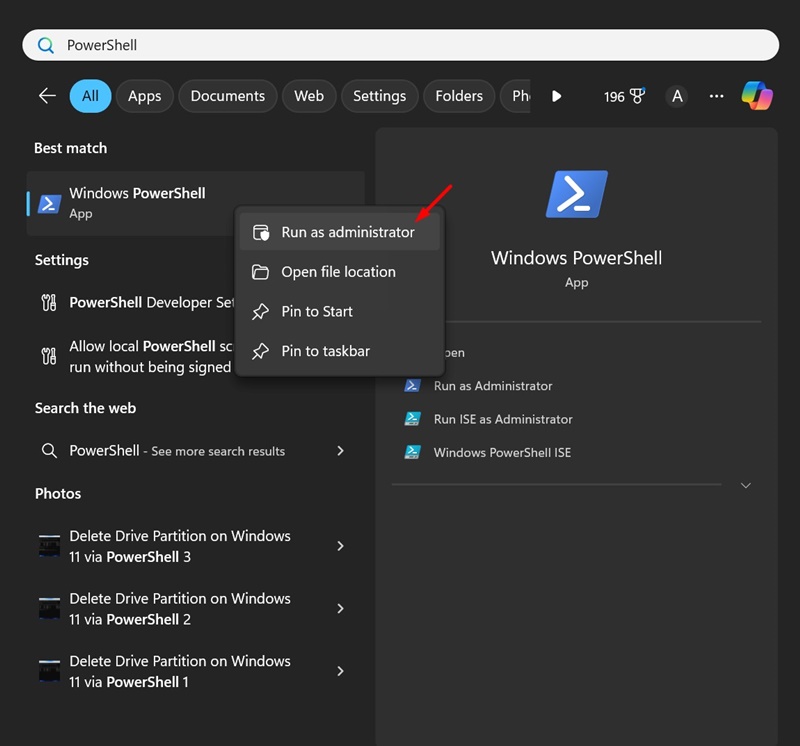
1. Type PowerShell in the Windows 11 Search. Right-click on PowerShell and select Run as administrator.
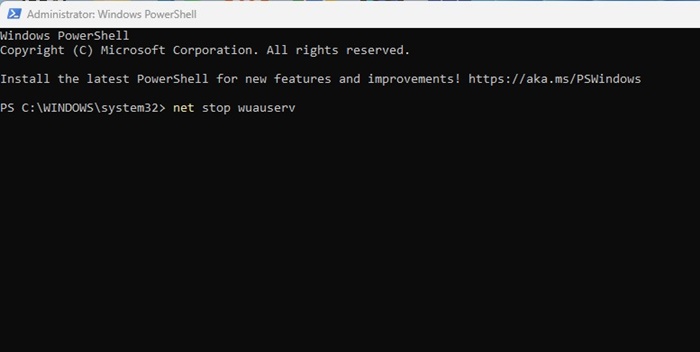
2. Execute these commands one by one:
- net stop wuauserv
- net stop cryptSvc
- net stop bits
- net stop msiserver
- ren C:\Windows\SoftwareDistribution SoftwareDistribution.old
- ren C:\Windows\System32\catroot2 catroot2.old
- net start wuauserv
- net start cryptSvc
- net start bits
- net start msiserver
This will reset the Windows update components. Make sure to restart your computer to restart the Windows Update services.
6. Modify the Group Policy Settings
If the ‘Hide Windows Features’ policy is active, you won’t find the optional features. Even if you manage to find them, you will face problems while installing them. Hence, you need to check and turn off the ‘Hide Windows Features’ policy to fix the problem.
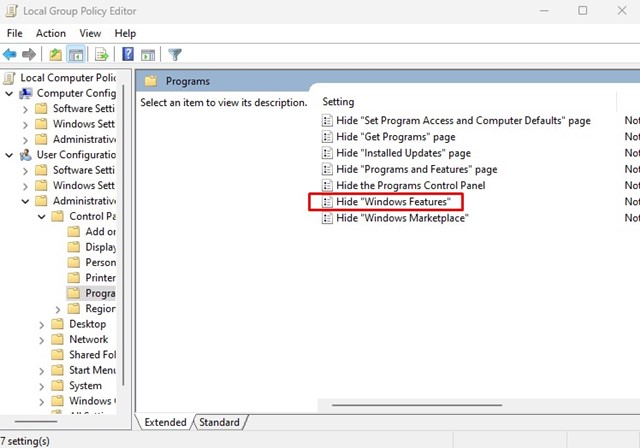
1. Open Local Group Policy Editor from the Windows Search.
2. Navigate to this path:
User Configuration\Administrative Templates\Control Panel\Programs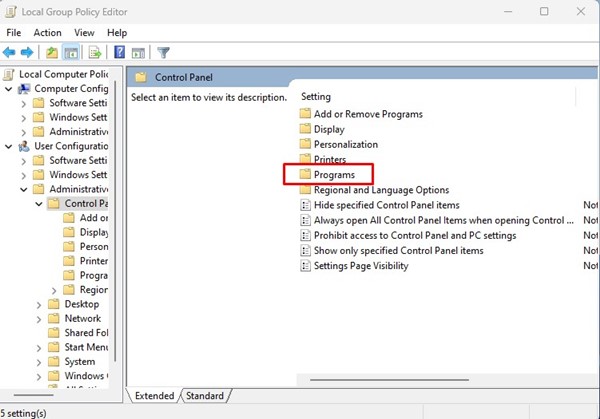
3. Find and double-click on the Hide “Windows Features” policy.
4. Select Disabled and click Apply.
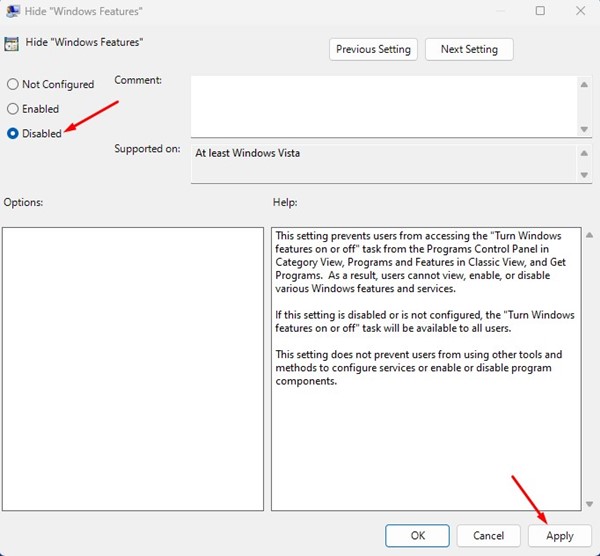
Close the Local group policy editor and try to install the optional features again. This time, they will be installed without error.
7. Make Changes to the Windows Modules Installer
Windows Modules Installer or TrustedInstaller is a service that enables the installation, modification, and removal of Windows updates and optional components. It also deals with the optional features that you want to add. You need to ensure the service is running on your device.
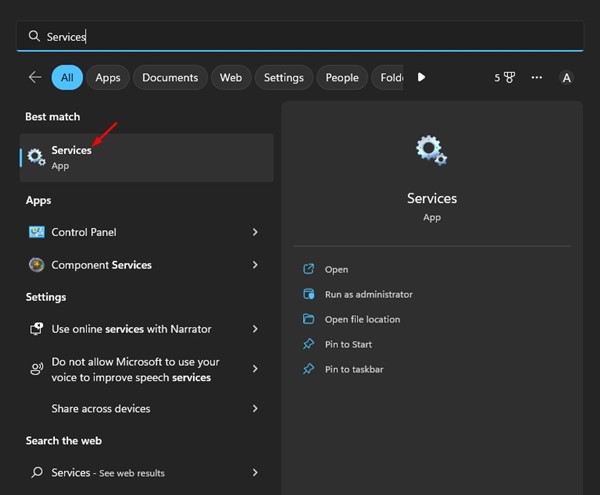
1. Open the Services app from the Windows Search.
2. Find the Windows Modules Installer.
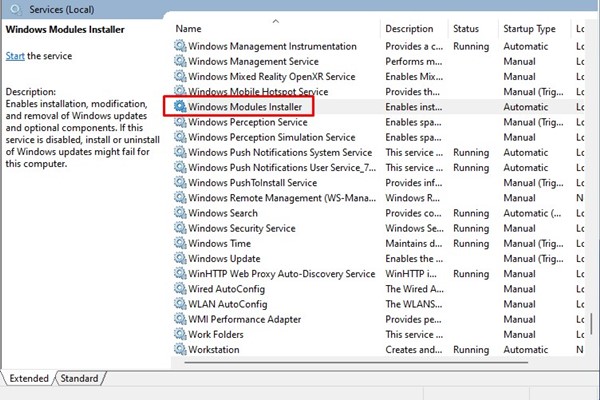
3. Double-click on the ‘Windows Modules Installer’.
4. Select Automatic under the Startup type. After making the changes, click OK.
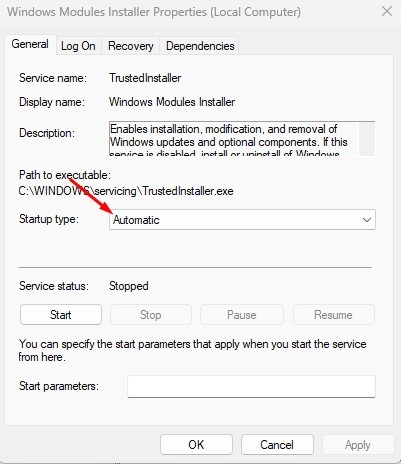
Close the Services app and restart your computer. After the restart, try to add the optional features.
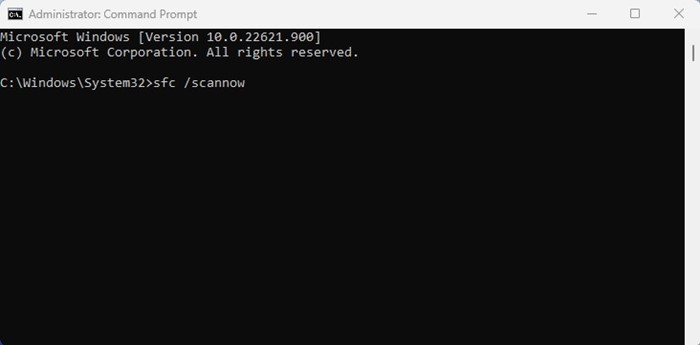
8. Run the SFC Command
SFC, or System File Checker, is a utility that resolves corrupted system files. If Windows 11 isn’t installing the optional features due to corrupted system files, running the SFC command would help.
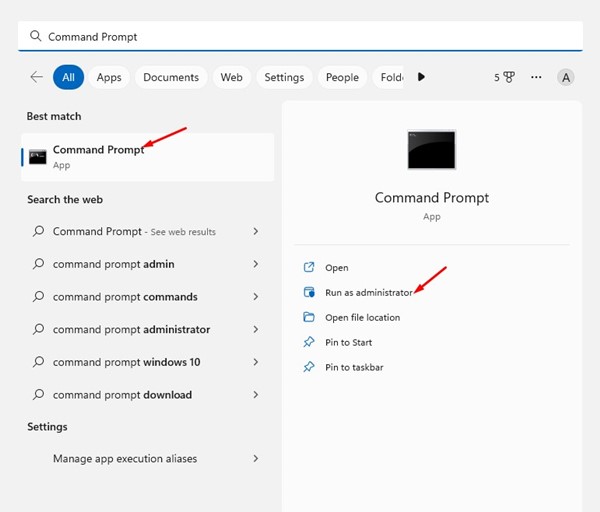
1. Click on Windows search and type CMD. Right-click on the CMD and select ‘Run as administrator’.
2. Type sfc /scannow and press Enter.
9. Run the DISM tool
DISM, or Deployment Image Servicing and Management, is a tool intended to fix problems that SFC won’t. If the above command returns an error, you need to run this tool.
1. Open Windows search and type CMD. Right-click on the CMD and select ‘Run as administrator’.
2. When the Command Prompt opens, execute this command:
DISM /Online /Cleanup-Image /RestoreHealth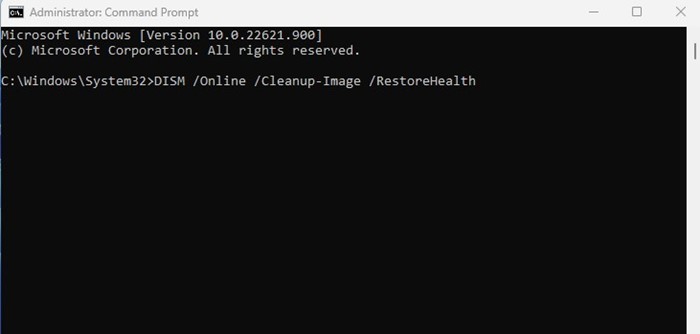
Depending on your computer’s specifications and files, the command may take a few minutes to complete. You need to wait patiently for the process to complete.
10. Update Windows 11

There is a chance that the version of Windows you are using has a bug that prevents optional features from installing on your device. You can eliminate such bugs by updating your Windows operating system.
You can try switching to the Beta or Release Preview channel using a Dev build. It’s recommended to use a Release Preview build because it has comparatively fewer bugs and glitches than Dev or Beta builds.
To update Windows 11, open Settings > Windows Update > Check for Updates. Once updated, try to install the optional features again.
Also Read: How to Fix File Explorer Not Responding on Windows 11
These are the best methods to fix optional features not installing on Windows 11. If you need more help installing optional Windows features, let us know in the comments below.


