Well, if you have been using Windows operating system for a while, then you might be well aware of the system updates. Since the number of bugs and security issues are high on the platform, Windows 10 receives frequent updates consisting of security patches and bug fixes.
Generally, Windows updates range between few megabytes to a few hundred megabytes. So, if you have a decent internet connection with no bandwidth restrictions, then downloading these updates is not a problem. However, if you have a slow and limited internet connection, then downloading these updates can be a hassle.
So, if you are dealing with such an issue, then in this article, we are going to share two best methods that would help you to pause and resume the Windows 10 updates. With these methods, you can temporarily pause the Windows 10 updates.
Also Read: How to Reset Computer Configuration Settings in Windows 10
Steps to Pause & Resume Windows 10 Updates
The method is quite easy and you just need to execute some commands in your Windows 10 OS and you will gain complete control over the updates.
Step 1. In your Windows 10 OS, press the keyboard buttons Win + X, and there select the Command prompt option that will open in the admin access.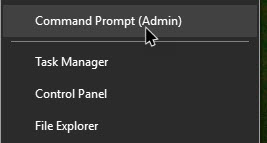
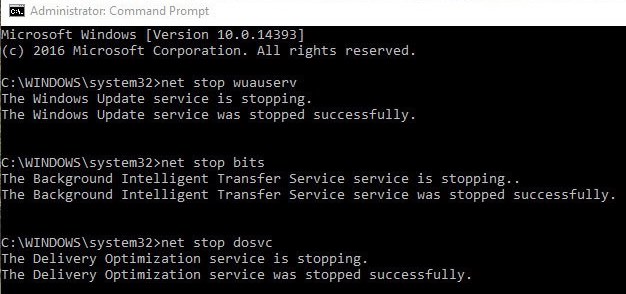
Step 2. Now firstly to stop the Windows update services, you need to execute the below command:
net stop wuauserv
Step 3. Now the next step will be to stop the Background Intelligent Transfer service and for that execute the below command:
net stop bits
Step 4. Now the last thing you need to stop is Delivery Optimization and for that execute the below command:
net stop dosvc
Step 5. Now above were the commands to stop updates services and whenever you want to resume all these services then you can execute the below commands one by one:
net start wuauserv

net start bits

net start dosvc

That’s it, you are done. So, now your windows, updates services can be resumed and paused easily.
2. Using Windows 10 Settings
If you don’t want to go through all the steps given above, then you can follow this method. The newer Windows 10 builds have an option to pause Windows 10 updates for up to 35 days. So, let’s check out how to pause Windows 10 updates for up to 35 days.
Step 1. First of all, open the Start menu and click on ‘Settings’

Step 2. Under the Settings tab, click on Update & Security.

Step 3. Under the Update & Security, click on the ‘Advanced Options’

Step 4. Now you need to toggle the Pause button to On.
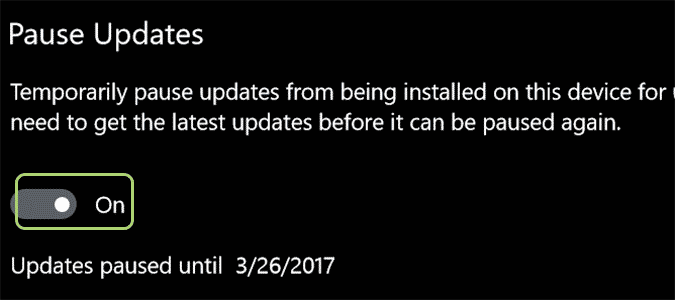
That’s it, you are done! This is how you can pause Windows updates for up to 35 days.
3. Using Windows Services
Well, you can also manually pause and resume Windows 10 updates via the services page. You just need to follow some of the simple steps given below.
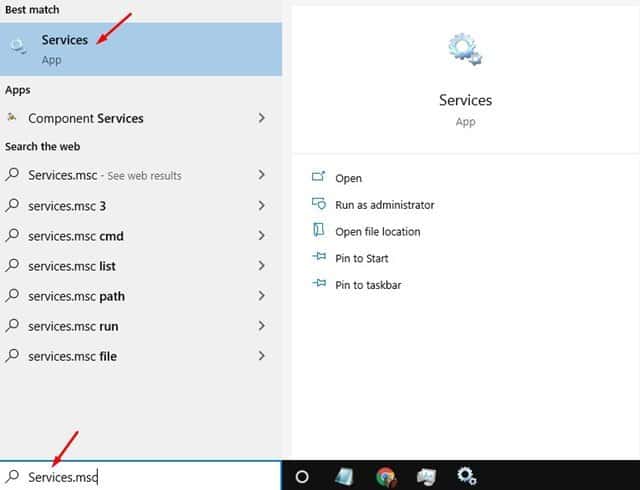
Step 1. First of all, search for ‘Services.msc’ on the Windows search and open the Services from the list of options.
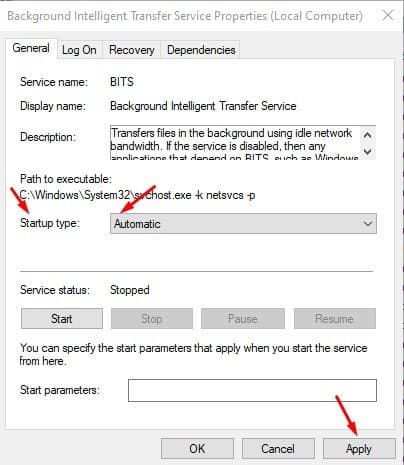
Step 2. On the Services, search for ‘Background Intelligent Transfer’. Double click on it, and select ‘Disabled’ on the Startup type. Once done, tap on the ‘Apply’ button.

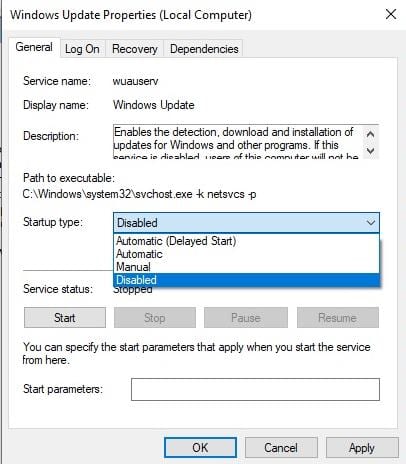
Step 3. Now search for ‘Windows Update’. Double click on the Windows update, and select ‘Disabled’ on the Startup type. Once done, tap on the ‘Apply’ button.
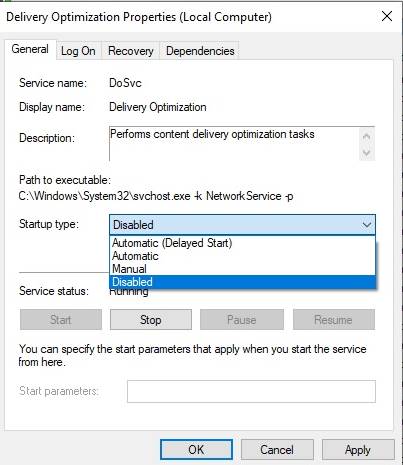
Step 4. Now again, go back to the Services page and search for ‘Delivery Optimization’. Double click on the ‘Delivery Optimization’ and select ‘Disabled’ on the Startup type.
Step 5. This will disable the Windows automatic updates. If you wish to enable/resume the Windows update again, then select ‘Automatic’ as startup type on the three options – Background Intelligent Transfer, Windows Update, and Delivery Optimization.
So the above discussion was all about Pause and Resume updates in Windows 10. I hope this article helped you! Please share it with your friends also. If you have any doubts related to this, let us know in the comment box below.


