Google Chrome’s biggest drawback is its RAM consumption. Compared to other Chromium-based browsers, Google Chrome consumes more RAM, ultimately slowing down a laptop or PC. If you use a mid-end computer, running the Chrome browser will freeze your system for a few seconds.
So, if you are dealing with RAM issues while running the Google Chrome browser on your PC, you are reading the right guide. This article will share the best ways to reduce Google Chrome memory usage on Windows 11
1. Check other Background Running Processes
Before following the next methods, you need to determine whether the Chrome browser is causing your system’s high RAM or memory usage. Some apps and processes run in the background, increasing Memory consumption.
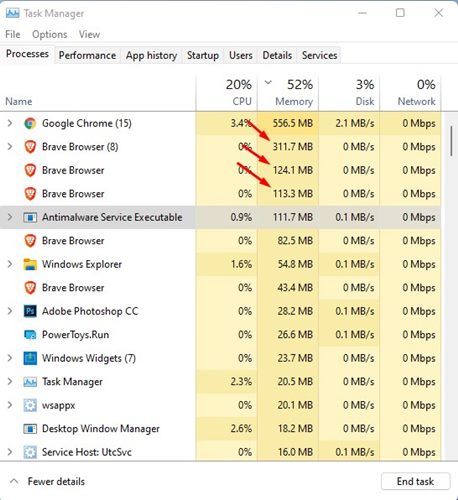
So, open the Task Manager on your Windows 11 PC and click on the Memory tab. In the Memory section, you need to check whether the Chrome browser was hogging the resources.
If Chrome is not the culprit, you must find and stop apps using most of your RAM resources.
2. Close Unnecessary Tabs
One prominent reason behind Google Chrome’s 100% disk usage is the tabs. If you keep many tabs open in your web browser, you will face a high Memory usage problem.
The best way to deal with such an issue is to close all unnecessary tabs in the Google Chrome browser. Closing the tabs on Google Chrome will help you save some computing resources and improve your PC’s speed.
3. Update the Chrome Browser
Updating the Chrome browser is one of the best things you can do. While it isn’t a sure-shot fix for high Memory usage, it’s still very important.
Keeping the web browser updated will reduce security and privacy issues and bring you new features.
It will also remove bugs available in older builds of Google Chrome. So, keeping the Chrome browser updated is recommended to fix the high memory usage problem.
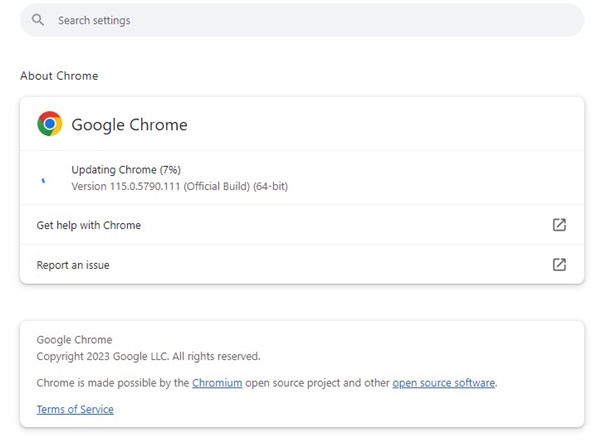
To update Google Chrome, click on the three dots > Help > About Chrome. This will automatically launch the Chrome update tool and install all pending updates.
4. Enable Memory Saver on Chrome
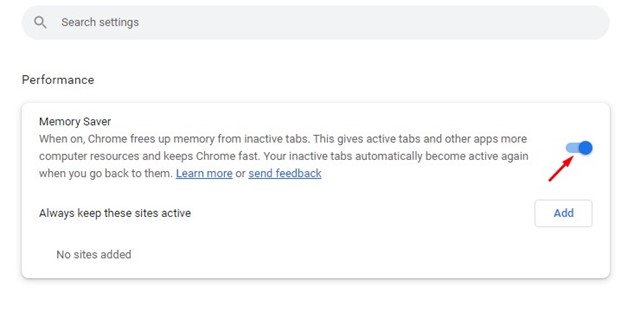
Memory saver is a hidden performance feature of Chrome that frees up memory from inactive tabs. This feature is disabled by default, but if enabled, it can keep Chrome fast. Here’s how to enable Memory Saver on the Chrome browser.
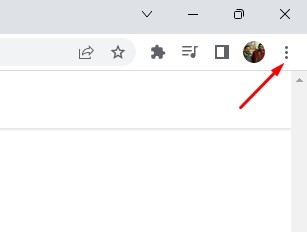
1. Open Chrome and click on the three dots at the top right.
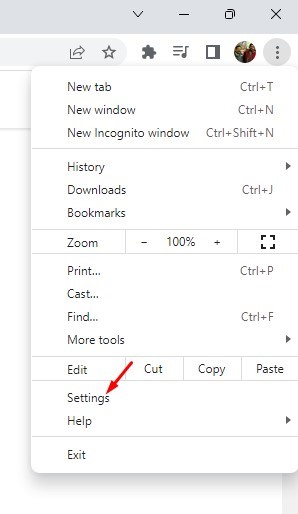
2. On the Chrome menu, select Settings.
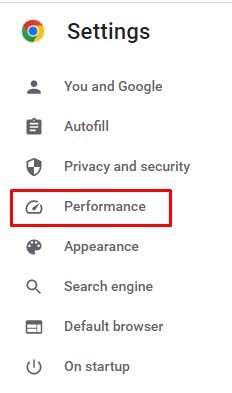
3. Now switch to the Performance tab.
4. On the right side, enable the toggle for Memory Saver.
This is how you can enable the Memory Saver feature of Google Chrome web browser.
5. Remove the Unused Extensions
If you have been using Google Chrome for a while, you might know how easy it is to install an extension.
Installing an extension takes about a few seconds on the Chrome web browser. However, excessive & unnecessary extensions often result in high RAM usage on Windows 11.

Before trying the next methods, open the Chrome browser’s Extension Manager and remove the unused and duplicate extensions. It’s recommended to keep the extensions that were trusted and useful to you.
6. Use the Chrome Task Manager to Kill Processes
If you don’t know, Google Chrome also has a Task Manager that pinpoints which processes and tabs consume the most RAM. Hence, you can check Chrome’s Task Manager and kill the processes and tabs to free up memory.

To access Task Manager on Google Chrome, follow our guide – How to use Google Chrome’s built-in Task Manager. We have shared a step-by-step tutorial on that guide on using the Task Manager of Chrome.
7. Activate the Hardware Acceleration
In short and simple words, Hardware Acceleration forces your Chrome browser to use your dedicated GPU unit instead of RAM for video streaming, graphic editing, and game streaming.
So, if your PC has a dedicated GPU or Graphics Card, you can enable the Hardware Acceleration feature of the Chrome browser.
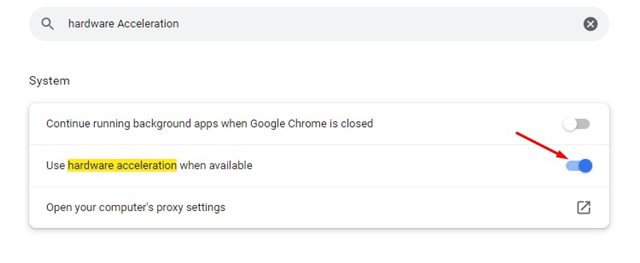
When you enable Hardware Acceleration on Chrome, the web browser will utilize the juice of your GPU to stream videos, edit graphics, and play in-browser games. This feature will greatly reduce the RAM consumption while using the Google Chrome browser.
8. Stop Background App from Running when Chrome is Closed
If you still face high RAM usage after following the above methods, you must stop the background apps from running even when Chrome is closed.
With this feature enabled, Chrome’s background apps run in the background and use your RAM resources even when it is closed. Follow the steps shared below to stop background apps on Chrome.
- First, open the Chrome browser and click the three dots > Settings.
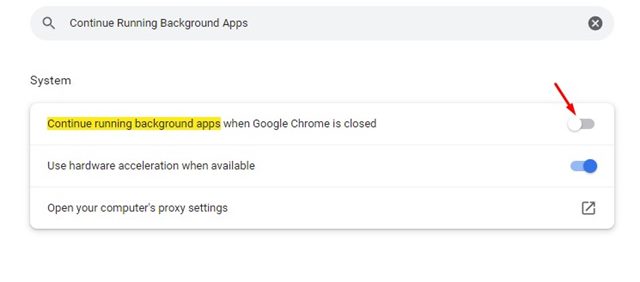
- On the Settings page, use the search bar to find the Continue running background apps option.
- Next, disable the toggle for the Continue running background apps when Google Chrome is closed option.
This is how you can deactivate the option to run background apps when Chrome is closed.
9. Use the Clean up Feature of Google Chrome
Google Chrome has a feature that lets you find harmful software on both your PC and the web browser.
You can use this feature to find and remove harmful apps and malware that could be silently using your resources for unethical activities such as data exchange and bitcoin mining.
To run Chrome’s Clean Up feature, follow some of the simple steps shared below.
1. First of all, on the address bar, type in Chrome://settings/

2. On the Settings page, use the search bar to find Clean up.

3. On the Clean up computer, click the Find button to start the clean up process.
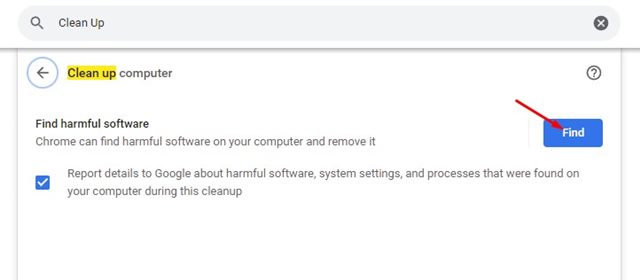
This is how you can use the clean up utility to remove harmful apps & malware that could be leading to exceptionally high RAM usage.
10. Reset Chrome Settings
If everything fails, your last option is to reset the Google Chrome browser. You likely have high RAM usage because of incorrect Chrome settings, and you need to reset the Chrome browser to fix the problem. To Reset Google Chrome, follow the steps we have shared.
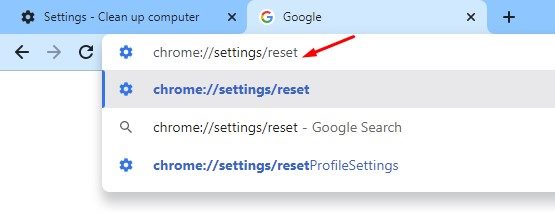
1. First of all, launch the Chrome browser, and on the Address bar, enter chrome://settings/reset/
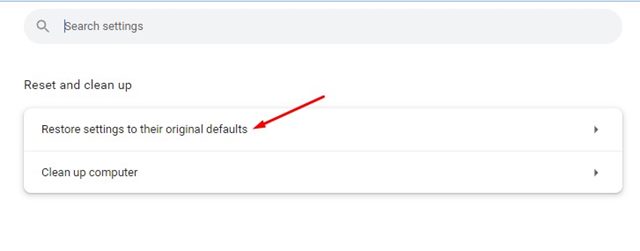
2. On the Reset and Clean up page, click on the Restore settings to their original defaults option.
3. On the Confirmation prompt, click on the Reset settings button as shown below.
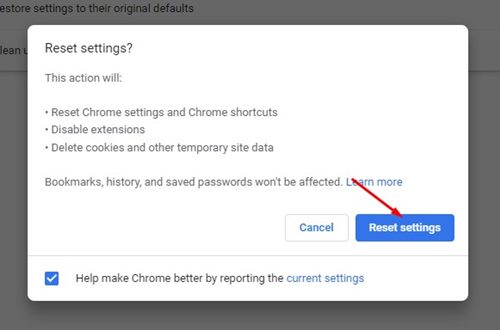
This will reset the Google Chrome browser and probably fix the high RAM issue.
These are some of the best and easiest methods to reduce Google Chrome’s high RAM usage. I hope this article helped you; please share it with your friends, too. If you have any doubts, let us know in the comment box below.


