Windows is configured so that pressing the power button shuts down the computer or opens the Power Menu.
However, if you never shut down the computer, you may feel the functionality to be a bit useless. Fortunately, on Windows 10, you have the option to modify the functionality of the power button.
Steps to Set Your Power Button to Turn Off the Display in Windows 10
You can make a few changes to the Power Options on Windows to do a different thing. Below, we have shared some simple steps to set your Power Button to turn off the display in Windows 10. Let’s check out.
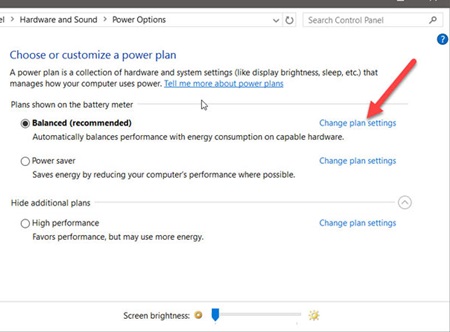
1. First, navigate to the Control Panel -> Hardware and Sound -> Power Options. This could be done by searching for the Power Options through the Windows Search bar.
2. Now, on the Edit Plan Settings, click on the Change Plan Settings option.
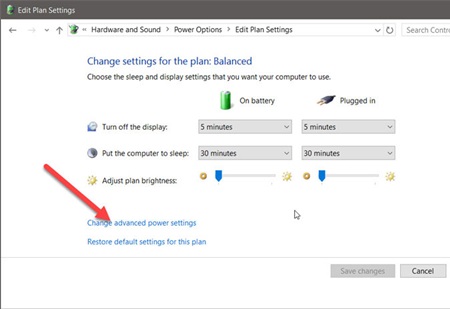
3. Inside the Plan Settings, you need to look for the another option named Advanced Power Settings. Once found, click on Change Advanced Power Settings.
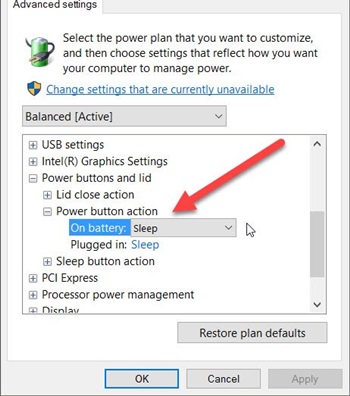
4. On the Advanced settings, find the Power button and Lid Action. This option will help you manage the properties and work on the power button on your device. Through this option, you will be interfering with the turn off display values.
5. Next, click on the drop-down for “On battery” and “Plugged in” and set the action for the power button to Turn off the display.
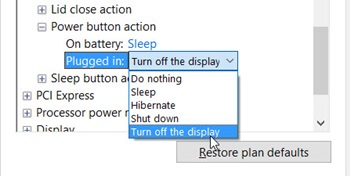
After making the changes, click the Apply button and close all open Windows. That’s it! This is how you can set your Power button to Turn off the display in Windows 10.
So, these are some simple steps that will let you set the Power button to turn off the display in Windows 10. If you need more help changing the Power Button’s functionality, let us know in the comments below.

")
