Once you enable the Libraries folder in the File Explorer, you can add the essential files and folders you frequently access. Here’s how you can show or hide the Libraries Folder in the File Explorer.
1. How to Show the Libraries Folder
You should show the Libraries folder first by following these steps.
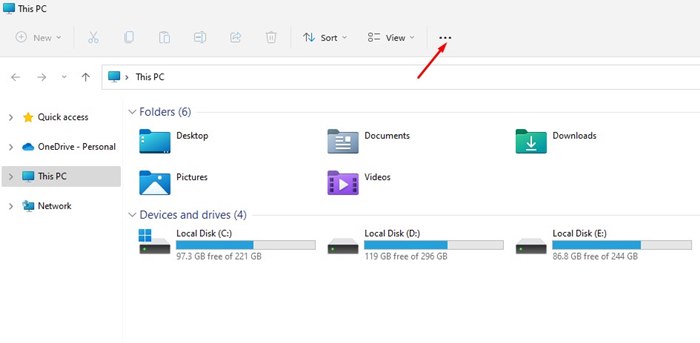
1. Open the File Explorer on your PC by pressing the Windows + E keys.
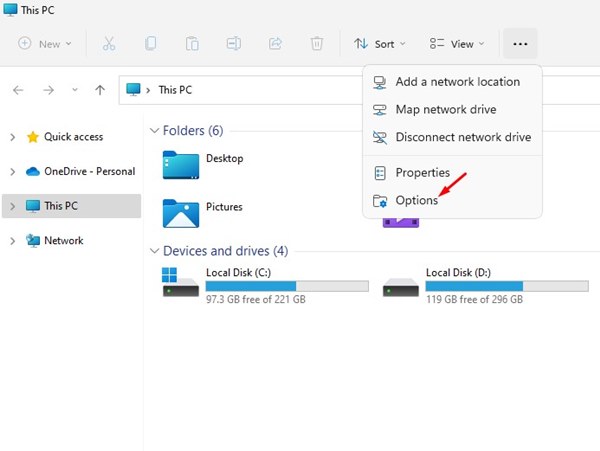
2. Click the three dots on the top bar of the File Explorer.
3. Select Options.
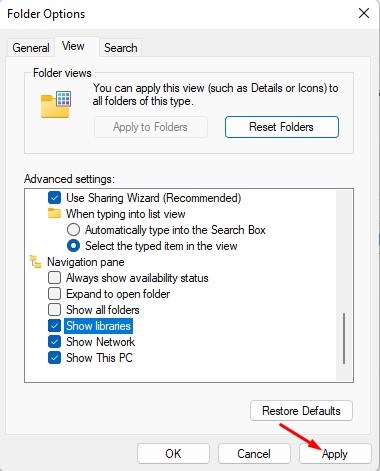
4. This will open the Folder Options; switch to View.
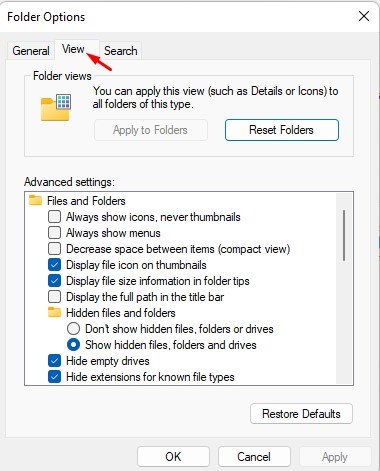
5. Scroll down and check the Show Libraries.
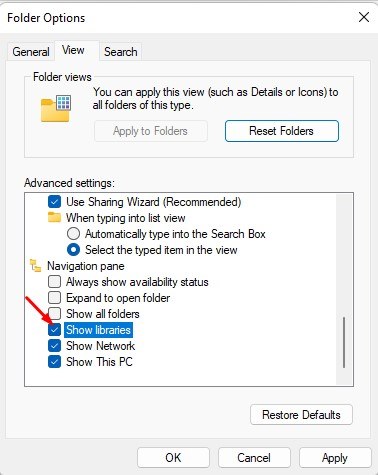
6. Click on Apply and OK.
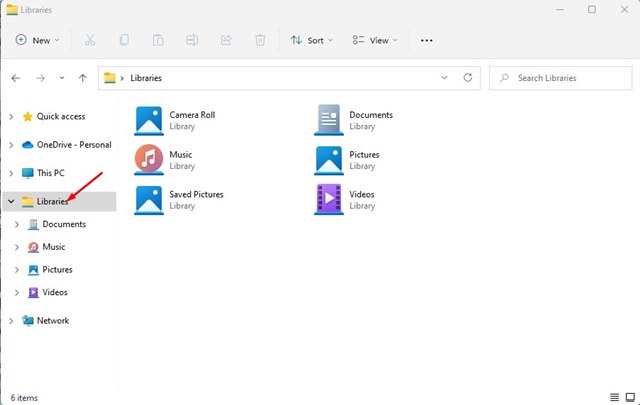
You can show the libraries folder on your Windows 11 operating system.
2. How to Hide Libraries Folders in Windows 11
If you wish to hide the Libraries folder in Windows 11, follow the simple steps below.
1. Open File Explorer and click the three dots on the top bar. From the list of options that appears, click Options.
2. Open the Folder Options and switch to View.
3. Scroll down and uncheck the Show Libraries.
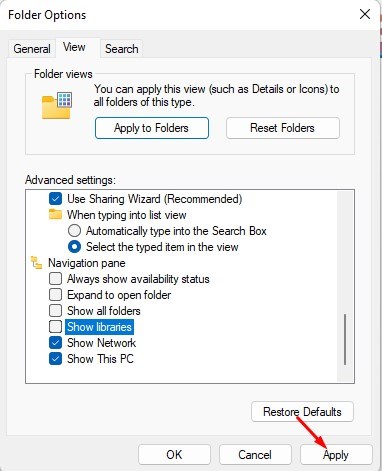
4. Click Apply to hide the Libraries folder in Windows 11.
3. How to Add Folders to the Libraries?
You might want to add your favorite folders if you have just enabled the Libraries folder. Here’s how you can add it.
1. Open File Explorer on your Windows 11.
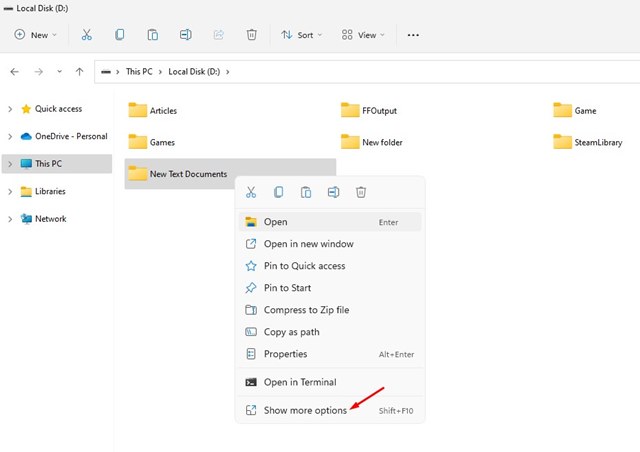
2. Navigate to the folder you want to add to the Libraries. Right-click on the folder and select Show More.
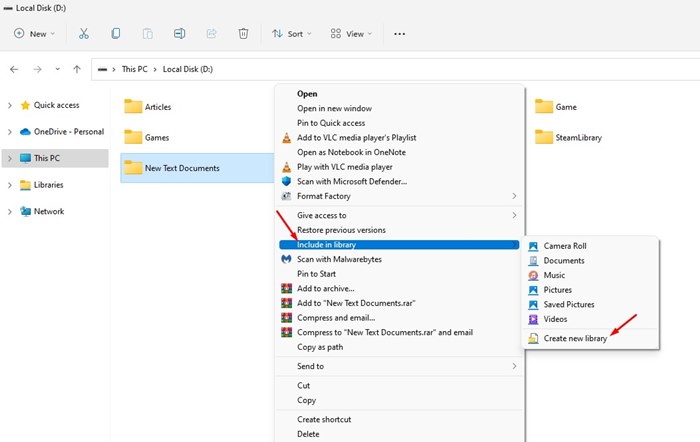
3. Select Include in Library > Create New Library on the classic context menu.
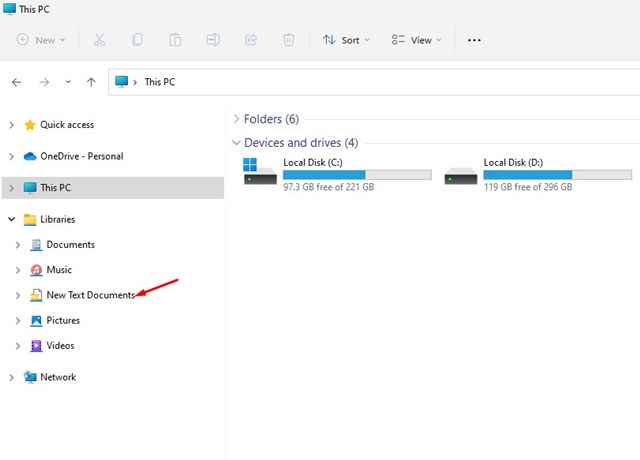
4. The new folder will appear in the Libraries folder.
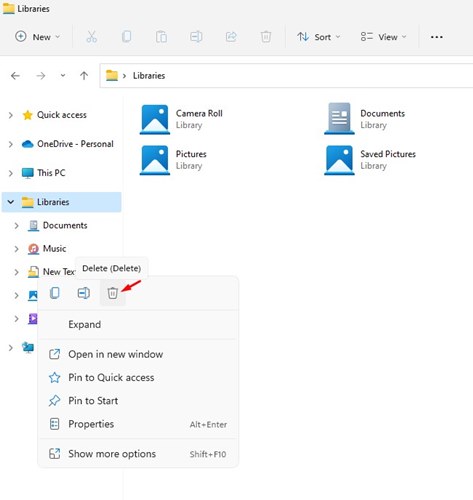
5. To delete the folder from the Libraries, right-click on it and select Delete.
The Libraries folders are pretty helpful since they allow users to include files & folders stored at the remote storage location so that users can access all essential files from a single place.


