A few days ago, we shared an article explaining how to back up an iPhone on a Windows PC. In that article, we discussed the Apple Devices app that provides local backup options for iPhone on your Windows PC.
Now, we are going to explain how you can use the same Apple Devices app to transfer files from iPhone to Windows. Apple Devices is an app which is designed to keep your Windows PC and Apple devices like iPhone & iPad in sync.
You can utilize the Apple Devices app to transfer photos, music, movies, and other data types between your Windows and Apple devices. So, if you have a Windows PC and are looking for options to transfer files from iPhone to Windows, continue reading the article.
How to Transfer Files from iPhone to Windows
Below, we have shared a step-by-step guide on how to utilize the Apple Devices app to transfer files from an iPhone to a Windows PC. Here’s how to get started.
1. To get started, launch the Apple Devices app on your Windows PC. If you haven’t installed the app, install it from this link.
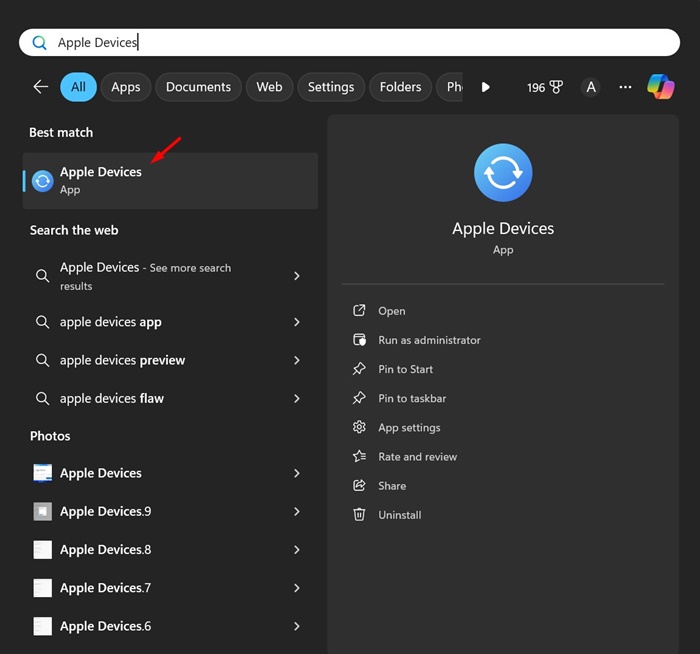
2. Once installed, launch the Apple Devices app. Next, plug in your iPhone to your PC with the help of a USB Cable.
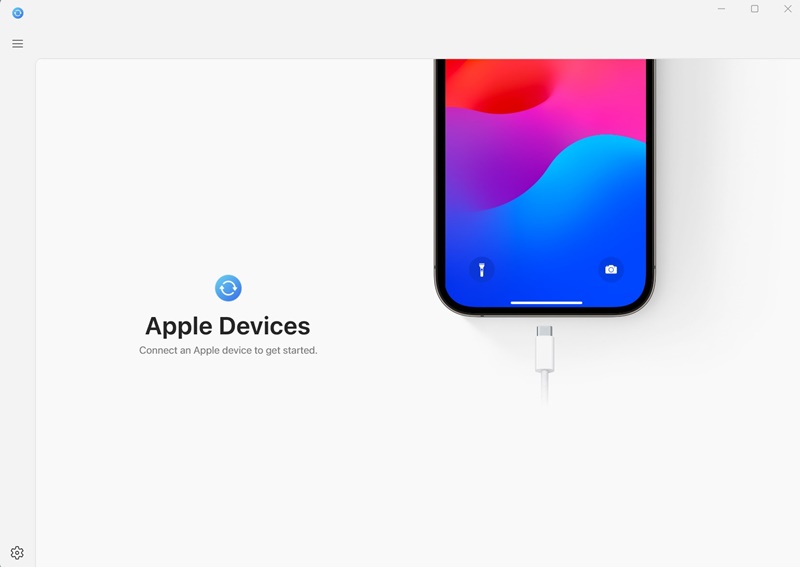
3. Now, you need to unlock your iPhone once. Unlocking the iPhone will link your iPhone to the Windows PC.
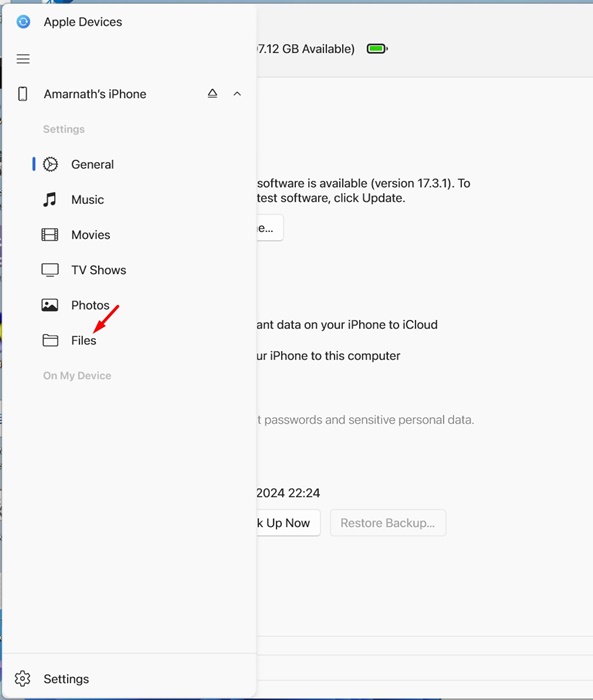
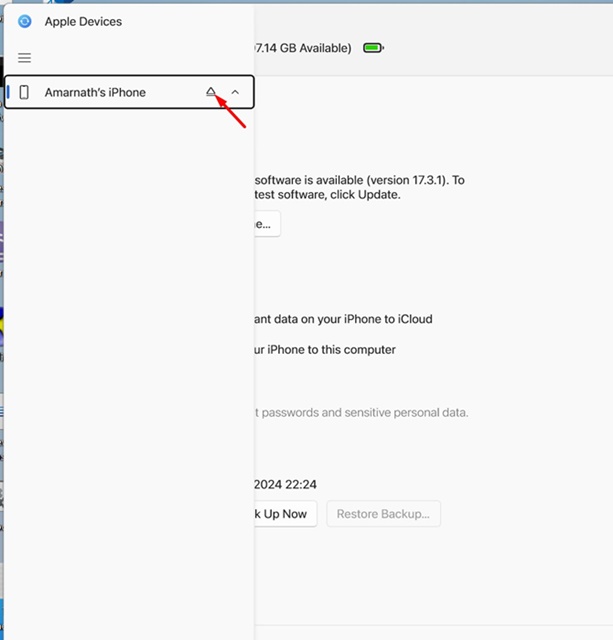
4. Switch to the Apple Devices app on your PC. Your iPhone should appear on the list of devices.
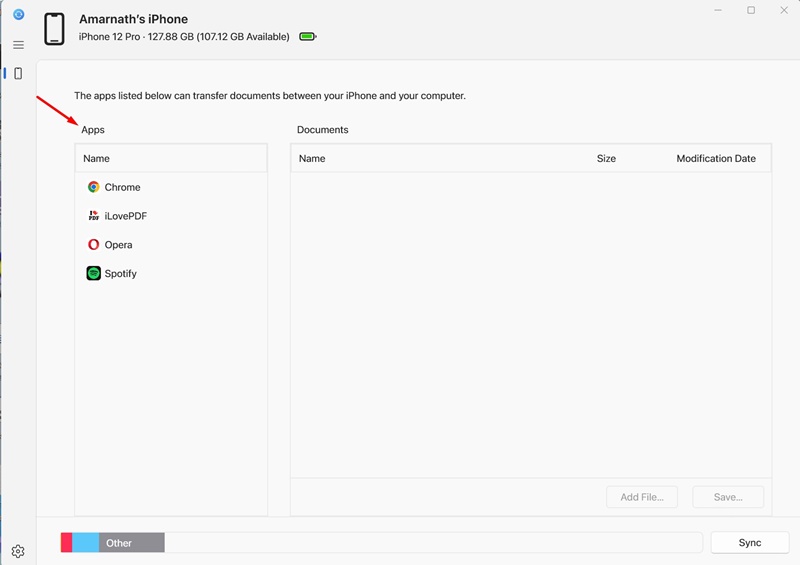
5. Next, on the navigation menu, switch to the Files tab.
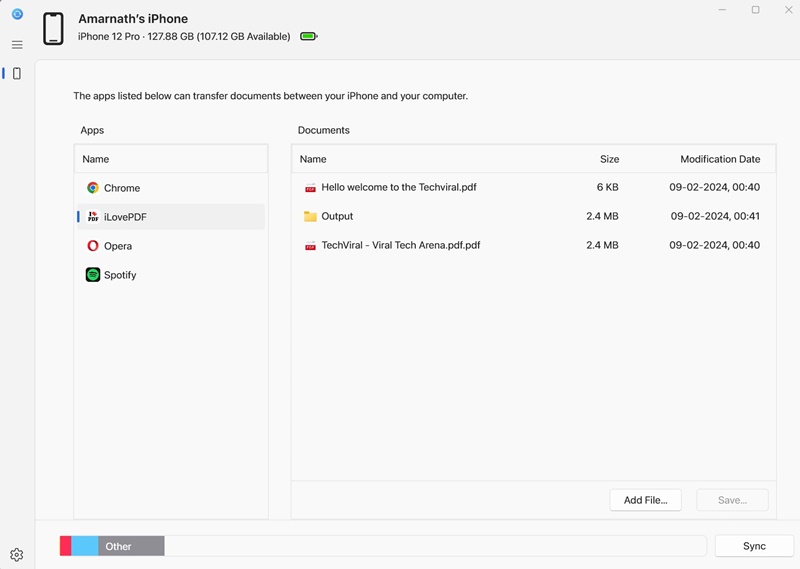
6. Now, you will see a list of apps compatible with the file-sharing functionality.
That’s it! This ends the setup procedure for transferring files from iPhone to Windows.
How to Manage files on iPhone from Windows?
After the setup process, you can use the Apple Devices app to transfer files from iPhone to Windows. To do that, follow the steps we have shared below.
1. Launch the Apple Devices app and switch to the Files tab on the navigation menu.
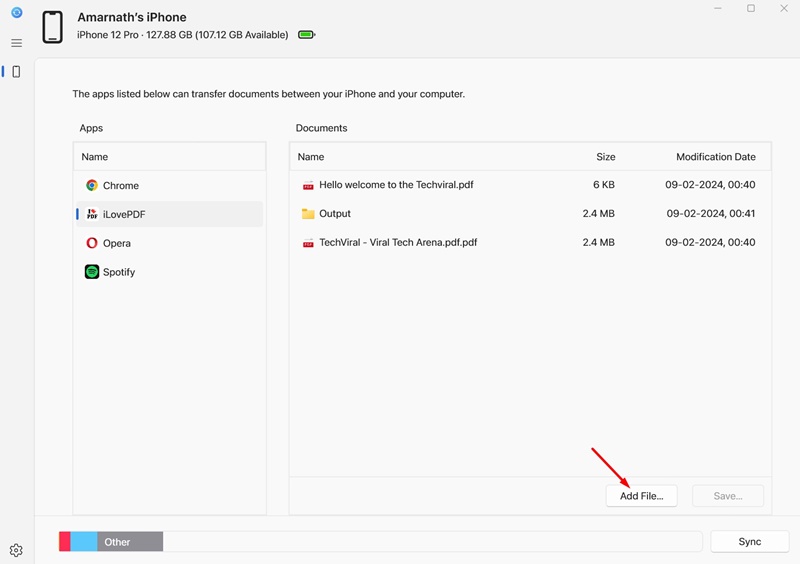
2. Now, you must select the app you want to add files for.
3. After selecting the app, click the Add File button. Next, open the File(s) you want to transfer to your iPhone from your PC.
4. The file will be immediately transferred to your iPhone. You can verify it by opening the selected app on your iPhone.
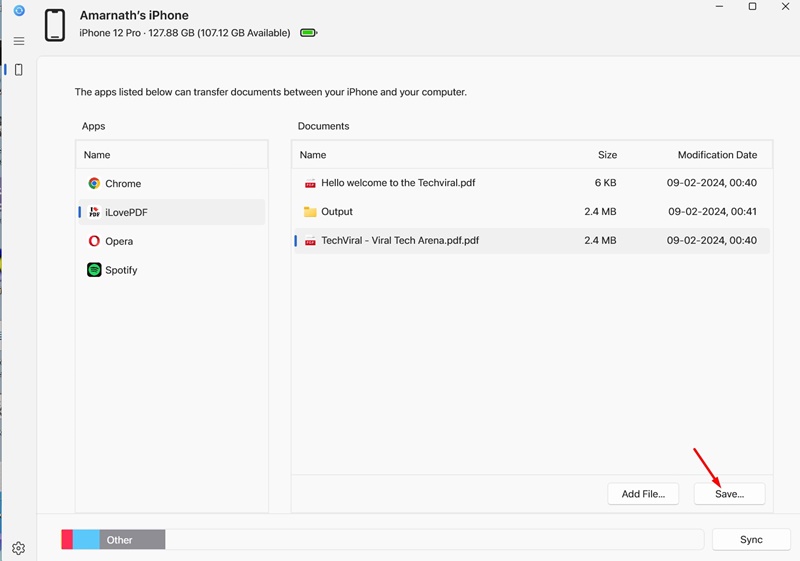
5. To transfer files from your iPhone to your PC, select the file you want to transfer to your PC and click Save. Next, select the location on your Windows PC to save the file.
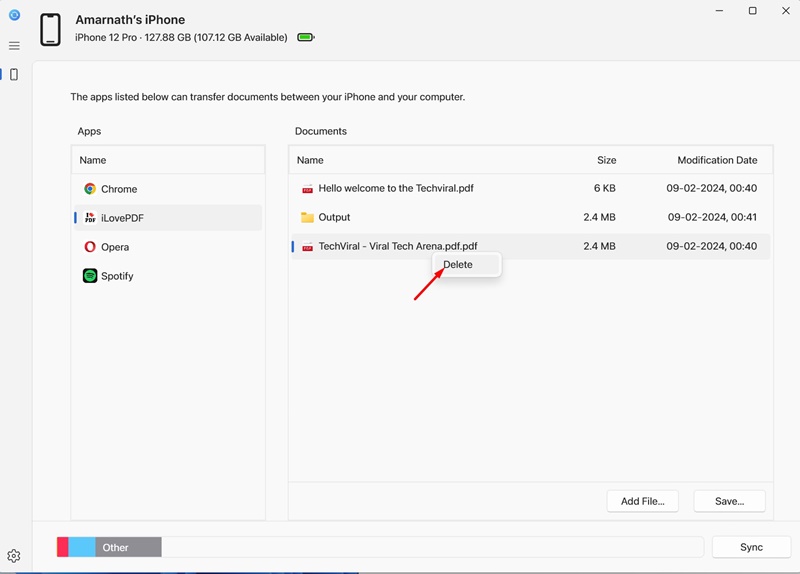
6. You can also use the Apple Devices app to delete files stored on your iPhone. For that, right-click on the file and select Delete.
7. Once you are done with the changes, click on the Eject button near your iPhone name.
That’s it! This is how you can transfer files from your iPhone to your PC using the Apple Devices app.
So, this guide is about transferring files from iPhone to Windows using the Apple Devices app. Apple Devices app serves as a quick way to transfer files back and forth between iPhone and Windows. Let us know in the comments below if you need more help.


