Even though it’s easy to update the iPhone using the Apple Devices app, you need to remember a few important things. Before you update your device, it’s important to back up your iPhone to iCloud or on your computer via the Apple Devices app.
How to Update Your iPhone from Windows PC
The Apple Devices app for Windows won’t show the iOS Beta Updates. If you’ve joined the Apple Beta Software Program and want to install a Beta update, you need to update your iPhone from the Settings app.
The Apple Devices App for Windows will only detect the Stable iOS updates. Here’s how to update your iPhone.
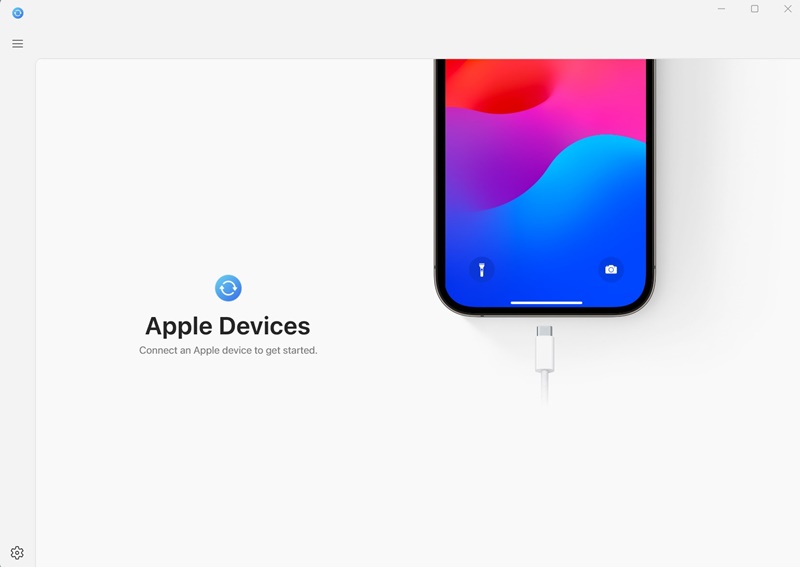
1. Download & install the Apple Devices app on your Windows computer.
2. Connect your iPhone to your Windows PC using a USB Cable.
3. You will have to unlock your iPhone and ‘Trust‘ the computer.
4. Launch the Apple Devices app on your Windows PC.
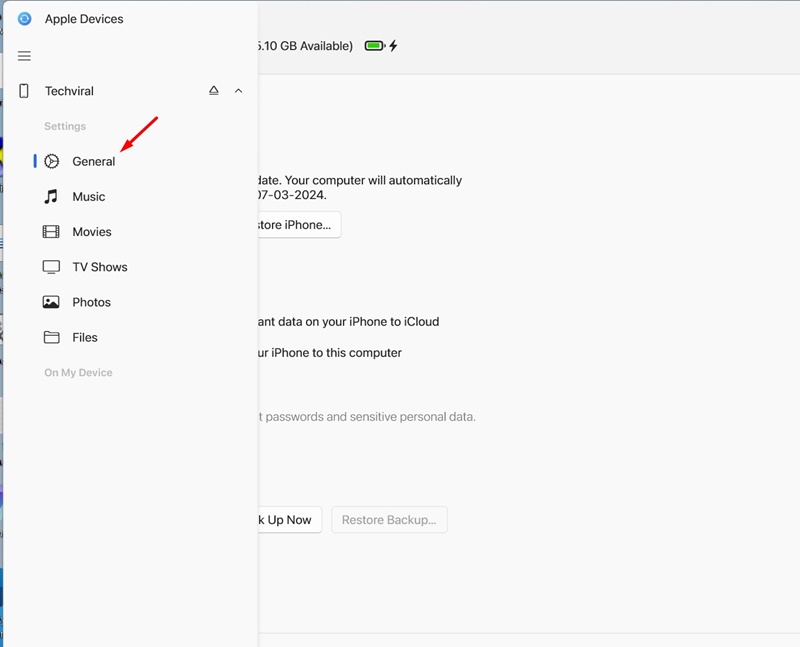
5. Open the Menu and select General.
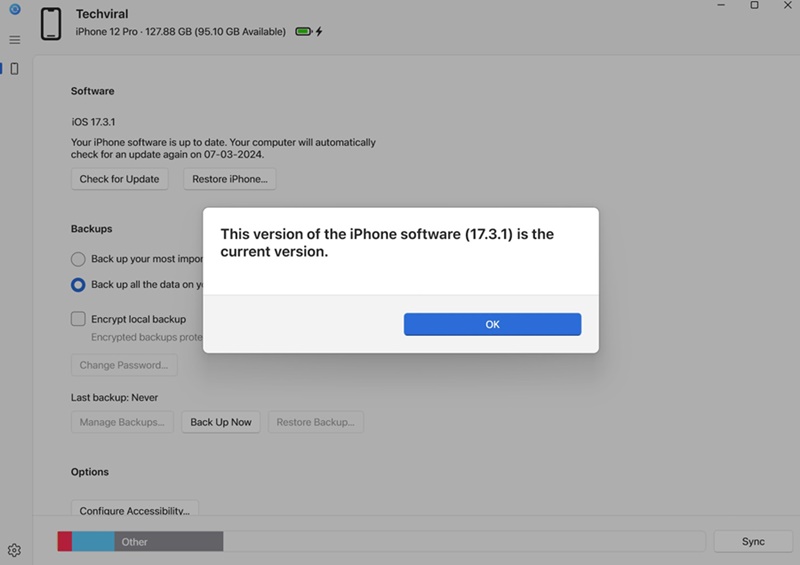
6. Click the Check for Update button in the Software section.
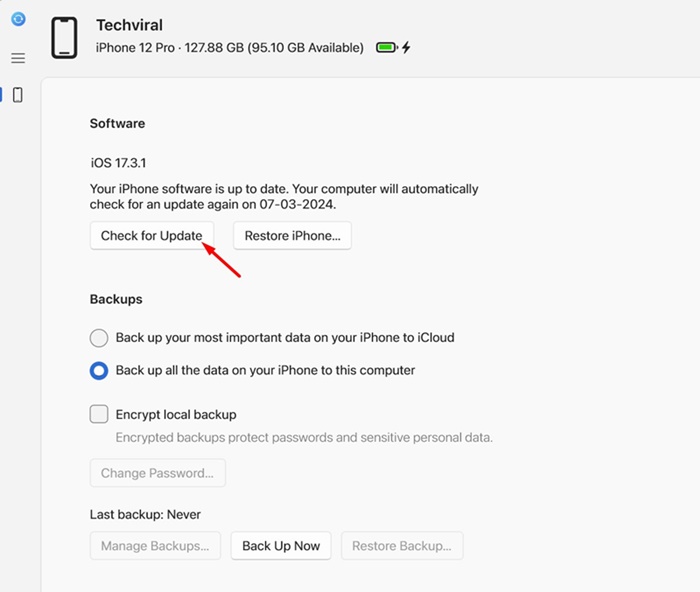
7. The Apple Devices app will automatically search for pending updates. If your iPhone is already running on the latest iOS, you will see a prompt telling you this is the latest version of iPhone software.
8. Click on the Update button.
9. Accept the terms & conditions and tap on Continue. Follow the on-screen instructions to complete the update process.
Other Uses of Apple Devices App?
You can use the Apple Devices app for various purposes. You can use it to back up your iPhone on Windows, transfer files, and more.
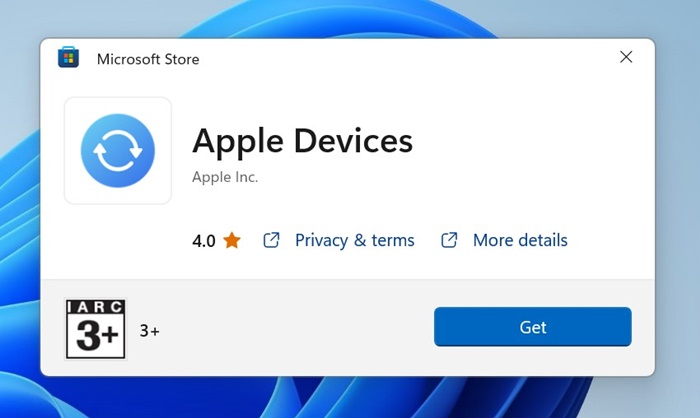
Apple Devices is a free app that you can get from the Microsoft Store. If you have both a Windows PC & iPhone, you should use this app.
Updating your iPhone from PC has never been so straightforward before, has it? So, this guide is about updating your iPhone using the Apple Devices App on a Windows PC. Let us know if you need more help on this topic in the comments.
")

