Several users have been facing problems while running the BlueStacks emulator on Windows 11. Users got an ‘Incompatible Windows Settings’ error message while launching the emulator.
The full BlueStacks error message reads:
‘Incompatible Windows Settings
To launch BlueStacks, you must make some changes to your Windows Settings. We have an FAQ that explains it in detail.’
The error message appears only when starting the BlueStacks emulator on Windows 11, and it provides you with an option to read the FAQ page.
Key Thing to Note
Before proceeding with the troubleshooting steps, it is essential to take care of a few things first. BlueStacks 5 Nougat 32-bit instances don’t support Hyper-V, so if you have downloaded the BlueStacks 5 (32-bit) variant, you need to disable the Hyper-V first to get rid of the Incompatible Windows Settings error message.
If you don’t want to disable Hyper-V but still want to enjoy the emulator, you need to download the BlueStacks 64-bit version. Also, running the app as an administrator is very important, even if you’re using BlueStacks 64-bit with Hyper-V enabled.
1. Disable Hyper-V on your Windows 11
The ‘Incompatible Windows Settings’ error usually appears when installing BlueStacks 5 32-bit on a machine where Hyper-V is enabled. Hence, you can try disabling Hyper-V and check.
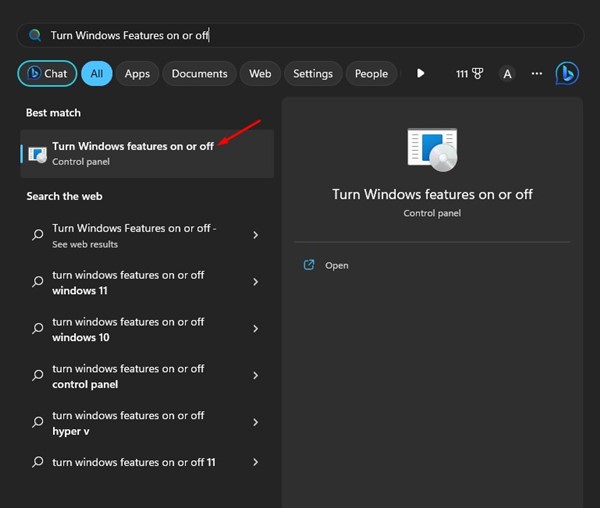
1. Click on Windows 11 search and type Turn Windows Features on or off. Open the most relevant result from the list.
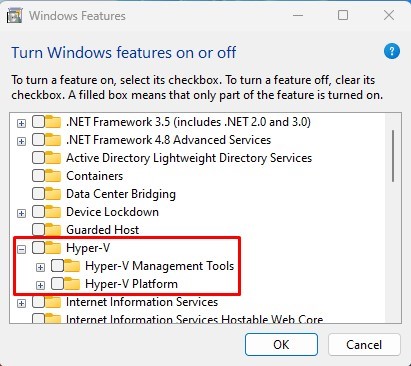
2. Scroll down and expand the Hyper-V option here.
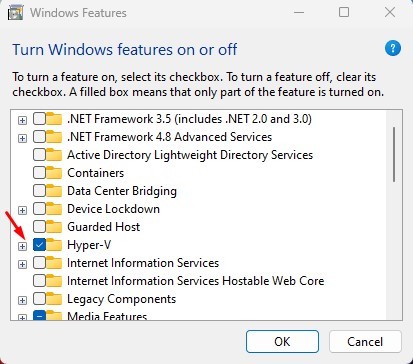
3. Uncheck the Hyper-V, Hyper-V Management tools, and Hyper-V Platform.
4. After making the changes, click OK and restart your computer.
2. Disable Windows Sandbox & Subsystem for Linux
On the same Windows Features option, you need to disable the Windows Sandbox and Windows Subsystem for Linux.
1. Open Windows search and type Windows Features. Next, open the Turn Windows features on or off app from the list.

2. Scroll down to the bottom and uncheck the Windows Sandbox and Windows Subsystem for Linux checkboxes.

After making the changes, restart your Windows 11 computer and run the BlueStacks emulator. This time, you won’t get the error anymore.
3. Run BlueStacks as an administrator
Running BlueStacks as an administrator has helped many Reddit users resolve the ‘Incompatible Windows Settings’ error. Hence, you can try that as well.
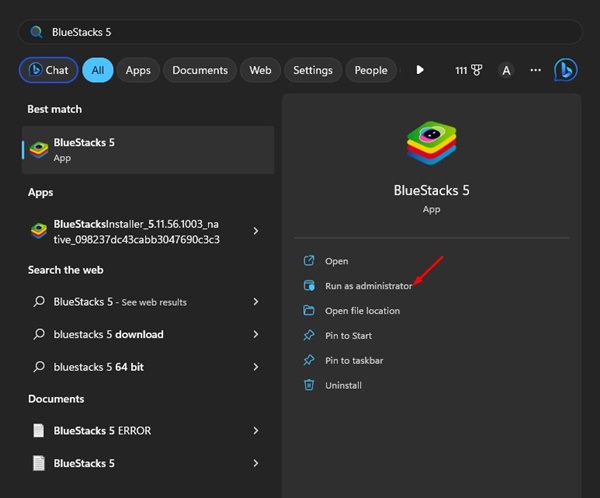
To run BlueStacks as an administrator, open Windows 11 search and type in BlueStacks. Right-click on BlueStacks and select Run as administrator. This will run the BlueStacks emulator with administrator rights and fix the ‘Incompatible Windows Settings’ error message.
4. Install the 32-bit BlueStacks
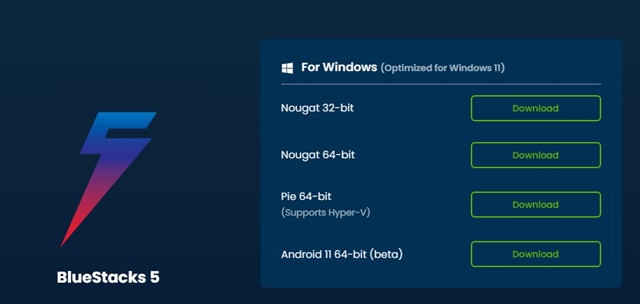
BlueStacks 64-bit is only compatible with Hyper-V-enabled enabled. So, if you are using BlueStacks 64-bit but Hyper-V is disabled, you either need to turn on Hyper-V or install 32-bit BlueStacks.
To download BlueStacks 32-bit, you need to open this webpage and click on the ‘Download’ button beside the ‘Nougat 32-Bit’. Once downloaded, uninstall your existing BlueStacks installation from Windows 11. You can remove it from the Control Panel or the Start Menu. After uninstalling the older installation, install the BlueStacks 32-bit to resolve the error.
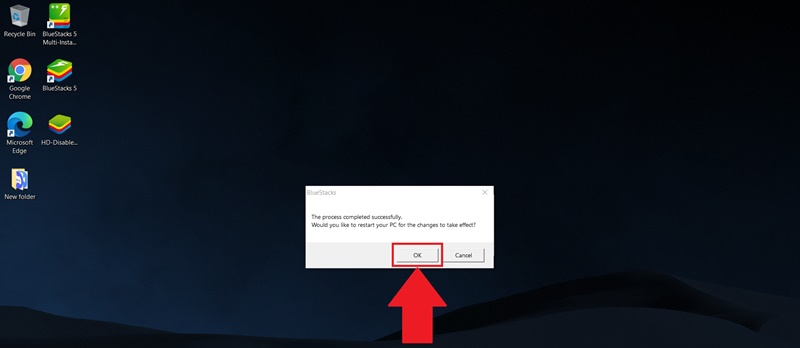
5. Download & Run the Custom.exe file from BlueStacks
If the problem hasn’t yet been fixed on your Windows 11, you can download and run a custom.exe file provided by BlueStacks. The file disables Hyper-V and removes all its traces. Since the actual cause of the problem is Hyper-V, running the file is recommended.
Important: Don’t run the file if you’re using the BlueStacks 64-bit version
1. Download & run the custom.exe file on your computer.
2. The tool will disable Hyper-V entirely on your system.
3. Once the job is done, you will see a pop-up asking you to restart your computer. You must click OK.
6. Reach out to the BlueStacks Support Team
You can reach out to the BlueStacks support team if nothing worked for you to fix the Incompatible Windows Settings error message.
Open your email account and send your questions to [email protected]. The support team will respond within a few hours or days.
Alternatively, you can create a post on /r/BlueStacks/ subreddit and ask for help. The BlueStacks support team is usually very active on Reddit, and you can expect a response within a few hours.
Also Read: Download BlueStacks Offline Installer Latest Version (Windows & Mac)
These are the best ways to fix the ‘Incompatible Windows Settings’ error message on BlueStacks 5 on Windows 11. If you had followed the steps carefully, the problem would have been fixed.


